MMU3 Saga
The MMU3 kit arrived late in the afternoon on April 26, 2024 and I spent a couple of days building it and another day getting it into position so I could start using it. This saga runs on and on, but I figured it would be useful to put things I learned up here at the top before the incessant babbling:
Lessons Learned
- When Prusa says sharpen the tip of the filament and try as best you can to bend it backward to get the curve out of the first few inches, they really mean it. If you think it must be OK, and you keep asking it to retry loading, what it actually does is grind the end to dust that fills up the gear teeth, then nothing will work till you open up the MMU and brush out all the dust.
- The FINDA is really really sensitive. I've adjusted the position a few times now and I'm still not sure it will reliably detect the filament (or reliably notice the filament was removed). Had trouble in the calibration step getting it positioned to notice filament unload (that may be relevant to a later error I got.)
- It is very impressive the way it can pick up where it left off once you fix a problem, no need to start over from scratch (yet). It will be more impressive when I get things tweaked enough that it can print hundreds of hours without a problem as the Prusa blog claims is possible :-).
- The on/off switch on the power supply is now in the middle of a nest of PTFE tubes, making it more difficult to reach. I may add a home automation switch to the power outlet and just leave the switch on the MK4 turned on all the time.
- I like to use the "Upload and Print" feature in Prusa Slicer via Prusa Link. I haven't found any way to bypass the annoying screen to remap colors before it starts printing, so I have to walk back to the printer to make it start. [Prusa support says they are working on this, so this problem may eventually go away.] Update: If I use the config I made for printing one color (just turns off the wipe tower so it doesn't mess with part layout on the print bed) and I explicitly select a specific color for it to print the part, then the "Upload and Print" button really does start printing without manual intervention (if I let it use the default color, then I still need to press the button).
MMU3 build
Nothing exciting to report here. I followed the instructions and it seemed to work. The most radical change I made was to drop the filament collets into one half of the cartridge before screwing the other half of the cartridge on top to lock the collets in place. This was much less finiciky than trying to insert the collets later.
I suppose getting the buffer put together was also a notable pain. First getting the protective film off the separators, then getting the buffer built with all the holes needing to line up and the nuts needing to be pushed in correctly.
Filament drybox
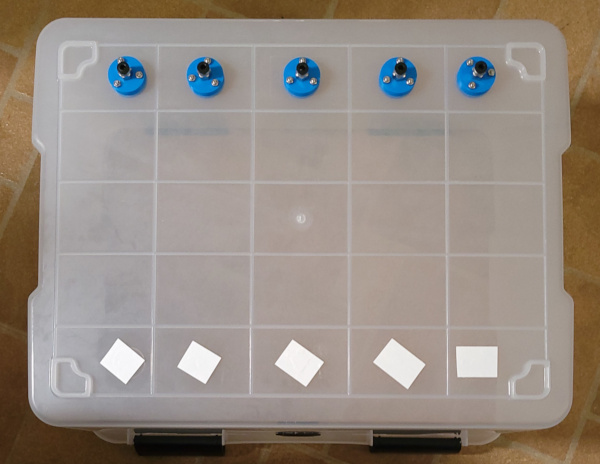
I previously prepared a french cleat to hold a sealed bin above the printer. Now that I have the MMU, I needed to change the filament exit position to the back of the bin so the filament can run down the wall into the buffer. Here's the bottom view of the repositioned PC4-M10 fittings:
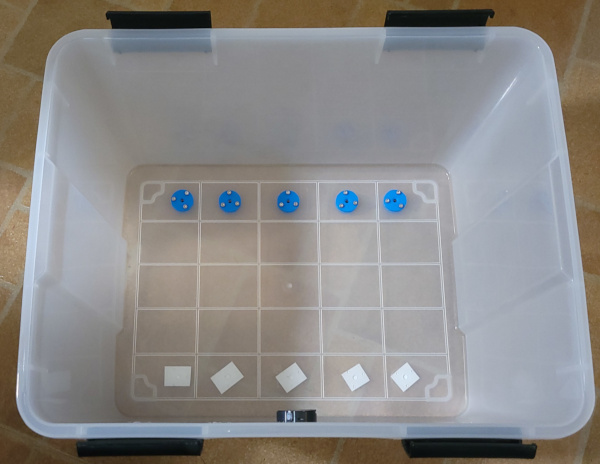
Here's the view inside the filament box:
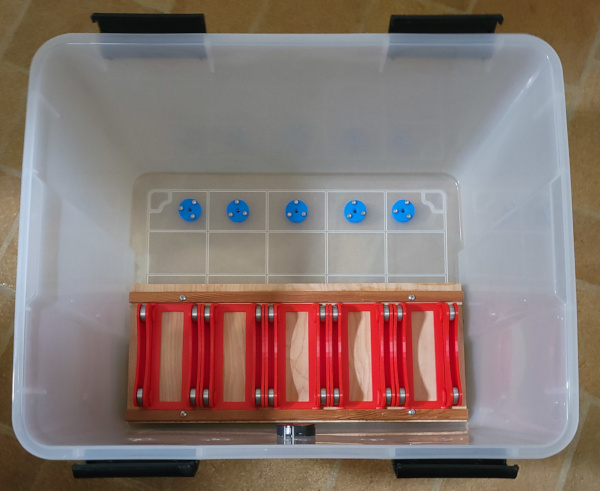
I have a small wooden table with rubber feet the rollers for the filament spools sit on. There are strips of wood and 3D printed spacers to keep the rollers from sliding around:
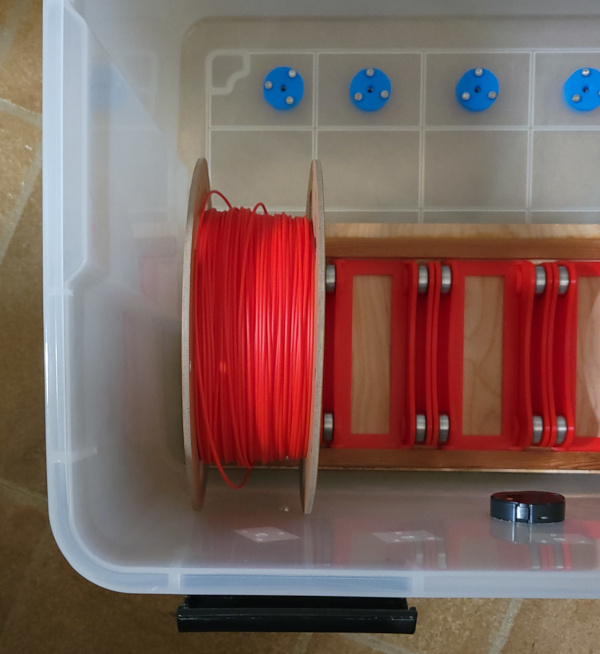
The filament spools go in like so and sit on the rollers:
Physical layout
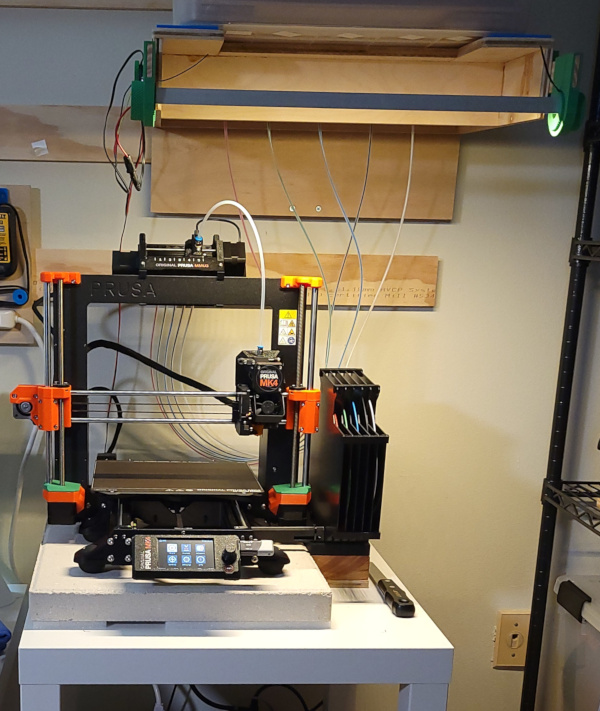
I rearranged things to move the printer (with the MMU3 now attached) left on the table and moved the bin right so when the buffer is eventually positioned to the right of the printer, the filament will drop down from the plastic bin right behind the buffer:
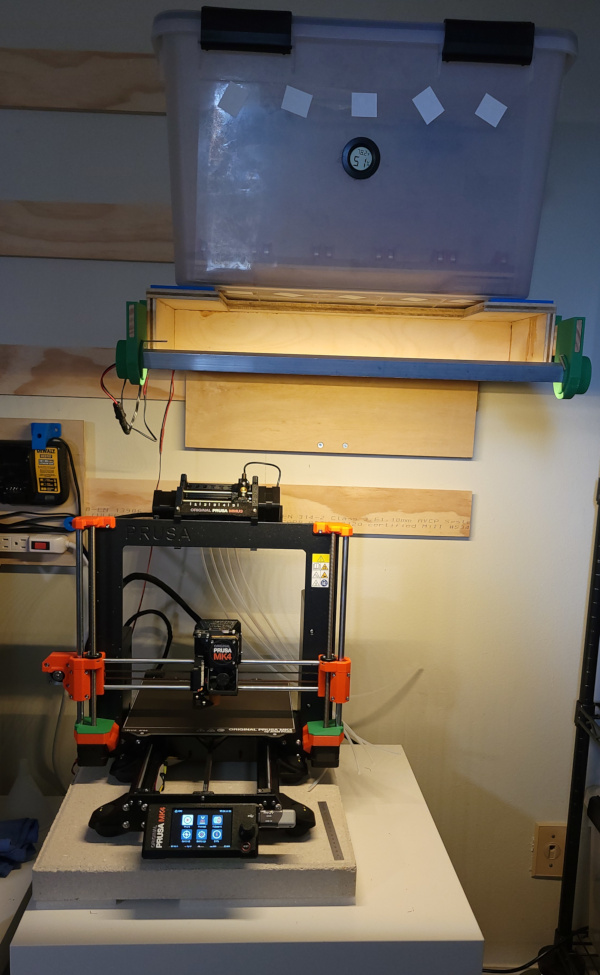
Since I have squash ball feet added to the MK4 and it is sitting up on a concrete paver, the buffer cannot go right next to the printer on a large flat surface as Prusa envisioned, kludgery is required :-). In this case various (temporary) random scraps of wood provide the required height for the buffer to be attached to the extrusion and sit next to the MK4:
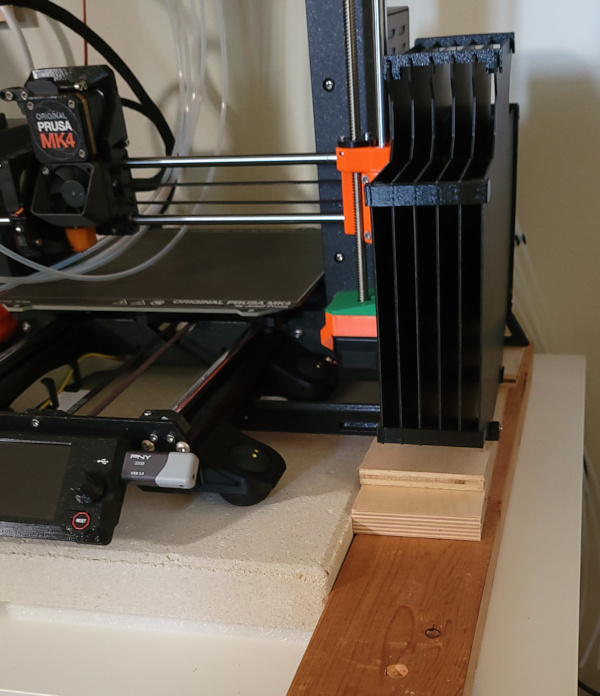
The Prusa provided PTFE tubes actually reach up to my plastic bin, though they are just slightly short, leaving the buffer foot dangling a centimeter or so above the wood scraps [insert ominous foreshadowing sound track here]:
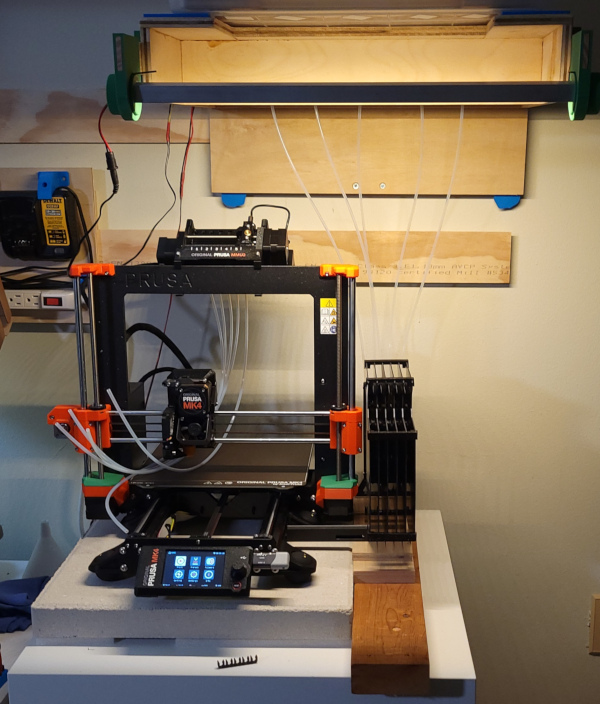
Now the MMU tubes are connected to the other half of the cartridges:
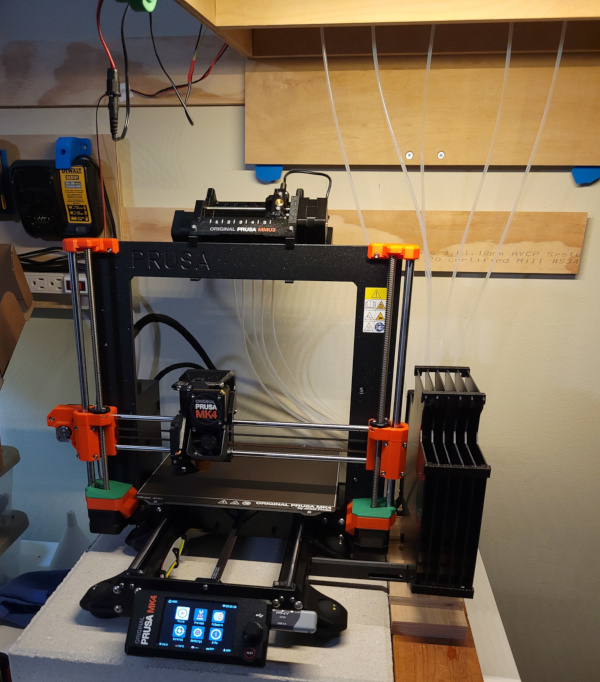
Painfully sharpened the points on the ends of the filaments for each spool and spent a while bending the curve out of the filament, then followed the instruction to load all the filaments, and it seemed to work:
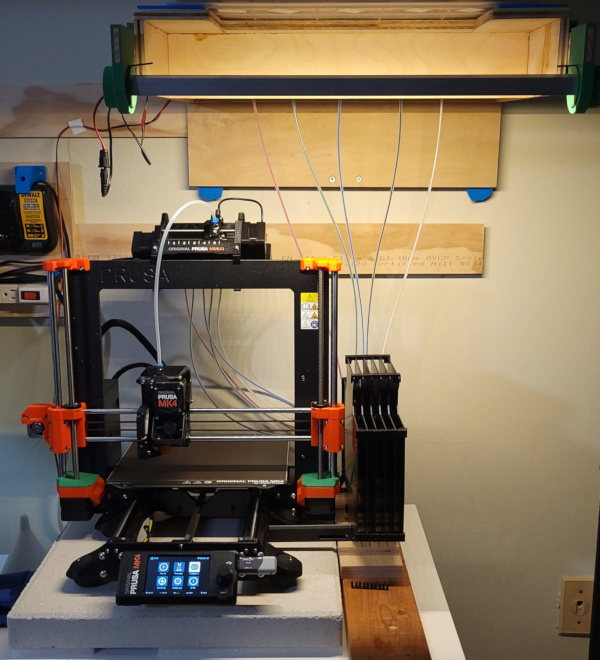
Here's the top view of my colorful assortment mounted in the bin:
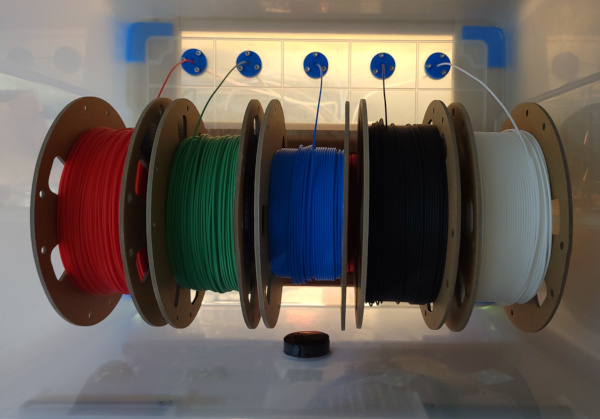
Added dessicant bags to the bin, sealed the top, and I'm ready to try printing:
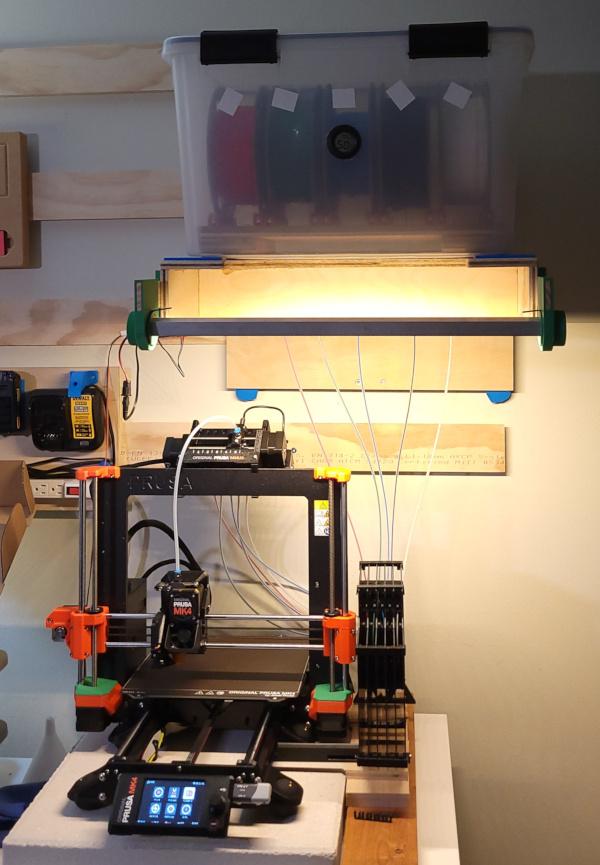
First Prints
Sheep in progress:
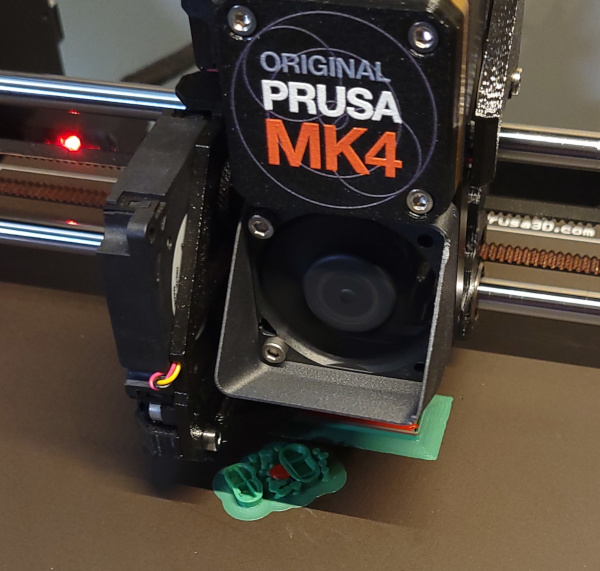
And here's the foreshadowed error:
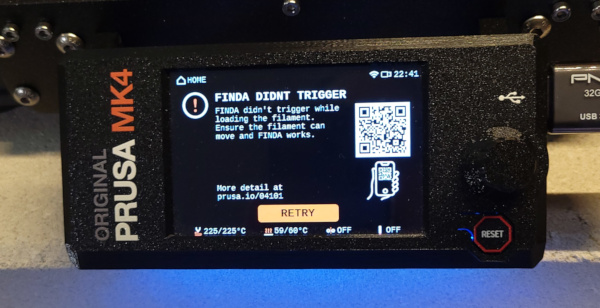
The error leaves my sheep decapatated! Apparently it unloaded red, tried to load green, and it couldn't load it. Nothing much holds the filament in place in the MMU if it isn't being used. It is just expected to sit quietly where it was left. My best guess (with help from the internet) is that the dangling buffer bounced around enough to yank the filament out far enough to prevent loading. I manually shoved the filament back into the MMU and told it to retry, and it picked up where it left off:
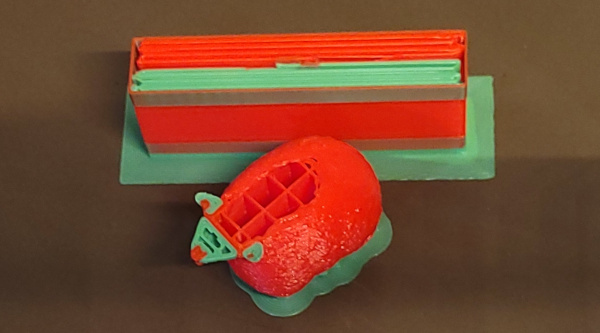
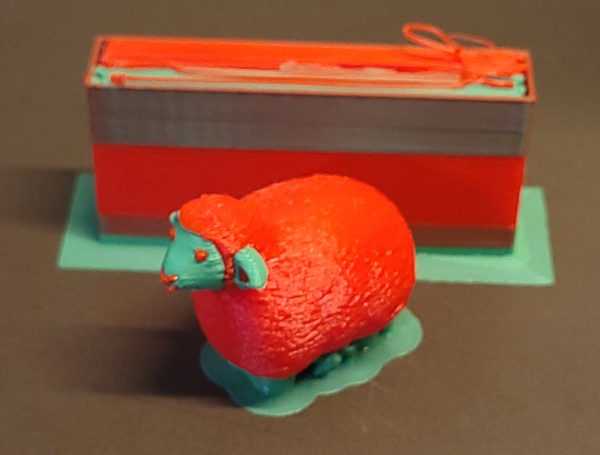
The error didn't happen again, and my sheep kept its head:
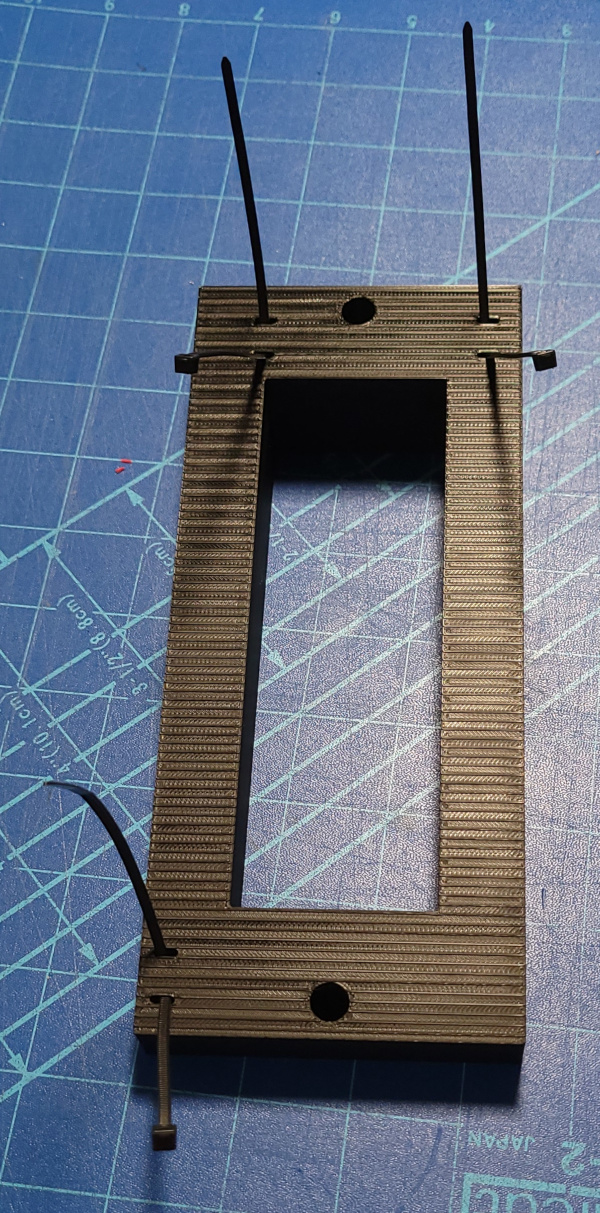
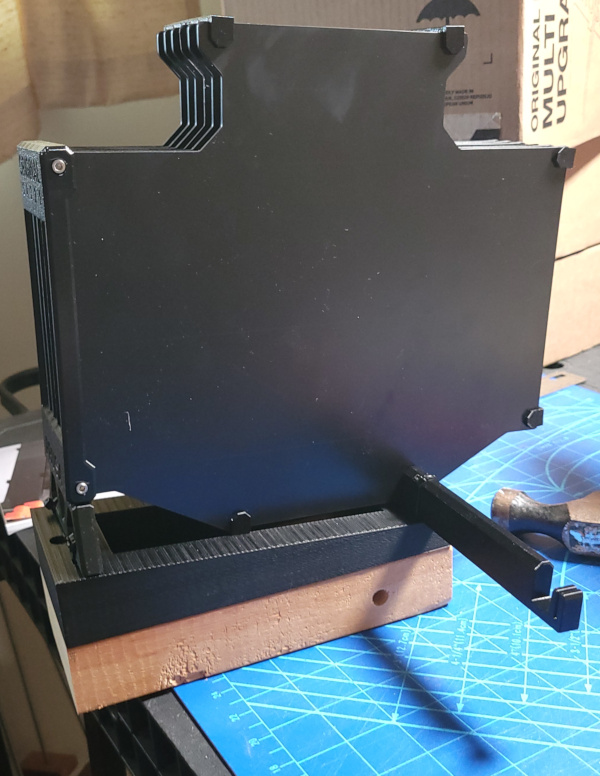
Clearly it was time to secure the buffer properly. I designed a wedge shaped object to lift the rear of the buffer a bit to provide some slack in the tubes, added slots where I could run cable ties to secure the buffer, and holes to screw down the whole thing to a chunk of 2x4 to provide some weight to prevent bouncing:
I took out all the filament cartridges and left them dangling so I could secure the buffer to the wedge and 2x4 assembly with cable ties:
Leaving all the cartridges dangling while I was working on that was an invitation to getting the filaments messed up somehow, and the blue filament was the lucky one. (It has less filament left on the spool than any of the others, so is more tightly curved, which may be why it gave the most trouble.) This was where I discovered that too many retries just fills up the gear with filament dust, but I eventually got it all fixed and all 5 filaments properly loaded again:
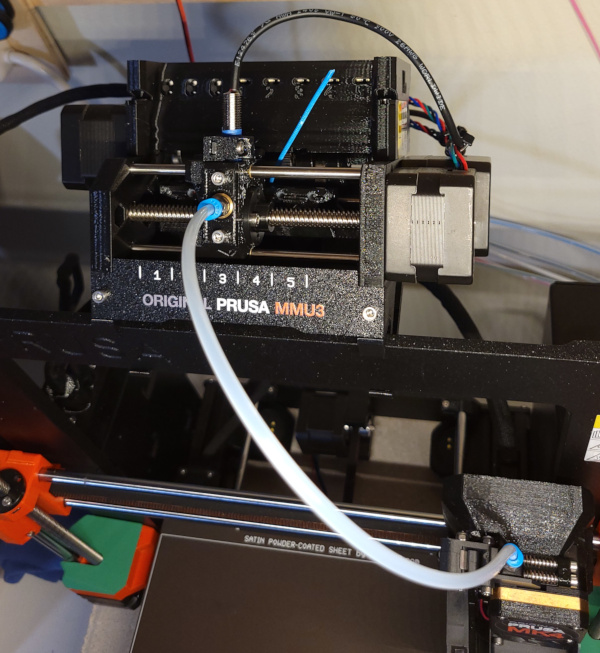
Now I have a properly supported buffer and am ready to try printing something else:
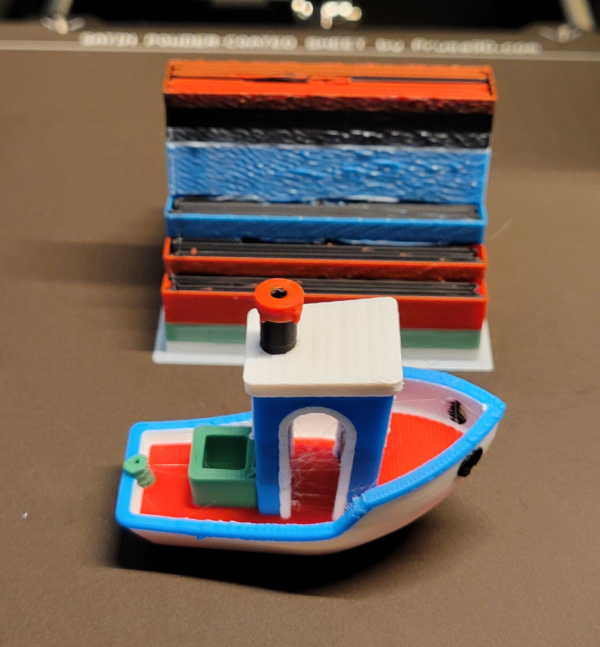
Something else is a five color Benchy. Took a while to beat the 3mf project file over the head to make it like my MK4, but eventually got it sliced and printing:
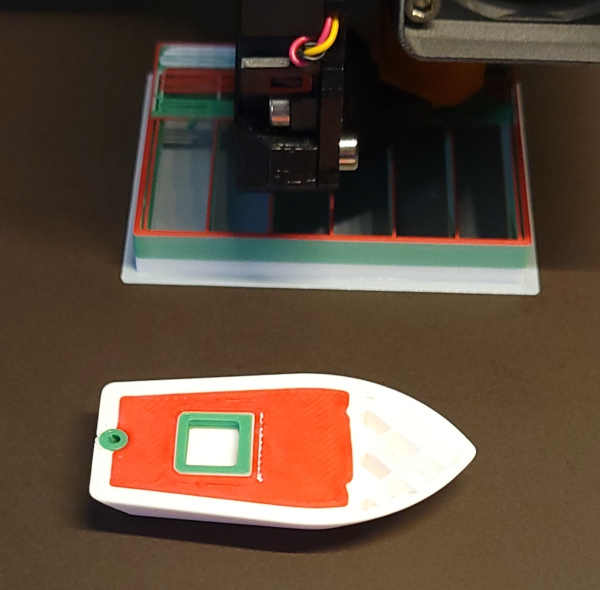
Only to get my second error. This time the FINDA didn't notice that the filament had been removed. Tightly curved Blue filament again, no idea if that contributed to the error. It certainly loaded and unloaded lots of filament (including lots of blue) many times with no problems until it decided not to work this time. Anyway, repositioned the sensor again, and it was able to start back up:
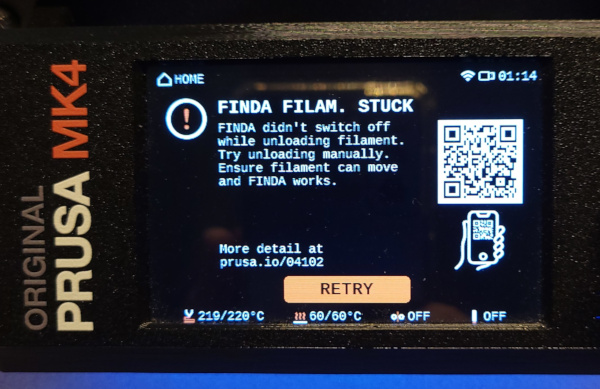
It finished printing without any additional errors. Took 6 hours and 16 minutes total compared to the estimate of five and a half hours because I didn't notice the error right away:
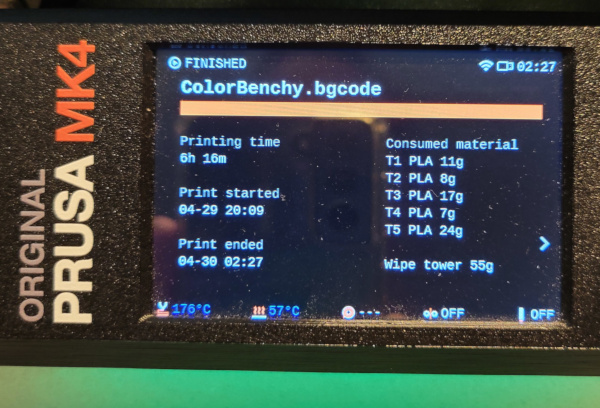
The final result is here. Not quite as smooth as a single color print. A little blobbing and stringing on tiny features like the white border around the doors, but pretty impressive:
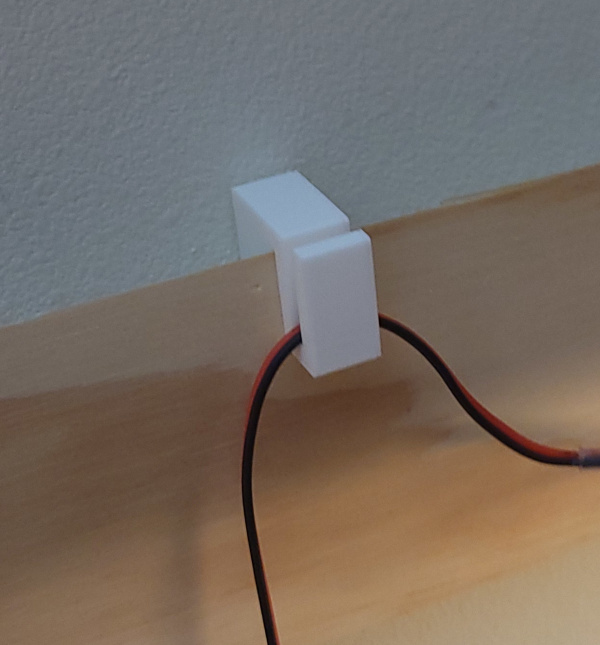
A brief aside: I don't have to cut french cleats out of plywood. I can also print them like this little utility piece to hang the power cable for the lights out of the way:
Enough printing tests from the internet, time to try a print I designed: Parts for my silly clock. I had many problems printing this, but none of them seemed to be MMU3 related, so perhaps 3rd time is the charm for avoiding MMU errors:
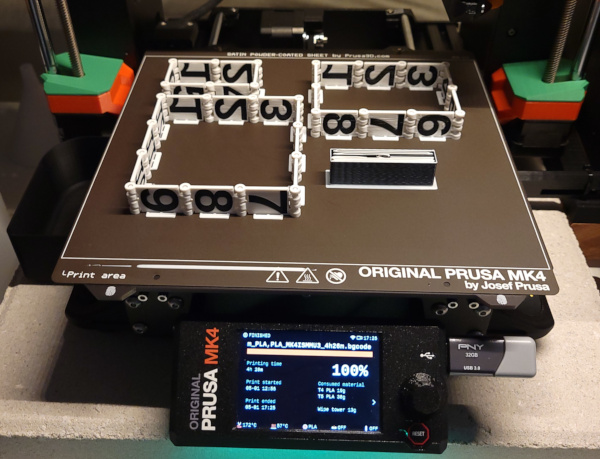
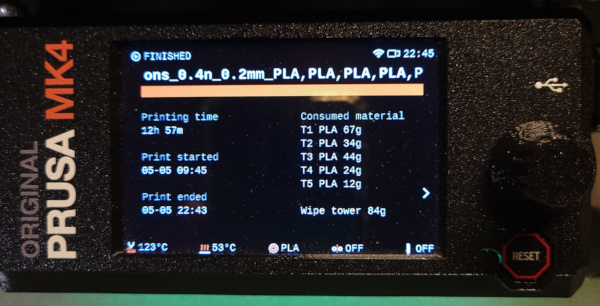
I've been continuing to print various things (like lots of these filament clips), and no new errors have cropped up. Must be time to try printing the 12 1/2 hour, 524 tool changes, 5 color Minion Dave.
Finished printing with absolutely no errors! Took about 20 minutes longer than the initial estimate:
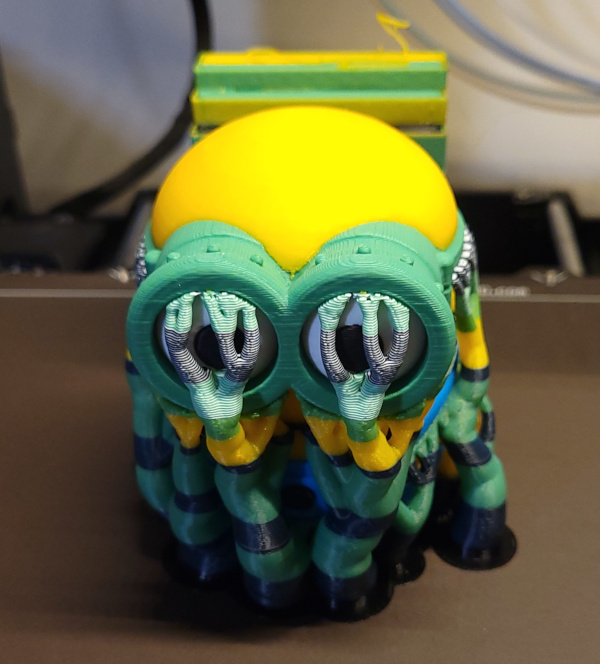
Here's Dave still enclosed in his organic support cocoon:
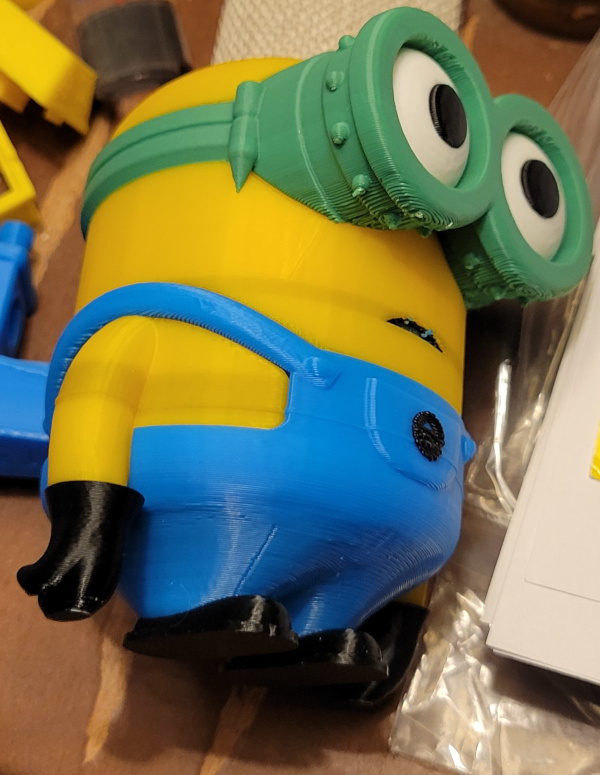
Dave after removing the supports. There are a couple of dark stripes showing through the outer yellow, a theory might be that I'm not purging enough of the dark filament before switching to the light filament, other than that, looks pretty amazing:
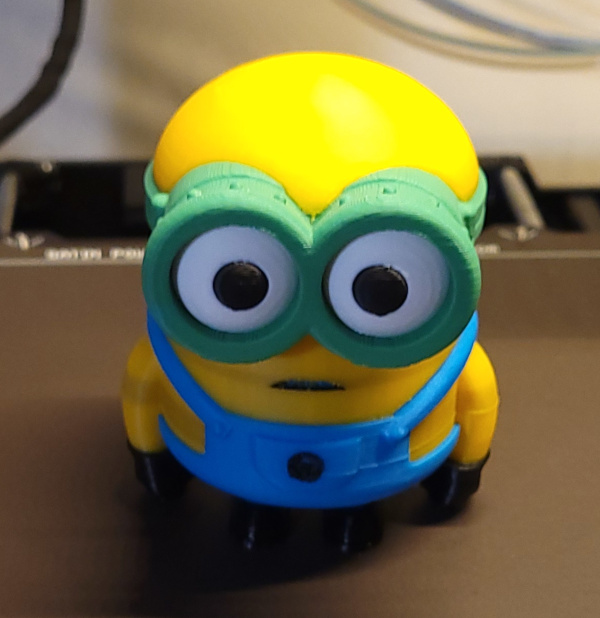
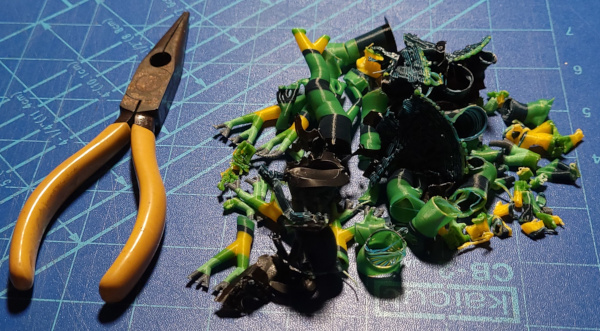
I continue to be amazed at how easy it is to grab organic supports and rip them off the print:
Purge Volumes
I wanted to test the filament purging so I made the MMU Bleed Test
Here's a better look at the banding on Dave:
And here are my test prints with lots of different purge volume settings:
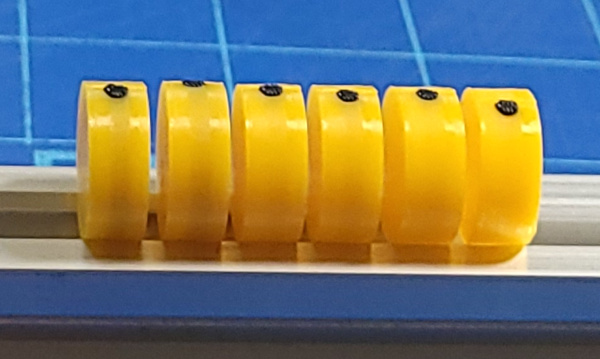
On the left is the default setting of 65, then it goes through 130,243,250,400, and finally 800. The weird 243 setting happened when I tried changing the default for all filaments, and that's the number that came up.
Apparently the black to yellow transition is tough to do with these filaments (Overture PLA+). The final setting of 800 may be free of black bleed, but I'm not even sure about it. All the previous tests show some amount of black in the yellow.
I have no plans to take another 13 hours and print Dave again, but if I ever have a project where bleed through matters, I have a test I can use to get the purge volume setting correct.
Bypass MMU3
Next project: Say I want to print something with PC-CF or some other odd filament. I don't want to go taking the PLA out of the drybox and trying to run the odd filament through the MMU. What I need is a way to hang a separate spool of filament under the drybox and above the MK4. Then I can turn off the MMU, remove the PTFE tube from the MMU to the extruder, and feed the odd filament directly into the MK4 extruder just like I did before I installed the MMU.
Copying the filament spool holder I built for the old Solidoodle seems like it would work well for this.
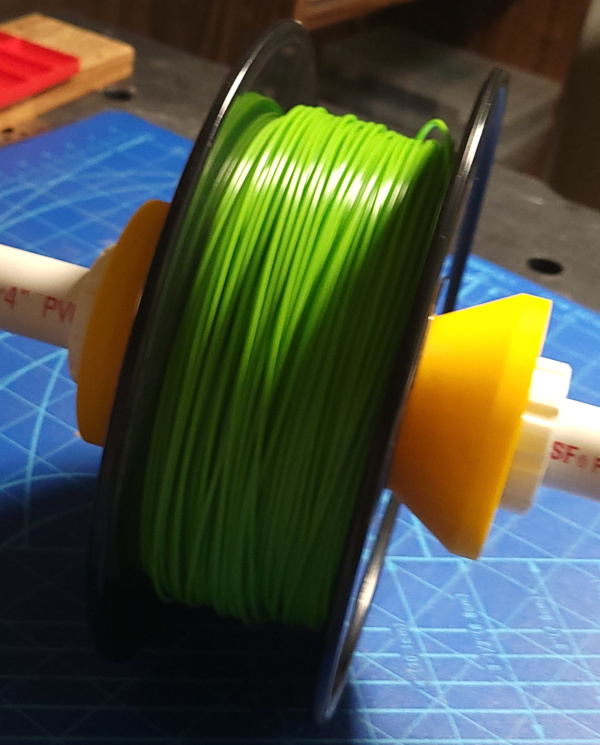
I got some 3/4" PVC pipe, printed a couple of the same tension nuts I used on the solidoodle, and designed and printed some cones inspired by live centers on a lathe tailstock:
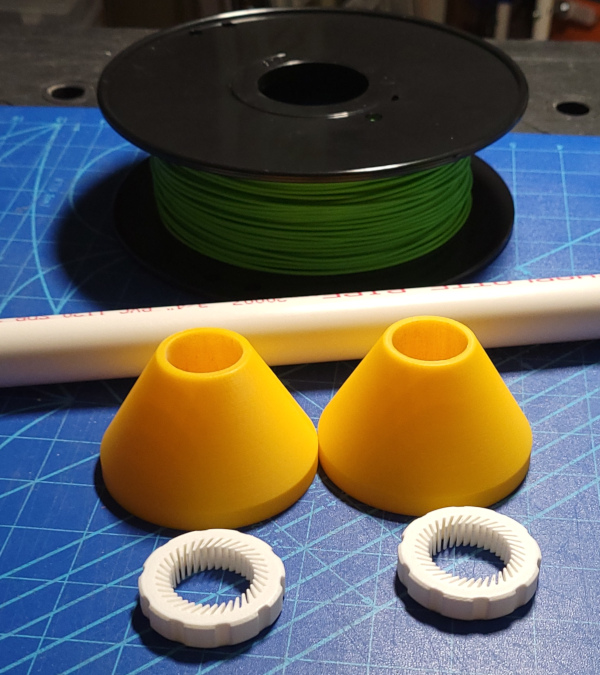
I can position a spool (with pretty much any size center hole, even the weird spools I've seen with different size holes on either side) on the PVC pipe, centering the spool on the cones and holding the cones in place with the tension nuts so everything stays centered and rotates nicely:
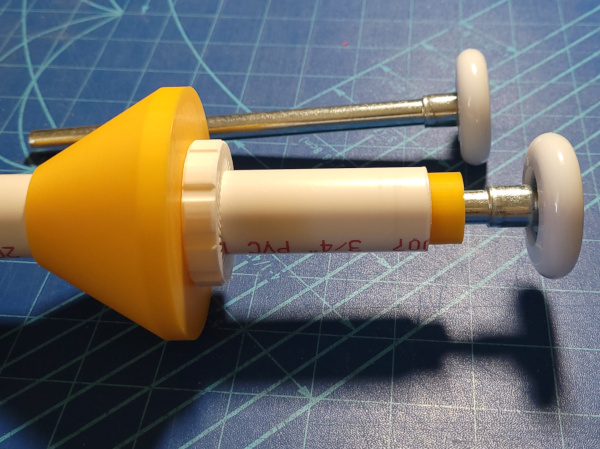
The garage door rollers arrived and I was able to take measurements. The simplest new part is the cylindrical insert that goes over the roller shaft and holds the roller centered in the PVC pipe as you can see:
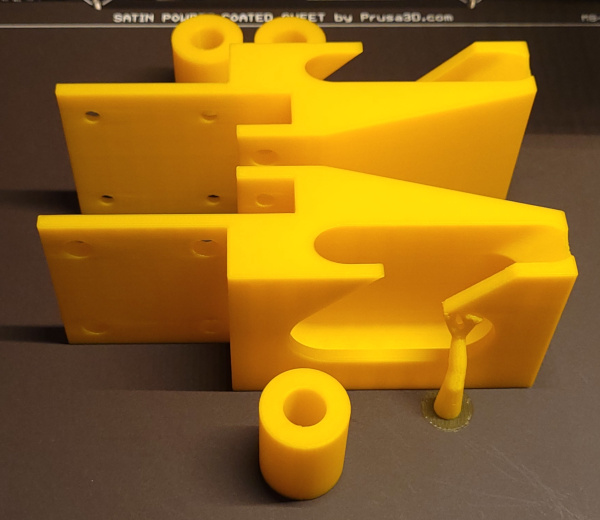
I'm currently printing more of the inserts as well as the fancy brackets I designed to attach to the filament box support over the printer.
Speaking of fancy brackets, they finished printing:
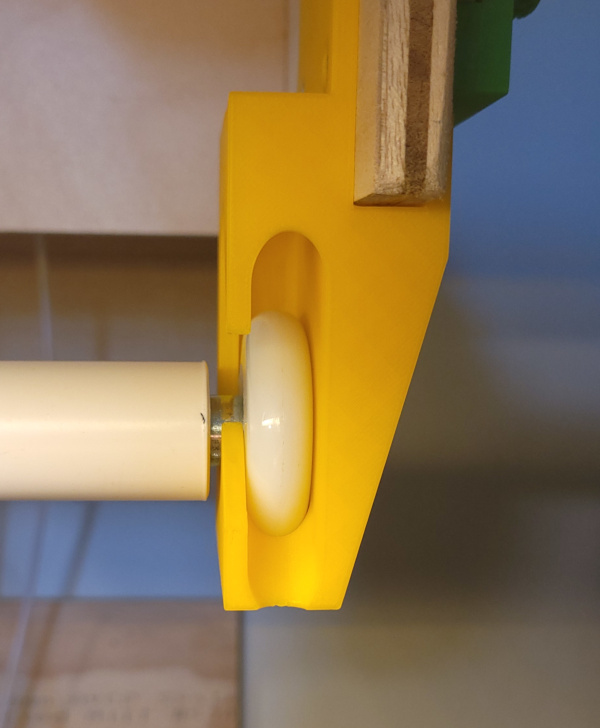
After screwing the brackets to the filament box support, the filament spool support will drop into the brackets like this:
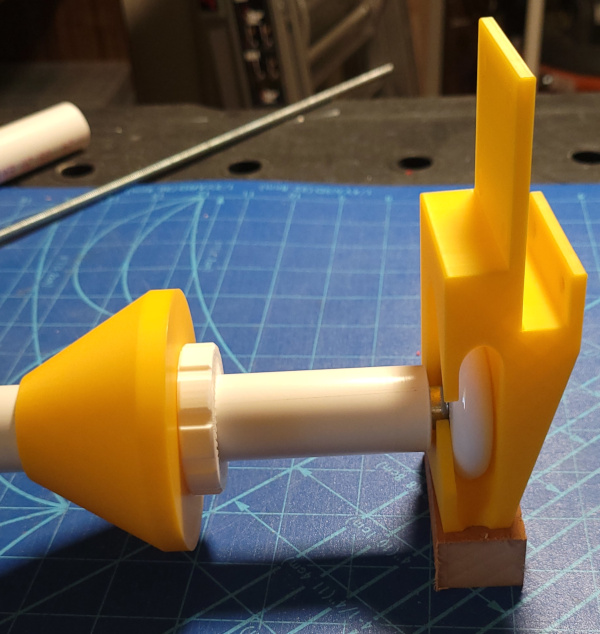
There is a roller shaped channel with a hump to go over so the roller will sit down in a depression in the bracket and gravity will hold things in place.
Here's what it looks like with an extra spool hanging on the brackets:
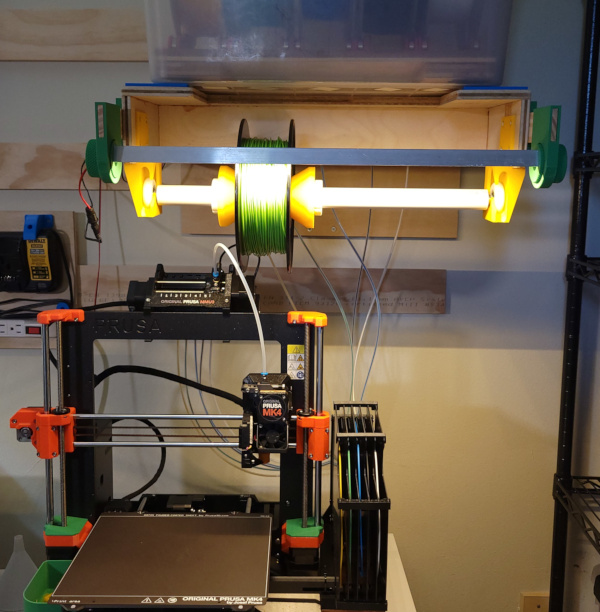
It spins with very little friction. When I'm just using the PLA and the MMU3 I can remove the extra spool holder (though I'll probably leave it in the brackets without a spool on it as a good place to stash it when not in use):
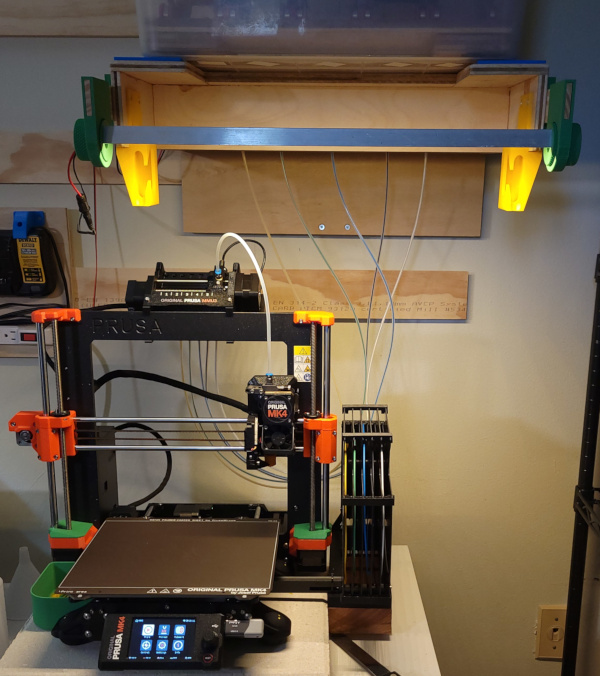
I do have to pull the aluminum angle with the lights out a bit to clear the path for the spool to fit into the brackets when I'm installing it, but once in place the lights can go back to their normal position (good thing I made the light position adjustable when I added them).
Getting ready to print with PC-CF. I removed the PTFE tube from the extruder, turned off the MMU in the settings, mounted the PC-CF spool with the filament unrolling from the back of the reel (which looked like a straighter path to the extruder):
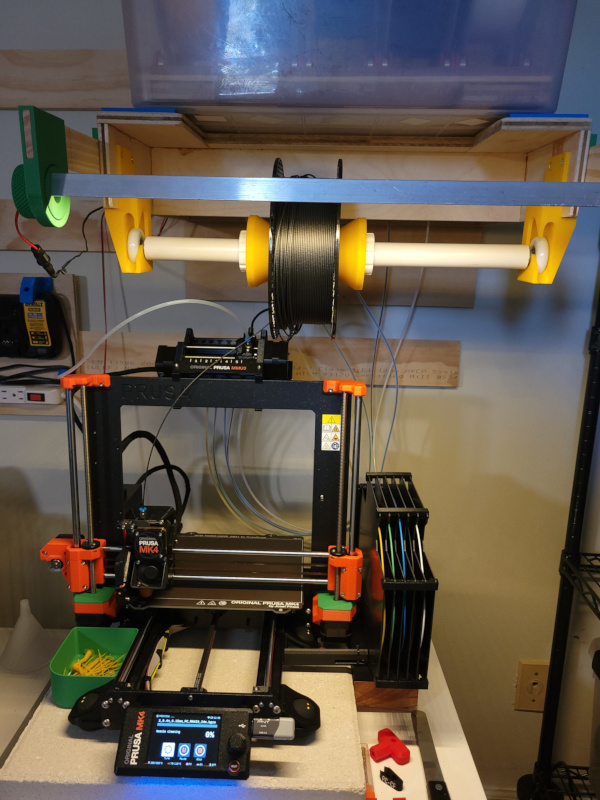
I also needed to remove the PTFE tube from the MMU because it gets in the way. The filament coming off the PC-CF spool also has the potential for hanging up on the MMU, so I'll definitely need to add a filament guide.
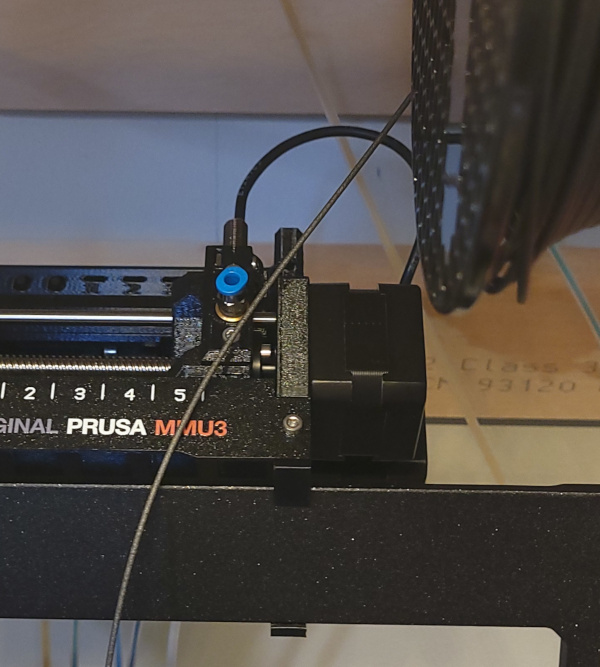
Doesn't seem to be any need to unscrew the PTFE socket on the extruder, the filament seems to work fine being fed through it.
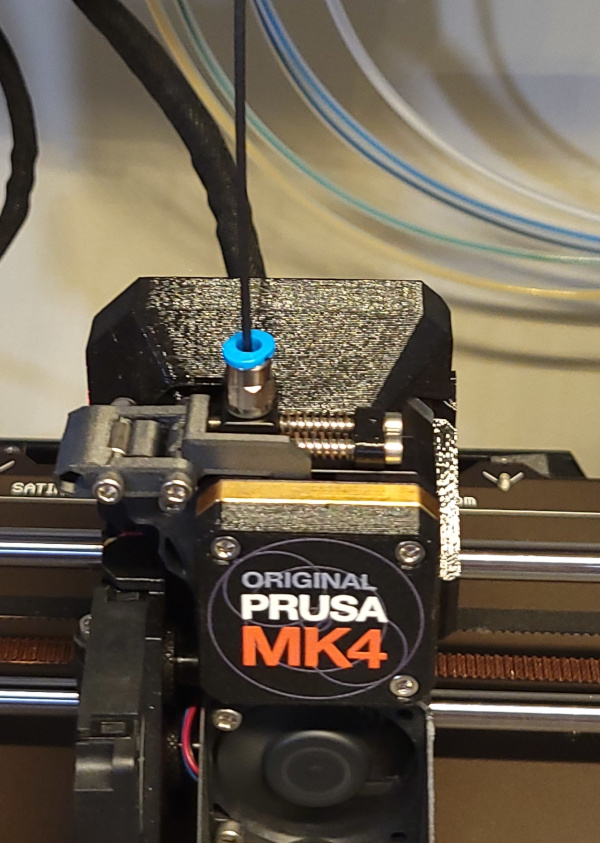
Close up of how the cones and tension nuts keep the spool in place on the PVC pipe.
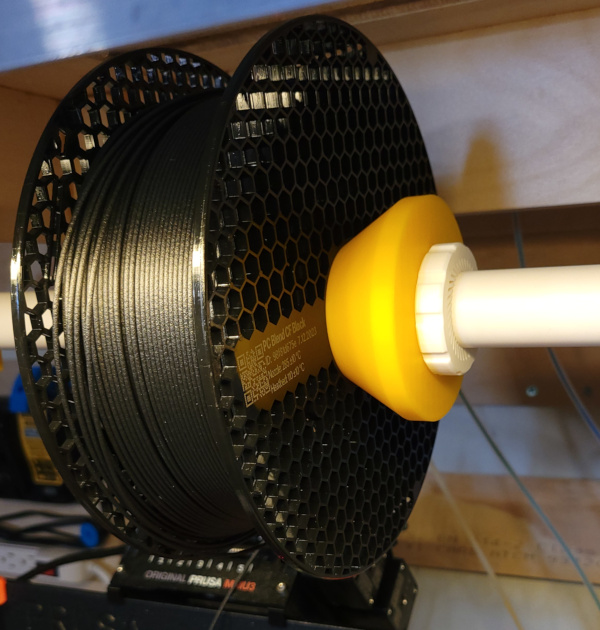
Close up of the roller sitting in the bracket.
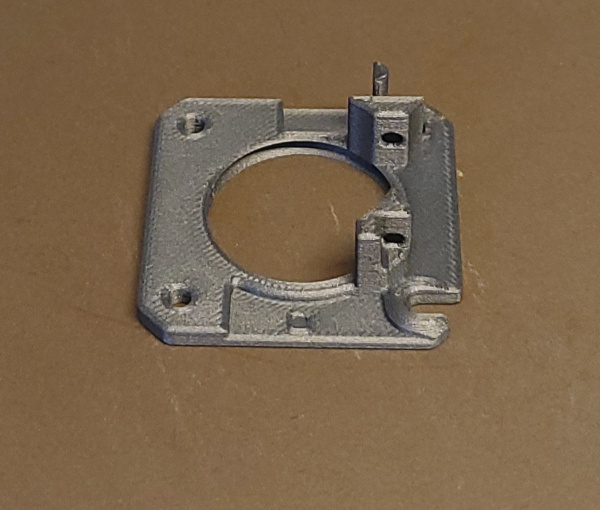
Successfully printed an emergency backup main plate from PC-CF.
After putting back the PTFE between the MMU and extruder and turning back on the MMU in the settings, everything seems to be ready to print with MMU again, and I didn't have to disturb any of my filament in the MMU.
Now that it has worked for one test print, time to spiff things up a bit. I put hot glue on the roller inserts so they won't move around:
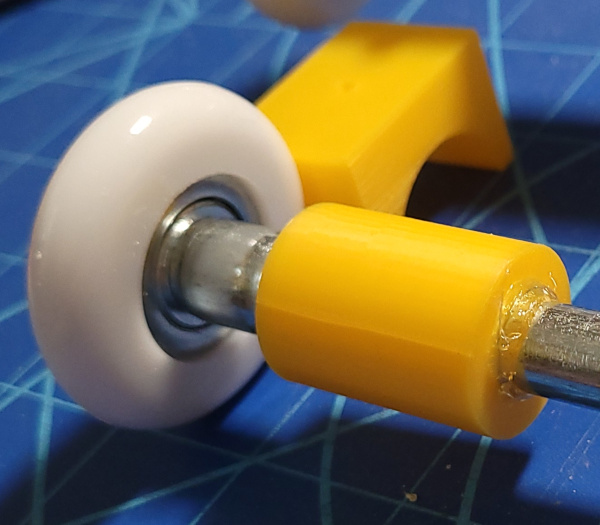
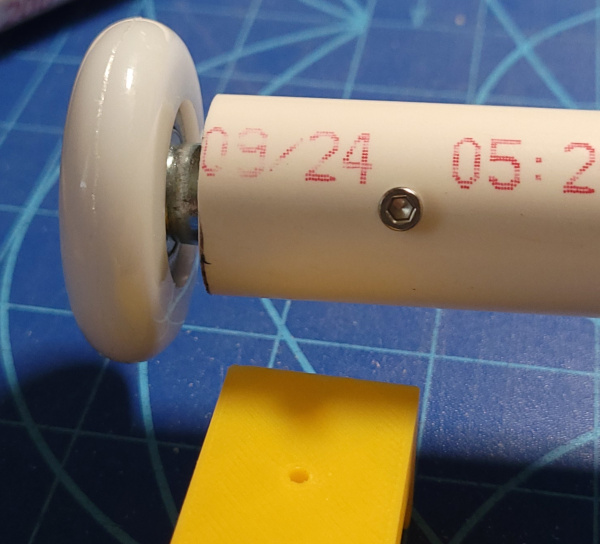
I need the roller to slide out of the pipe in order to change the spool, but I only need one end to slide out. It is irritating to have both ends able to slide because you have to avoid tipping it in the wrong direction. I've now secured one roller in the tube with the aid of a 3D printed drilling guide, an M3 tap, and one of the spare M3x6 screws from the MMU3 kit..
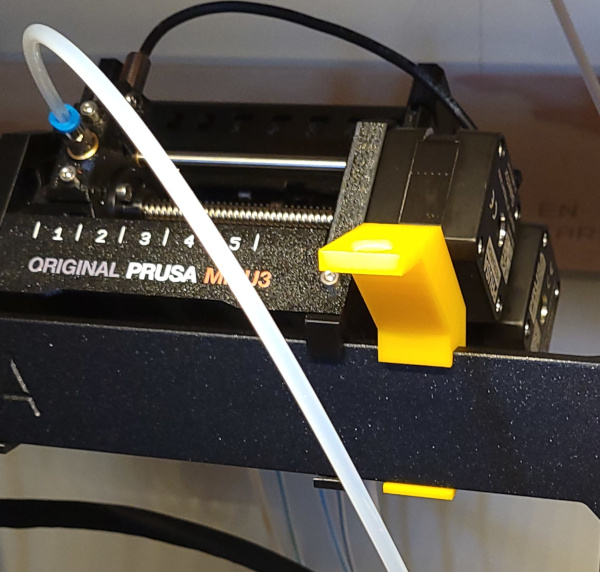
Next I need to design and print a filament clip to keep the filament out of the way of the MMU and make it less likely for a loose loop of filament to jump off the spool.
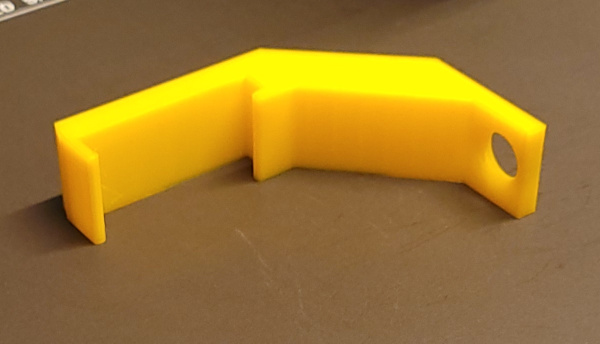
It clips in very solidly. I'll try it out the next time I'm using an odd filament. May not be obvious from the photos, but the filament hole has nice rounded edges.
That's it for now until I think up some new project.