Titan Aero Cooler
The Titan Aero conversion is working, but I still haven't added PWM controlled a part cooler fan, so that's the next modification.
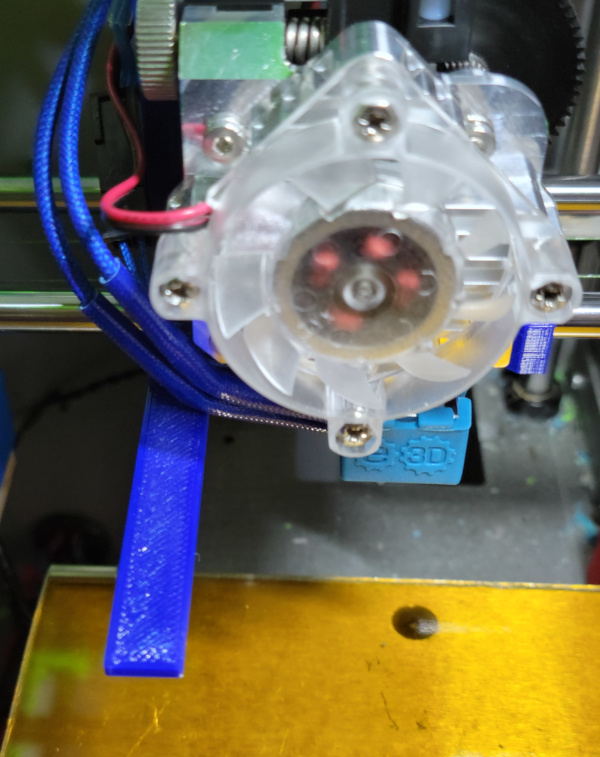
I printed a part that can be attached to the mounting slots I added to the front of the carriage with a piece cantilevered out from the mounting so I could try and test different fans to see how they would fit:
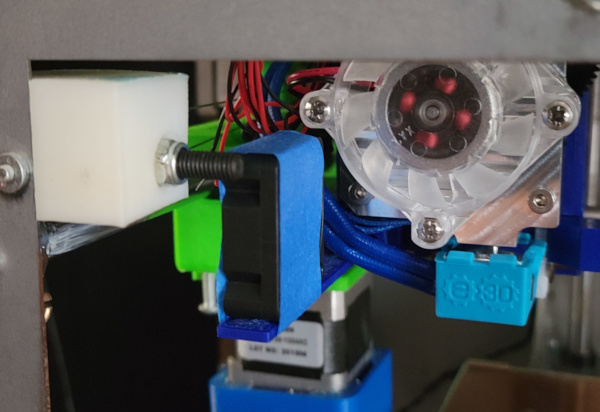
I imagined a small 30mm fan might fit best, but it is too high and runs into the Y brackets even earlier than the rest of the extruder:
I can lay the larger radial fan flat:
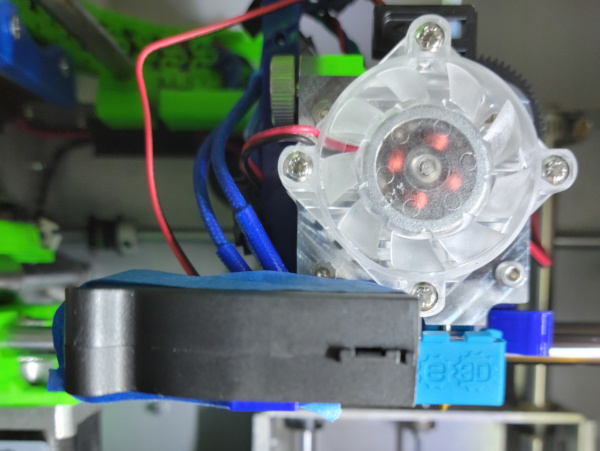
It seems to fit much better.
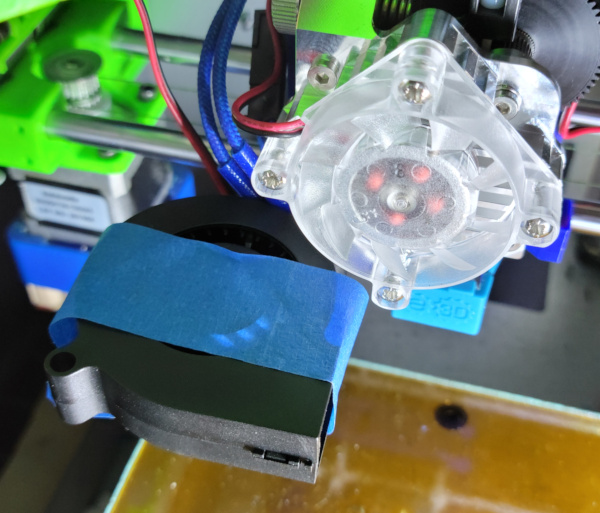
It is well in front of the Y carriage, so it doesn't run into it, but is is low enough to fit under the Y fishing lines and it pokes out the front, but no more than the old solidoodle cooler did, and I already modified the front of the enclosure to accomadate the cooler poking out.
So I think I'm going to want to build a mount for the radial fan. Getting a nozzle to curve around and blow on the just printed plastic will be the second part of this project once I get the fan secured.
Here's my first test fit of a mount for the fan. I tilted it a bit to get closer to the nozzle (but not so much it hits the print bed). This version needs work since it puts the fan too close to the heater wires and the fan won't fit. Need to move it out some and try again.
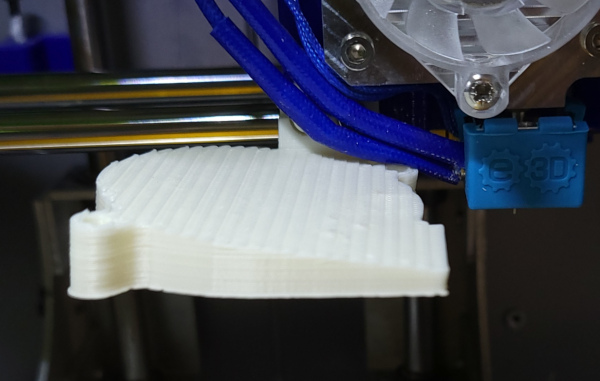
I printed this on the solidoodle since it is mostly working now, and it mounted on the carriage just fine, so the geometry doesn't seem to be off between the two printers.
I used only 10% infill and zero bottom layers so it doesn't weigh much and prints fairly fast. Simple to try again. (Though I may need to pour some epoxy in the part that mates with the carriage - I discovered it is pretty easy to snap off with 10% infill, or maybe get cura working so I can do different infill for that part).
The second try is better. The fan fits and as far left as the carriage will move, it still avoids hitting the frame when the carriage moves all the way forward:
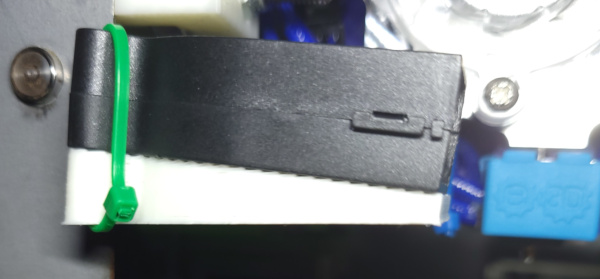
Now need to think about how to secure the nozzle to the fan opening and secure the fan to the platform more positively than the wire ties I used for this test.
After a diversion to get cura working well, I can get back to cooling fan design, and now I can use the merge model feature to slice the part of the fan platform that attaches to the carriage with much higher infill percentage than the rest which needs to be light, not strong.
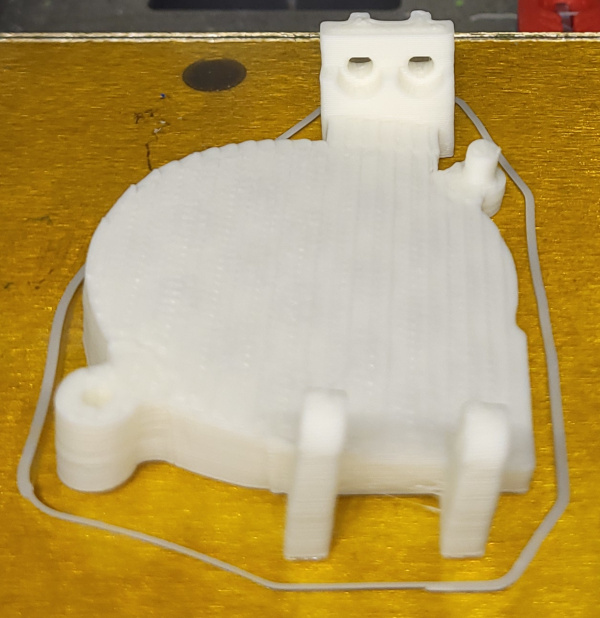
Here's the (hopefully) final fan platform just printed with cura:
And here's the bottom where you can see I was able to get cura to use bottom layers and stronger infill for the parts that need to be strong and no bottom and just 10% infill for the rest of the platform to keep it light:
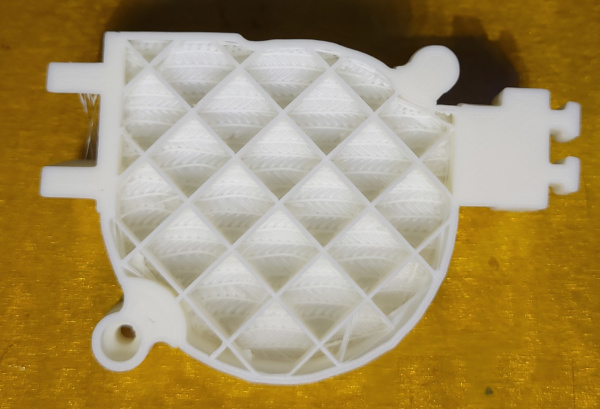
Here's a test fit of the fan with the post in one hole and an M3 bolt in the other hole. Seems pretty secure:
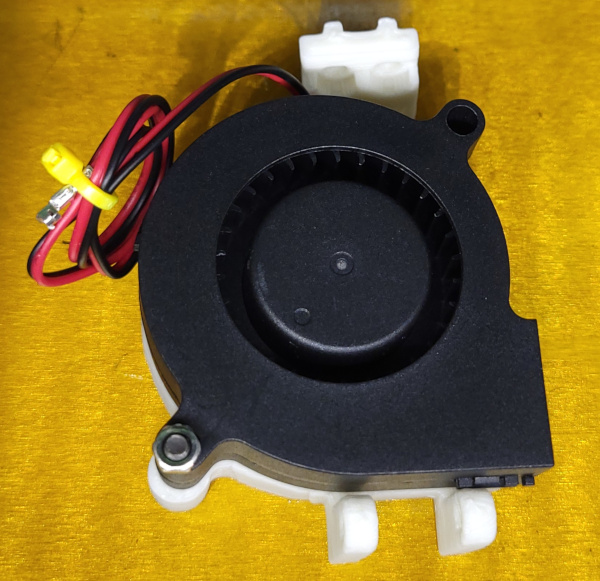
Now I've mounted the platform (can't leave the fan on since it blocks the mounting bolts). The mounting process is a little tricky. I insert one nut in the inner slot from below (can't reach the top), then push on the platform which holds the nut in the slot. I can then drop the other nut into the outer slot from the top and get the bolt in that nut to hold the platform and allow me to manipulate the second bolt into the harder to reach inner slot:
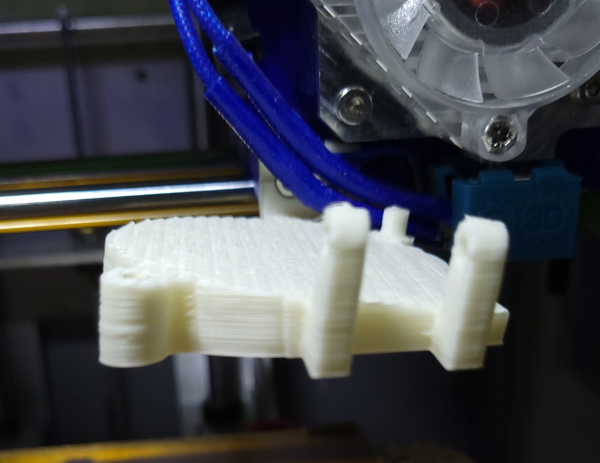
Finally I can put the fan on for real. There is just enough room to manipulate the bolt hole over the post that sticks up in the back, then it is simple to insert the bolt in the other hole and screw the nut on:
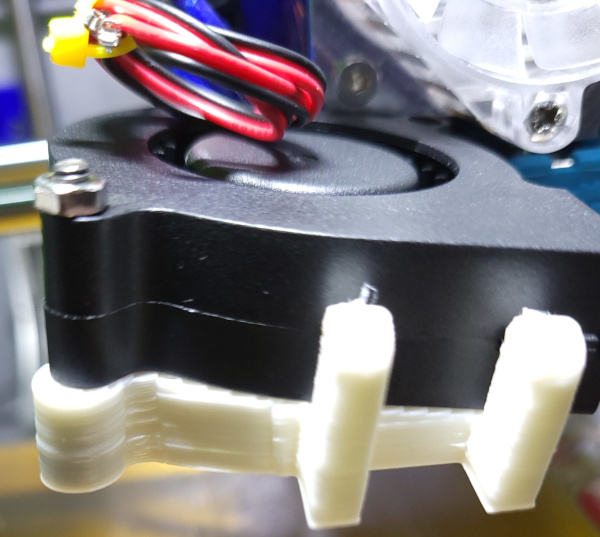
The two tabs in the front have bolt holes so I can secure a (yet to be designed) clamp over the fan opening to clamp down the (yet to be designed) nozzle. I'll leave it in place to make sure it doesn't cause any printing problems while I work on the extra parts I need.
With this fan hanging off the front, I figured I should print something complicated to make sure it doesn't cause any problems, so I was unable to resist printing a 3DBenchy:
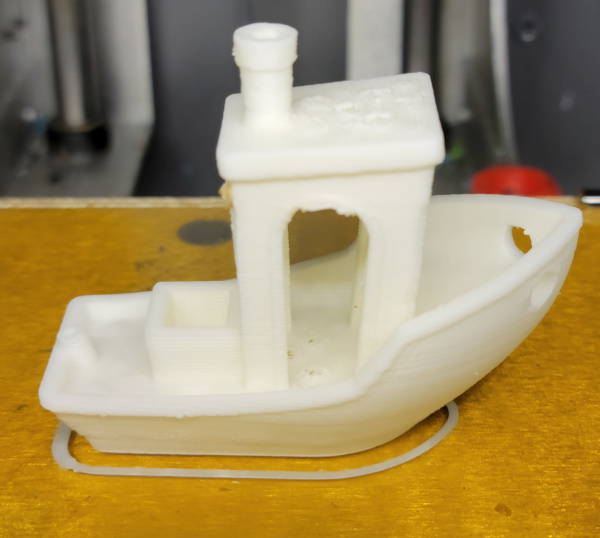
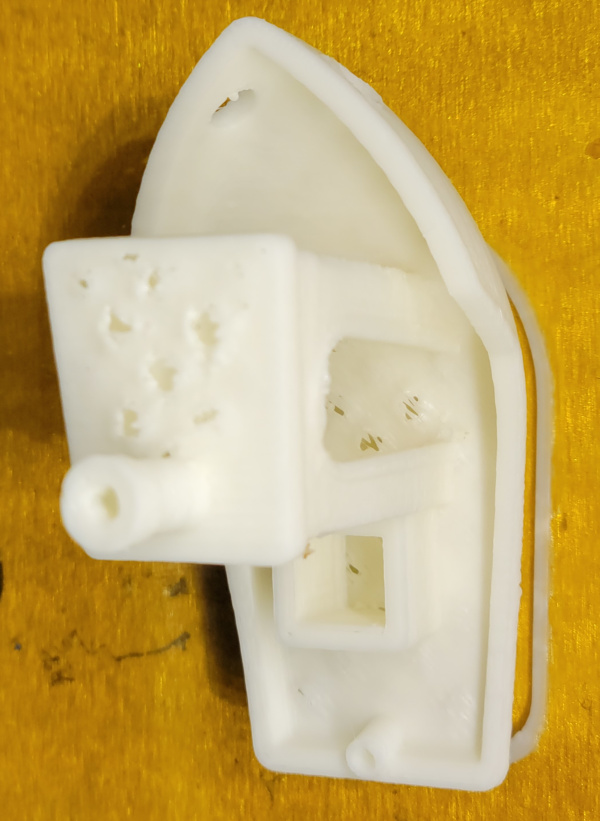
At first glance, looks OK, but then you can see where the 0.1mm layers were unable to cover the infill:
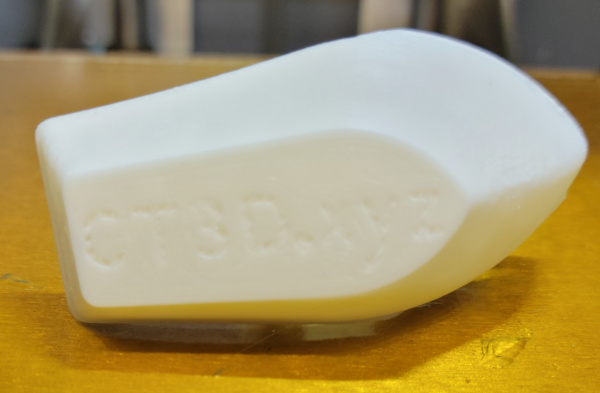
At least the printing on the bottom is (almost) legible:
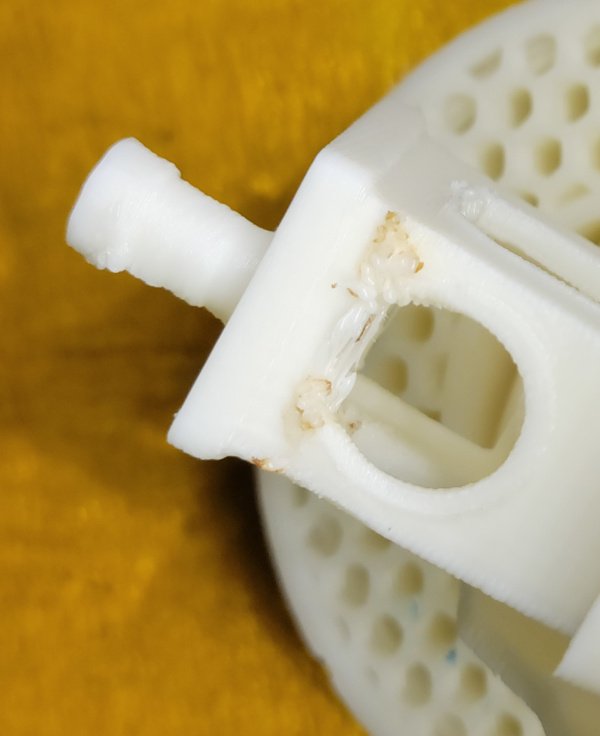
Overhangs with 0.1mm layers also had problems:
I have the feeling all these problems may well be improved (if not eliminated) with proper part cooling, so I guess I'll try this again when I get the cooling fan operational.
At least the fan hanging off the carriage did not seem to cause any problems, so that much is a success.
I've been working on additional pieces to attach a nozzle to the fan. The current "nozzle" is just a short test piece to work out the way the end mounts to the fan.
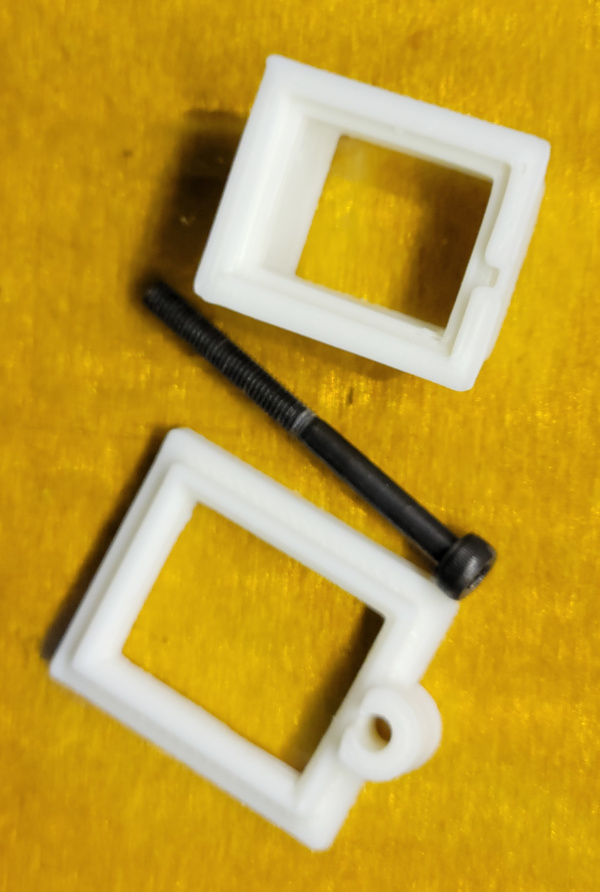
The pieces fit together like so:
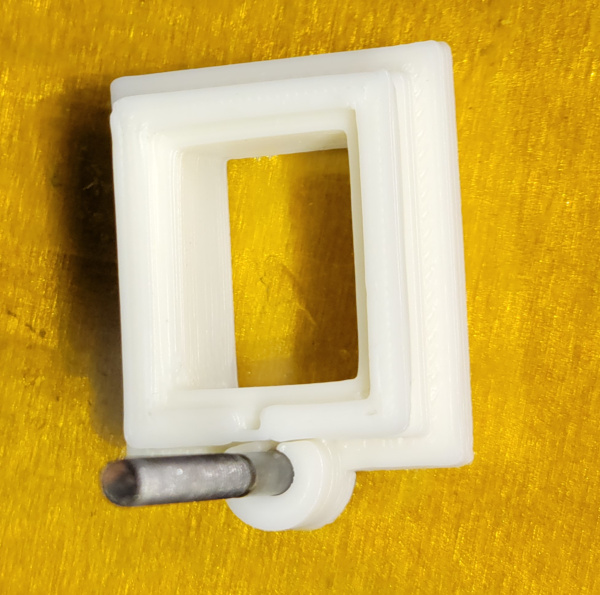
And the screw bolts to the fan platform and locks the nozzle over the fan blower opening:
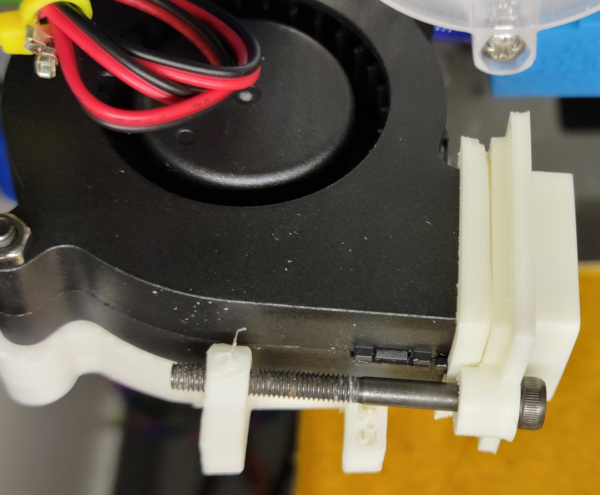
Turns out the little tabs I expected to hold the bolt snapped off really easy, so I'll be printing a new fan platform with a long bolt hole rather than two little tabs.
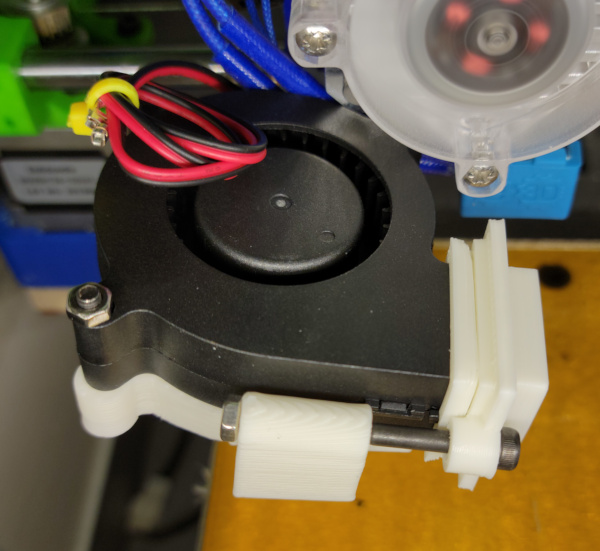
New platform in place and seems to work fine. Nothing snapped off this time.
After working on other stuff for a while, I came back to this. I've printed all the pieces I designed. I can reach only two sides of the hot end, so I have a pieces with a couple of pipes and slots where the air blows out, hopefully just under the nozzle position. Also have the duct which joins the air jets to the fan mount, which I had to print with supports:
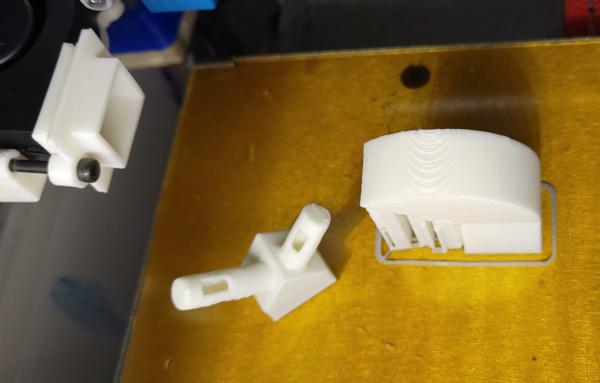
Eventually got the support material out of the duct, then taped the parts together to hold them in place while I super glued one joint, removed the tape and glued the other joints, then mounted it on the fan:
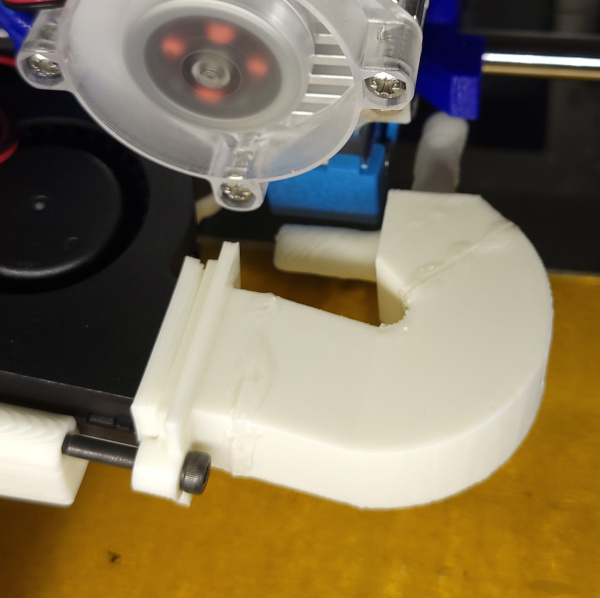
Just need to get the fan cable connector cripmed on and plugged in and I can give it a whirl to see if things print better with part cooling.
Got fan connected and tested, so I printed the quick little string test again, and it looks much better now:
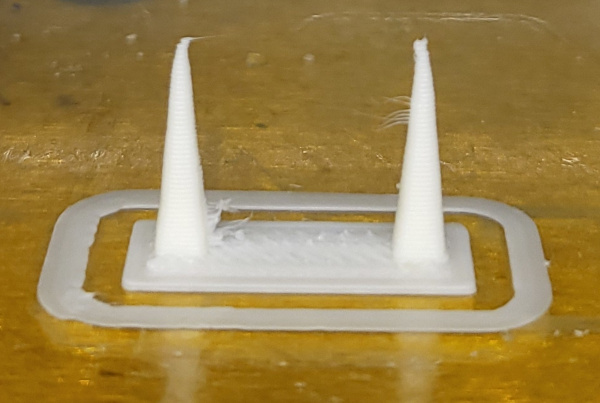
Compare that to the twisty tops of the one I printed before adding the cooling fan:

With success on an incredibly simple print, let's try another benchy now:
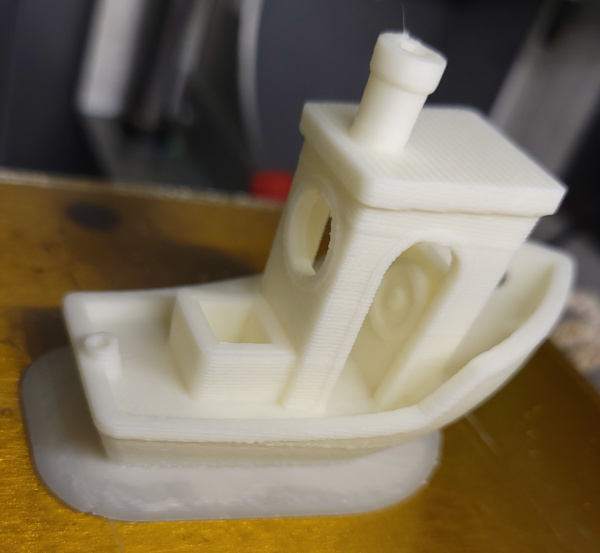
Certainly looks btter than the previous one I printed. It had a little problem with bridging in the front window:
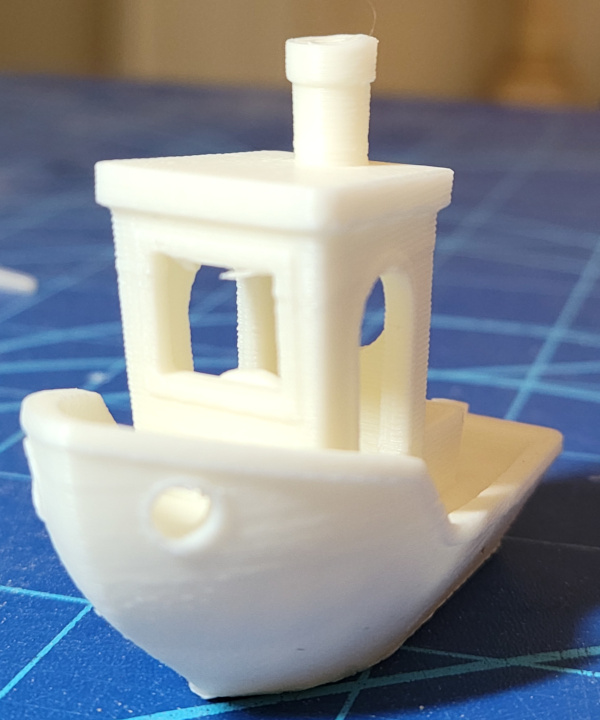
But all the issues with failing to cover the infill properly certainly seem to be gone now with the addition of the cooling fan:
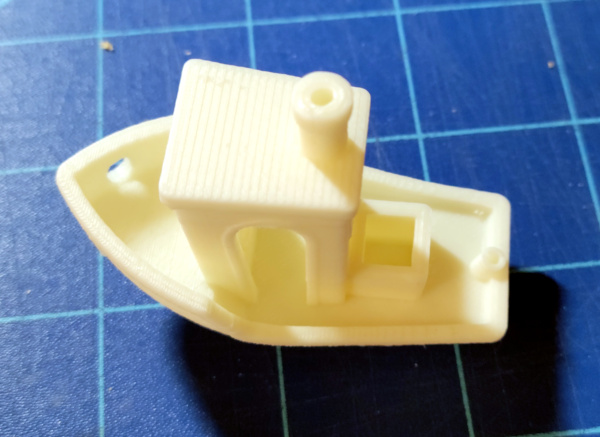
Definitely much better than the first attempt up above. I think I can call the part cooler done now.
Go back to my main Solidoodle page.