Power Switch
I've ordered this switch, and I figure I'll mount it on a piece of plywood reinforced with another piece that extends back under the table top which sits against the top to prevent any flexing. I'll see how it goes once it gets here. The existing switch just has the motor plugged into the switch, so this new switch can be hooked up the same way, no wiring work required.
Should be handy to push with my hip when my hands are trying to hold stuff I just cut.
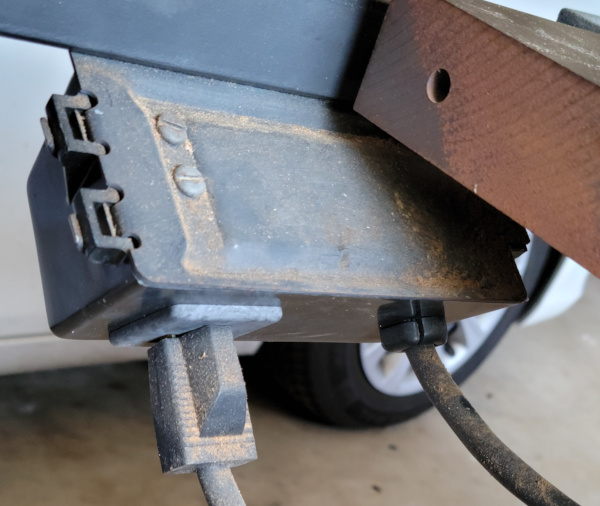
Here's the back of the old switch where the motor plugs in:
And here's the front:
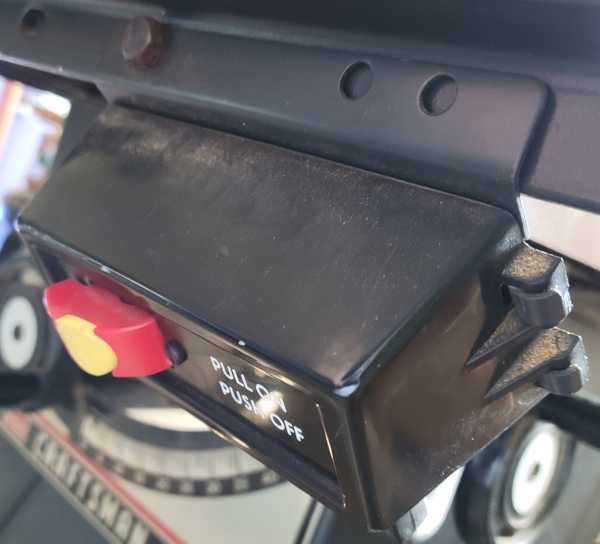
The one bolt it is secured with also goes through the spacer holding the angle the fence slides on in place. May want to figure out how to stabilize the angle before removing the bolt. Or maybe I could just take the switch off the bracket and cut an angled piece of wood to hold the new switch on the old bracket. Or even just leave the old bracket in place since it probably won't hurt anything.
I installed the switch on a scrap of plywood screwed to the angle the fence slides on. I put it out beyond the existing switch temporarily while getting the connections swapped:
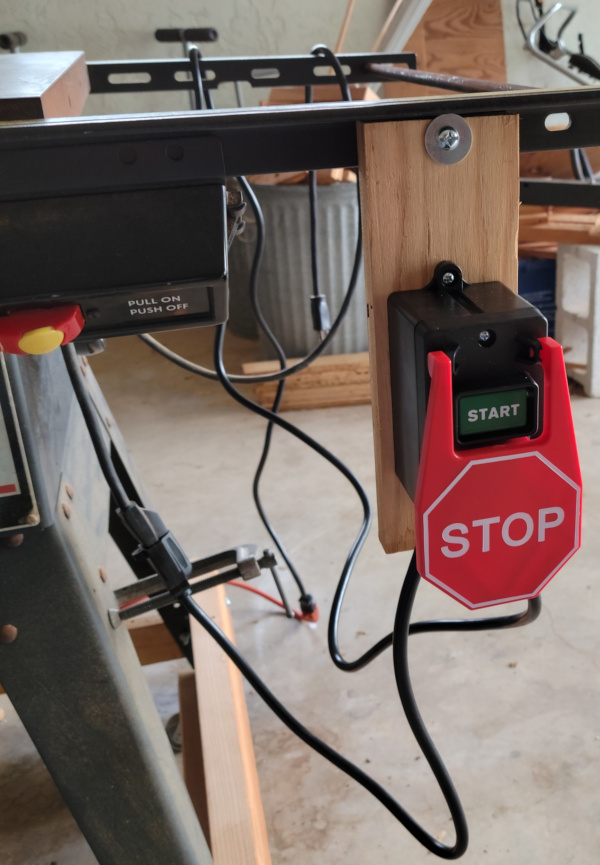
It seems plenty stiff enough with just the bolt at the top, so there is no need to fool with extra support.
Moved the motor cord to the new switch and verified that it worked, then removed the old switch from the bracket where it was mounted:
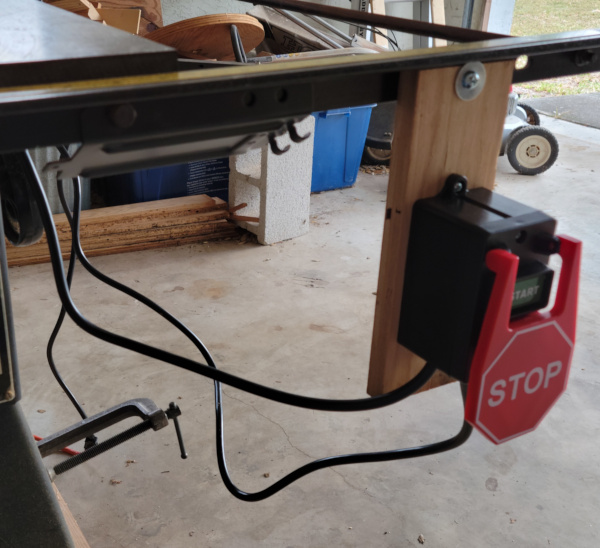
Decided the initial position I installed the switch was too far to the right, moved it to a hole in the angle iron just left of the old bracket:
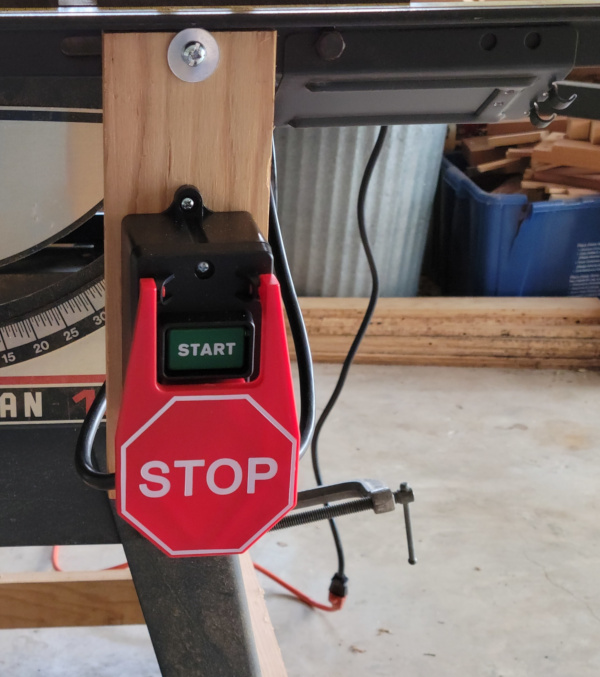
With the bolt I used there is about 1/16 inch clearance between the bolt and the table saw top, so it just fits. I'll see how I like it in this position. I may yet build something to mount it to the old switch bracket if I get annoyed with this position. It may stick out a bit far and be easy to accidentally turn off.
See my other Craftsman 113 projects.