Parallel Alignment of Blade
I 3D printed a jig for blade alignment with miter slots:
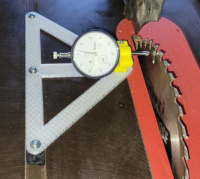
|
Parallel Test Jig |
Aside from 3D printing, this jig also uses a Microjig ZEROPLAY miter bar, which the jig is bolted to.
Yes, some scraps of wood could do the same job, but what's the point of having a 3D printer if you don't use if for everything? (And it does look better than scraps of wood :-).
This miter bar works well for this jig, but it is only about 10 inches long, and they really need better injection molding. Had to sand off various little tabs of excess plastic sticking out on the sides and top. Once that was fixed, it worked OK. If I make a sled, I'll definitely want something better.
Anyway, the results of testing the blade showed me just how dreadful the alignment was. This video shows the sort of stuff I had to do to fix it:
Table Saw Blade Alignment | Craftsman 113
Before diving into the innards, I tested multiple blades and even got a new blade (with everything being spiffed up, it deserves a new blade). All the tests were just as dreadful as the initial test:
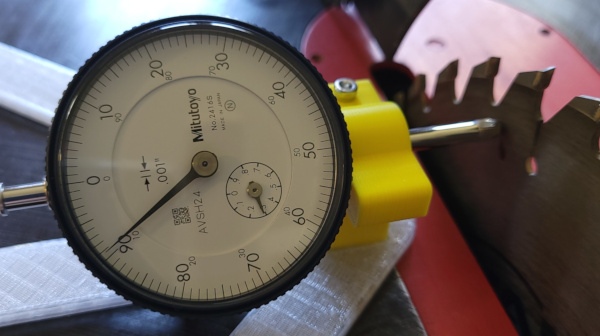
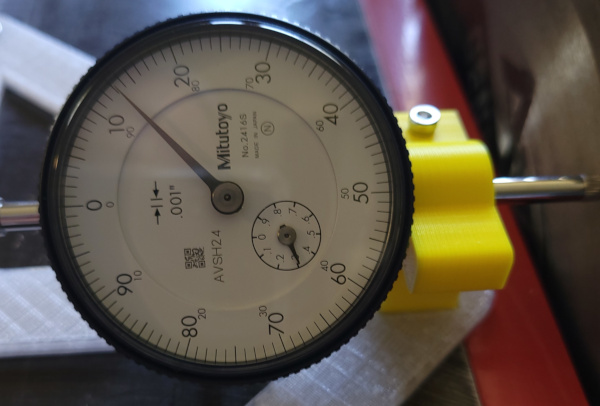
The blade offset from point I measured on the far edge to the point I measured on the near edge is 22 thousandths! Gah! It is supposed to be zero, but I'd settle for 1 or 2 :-).
Here's the same test with the new blade:
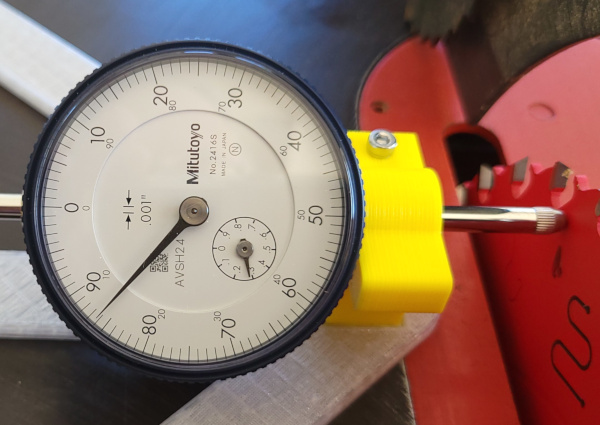
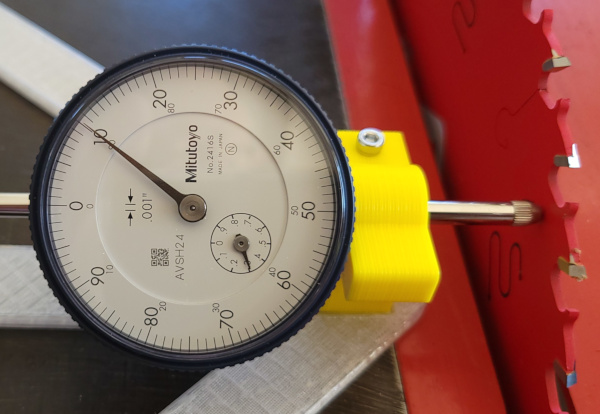
Note that I've made a mark on the blade so I can rotate it and measure the same point on the blade on the other side (to minimize any effect of any irregularities in the blade itself).
Still dreadful.
Took off the drive belt, and shoved the motor as far down as it would go to give me space to operate. Loosened three bolts in the back (easy to get to) and the bolts on either side in the front, leaving the front center bolt alone (which is invisible from the back). One of the front bolts is easy, the other is only visible (and only has room to manipulate the wrench) when the blade is tilted 45 degrees, so that was a pain, but is doable (then you need the blade back at 90 degrees to check the alignment).
Perhaps one of the reasons the alignment was so bad is that I found the bolts were not very tight to start with.
This was a good opportunity to get sawdust out of the innards and lubricate the screws for tilting and raising the blade.
With all that done, I could bash on one side or the other of the trunnion with a block of wood and a mallet (which presumably rotates it around that front bolt that wasn't loosened).
I also rotated the dial indicator in the jig so I could see it from in back of the saw where all this bashing was taking place.
I could definitely see the effect of the bashing in the dial readings. I even got the jig telling me I was only 2 thousandths off, so I tightened up the bolts and tested again:
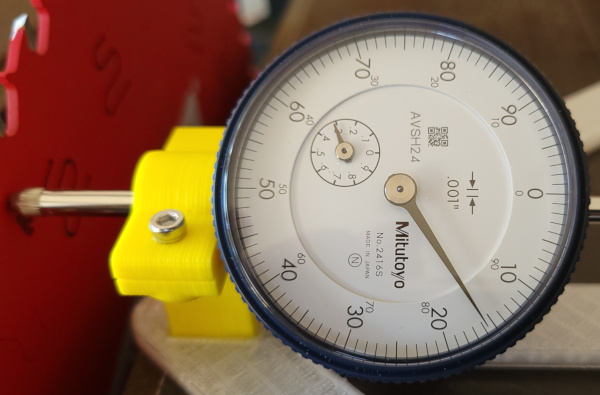
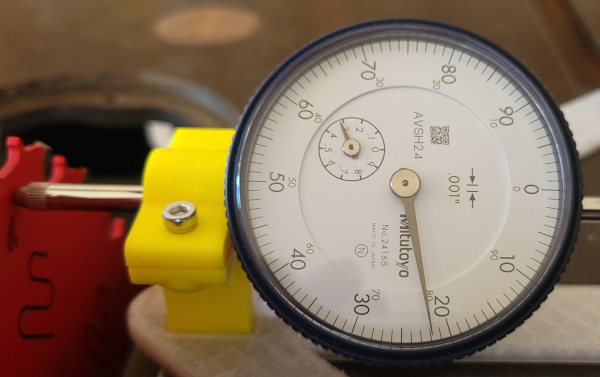
Sigh... I was afraid of that. Tightening the bolts moved it from the 2 thousandths I read previously to 6 thousandths now. Better than 22 thousandths, but after going to this much trouble I want better than 6.
New round of bashing the next day, this time I tighten the center bolt in the back before testing and loosen it again before bashing. Hopefully this will make the readings stick after tightening all the other bolts.
This was a good plan, but there was one hitch in it: I was already maxxed out in the direction I needed to bash. So now I need to loosen that front middle invisible bolt so I could push the front side of the trunion and get more available play for bashing the back again.
The plan that eventually worked for this was sticking a magnetic work light up in the front shining up where the center bolt is, then carefully propping my phone in selfie mode on the ledge up front so I can see the phone and the camera can see the bolt. Then very carefully (avoiding dropping the wrench on the phone) reach in and loosen the bolt. Whew!
There is no room to do any bashing up front, but there was a good spot to wedge in a pry bar between a rib on the cast iron top and the edge of the trunnion and heave on it to see if that would shift the front of the trunion. It seemed to work, so then I needed the phone and light again to tighten the center nut back up.
Now with everything completely out of alignment again, I could start over bashing the back of the trunnion, tightening the center bolt, and measuring the alignment.
After one magical final bash, the measurement showed only 1 thousandths difference. Quick, tighten all the remaining bolts and measure it again! Amazingly the value didn't shift. My quest is ended!
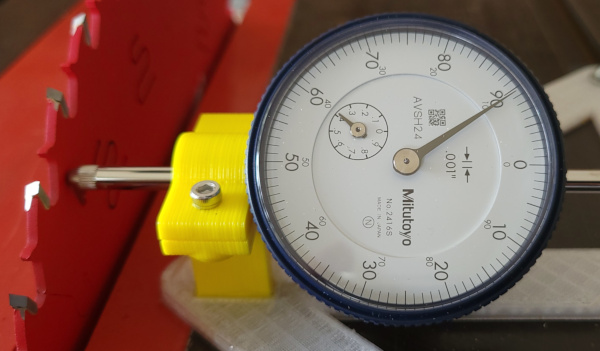
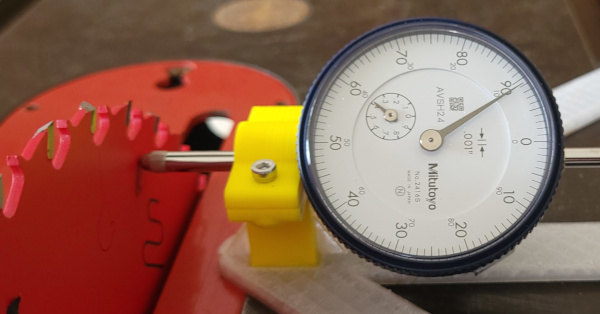
Since the needle is just inside the lines on either side, it might even be slightly less than 1 thousandth.
Tested it by cross cutting a 2x4 and ripping a scrap of MDF, and the cuts are really smooth. Only in a strong angled light (like the sun coming through the window) can you see table saw artifacts:
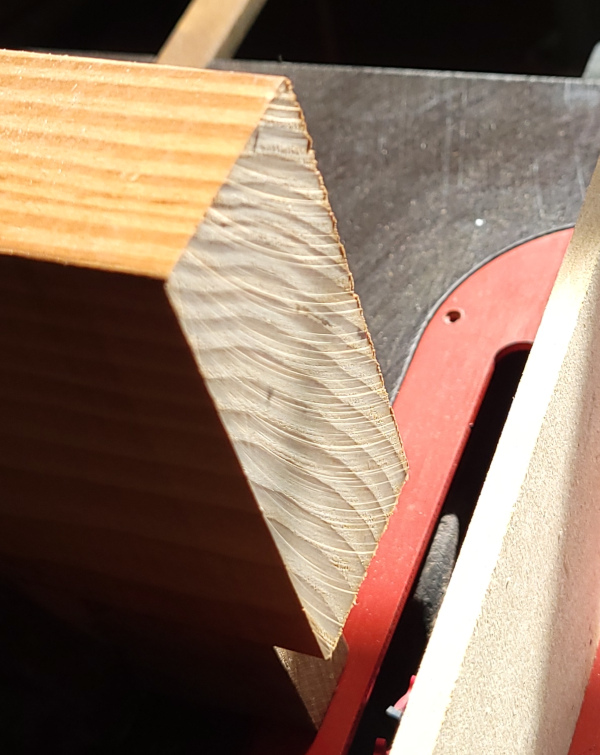
It feels perfectly smooth to my fingers.
P.S. I know about the PALS gadget, but they are out of stock everywhere till maybe june, and I'm hoping it won't vibrate out of adjustment any time soon.
See my other Craftsman 113 projects.