Blade Guard
Not wanting to spend hundreds on a Shark Guard, I decided to see if I could make the original Craftsman blade guard less annoying.
The biggest pain has always been the spring loaded pawls, which are attached with "push nuts" (a name I learned from the internet):
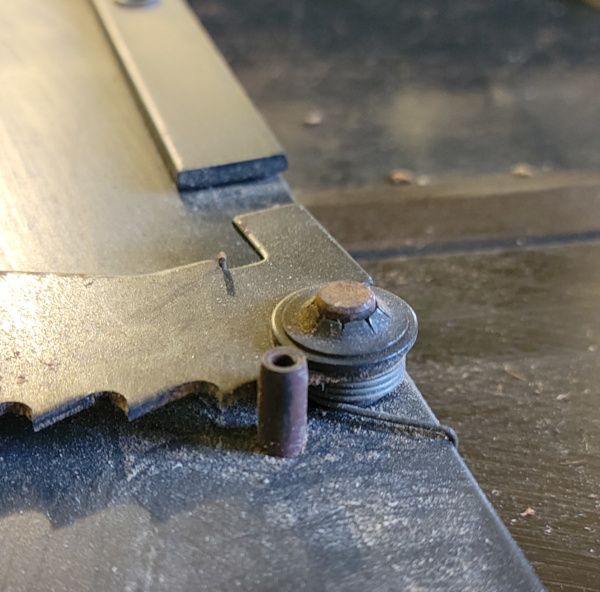
Fortunately, you can pry off the push nut with a sufficently thin object (I used a thing that is supposed to help pry 3D prints off a print bed which was never any good at that, but worked for this :-). I've seen Shark Guard videos where the users say they never mounted the pawls, so I'm not the only one who finds them irritating.
With the pawls gone, the guard still makes a nice splitter. Surprisingly after all these years, it still lines up perfectly with the blade kerf:
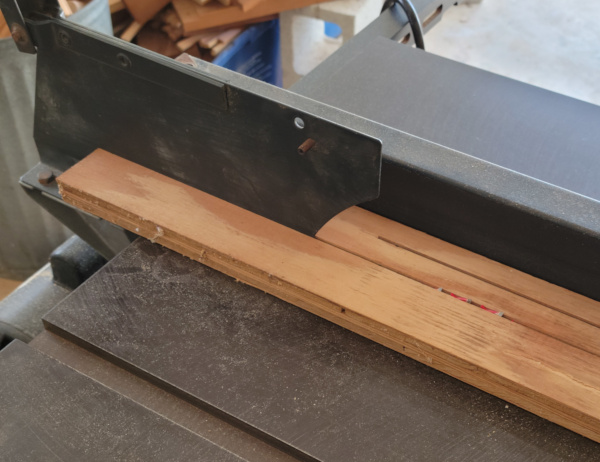
Here are all the pieces and how they fit together. Starting at the business end:
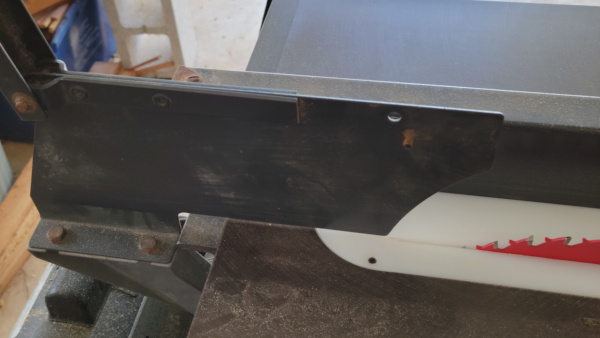
Here's the right side of the bracket as seen from the back of the saw:
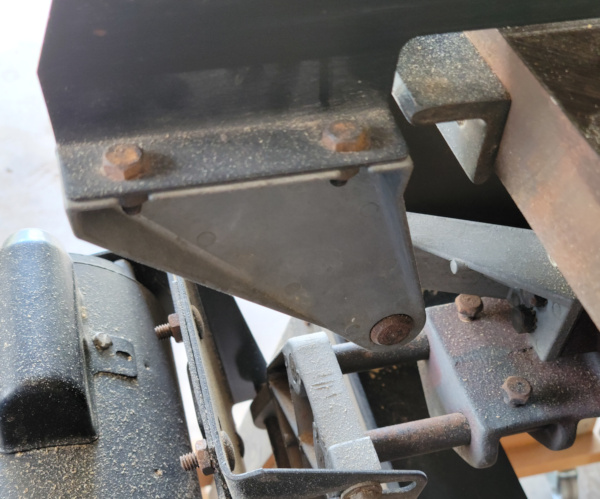
And the left side where you can see it slides over a piece mounted to the saw with a pin to stop it and a set screw that secures it to a groove:
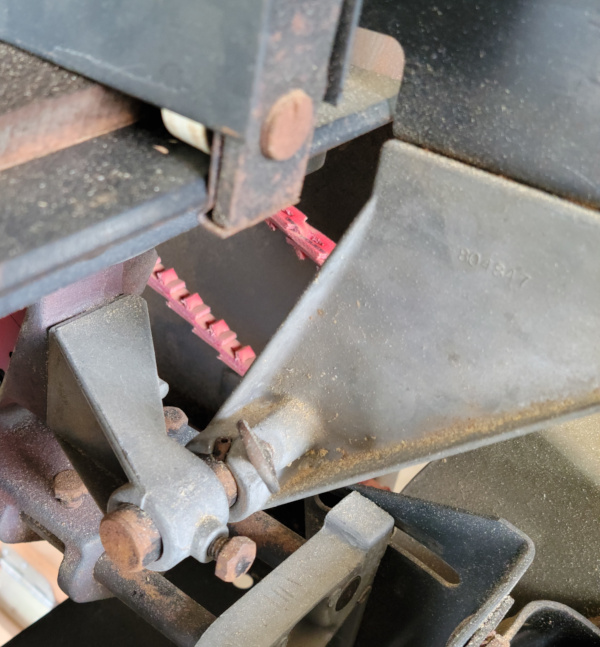
To take it off, you have to unscrew the set screw and wrangle the whole thing off the mount (which is a major difference with the Shark Guard which lets you switch out individual bits from up top).
The other irritation with the blade guard is that if you swing the guard up to work on something, it likes to fall back down again (usually on your head). I tried printing this gadget to wedge the guard open:
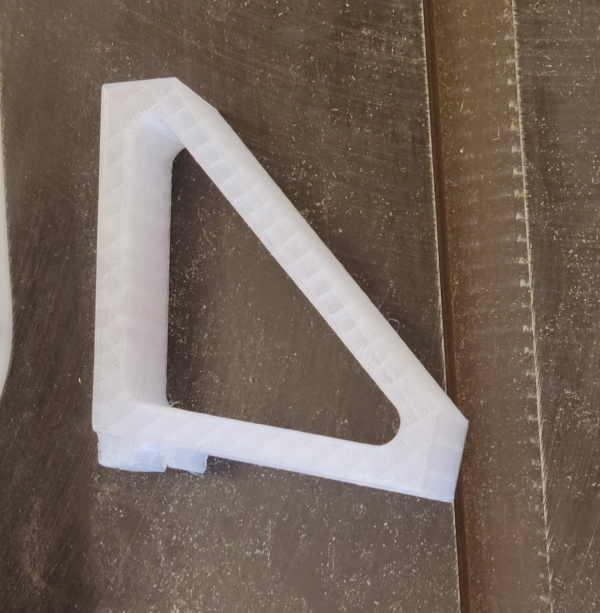
It fits like so:
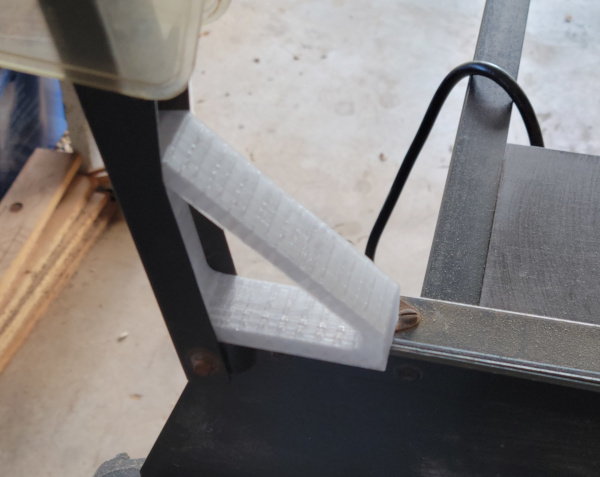
Despite the fact that it fits perfectly, it doesn't hold the guard up worth beans. The little nubs on the bottom do fit down into the hinge, but the whole thing squirts right out with any pressure on the guard, so I'll need to design something different.
I suppose a spring clamp could secure it to the channel so it couldn't squirt out, but that's starting to get complicated.
After some experimenting, I just needed a powerful magnet:
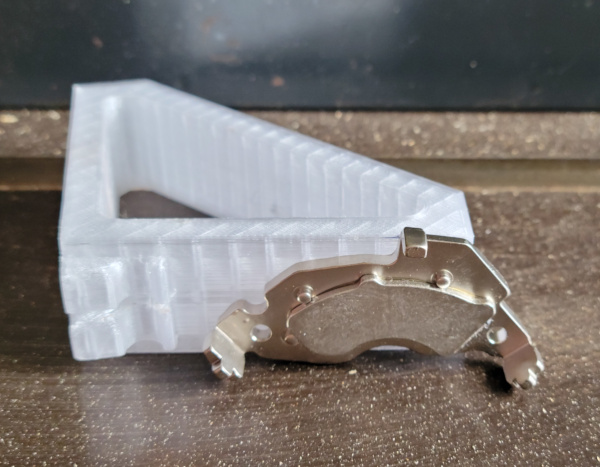
This magnet is one of the collection I've salvaged from old disk drives over the years. The shape isn't very useful for embedding in prints with the prongs that stick down, but it works great super glued to the bracket:
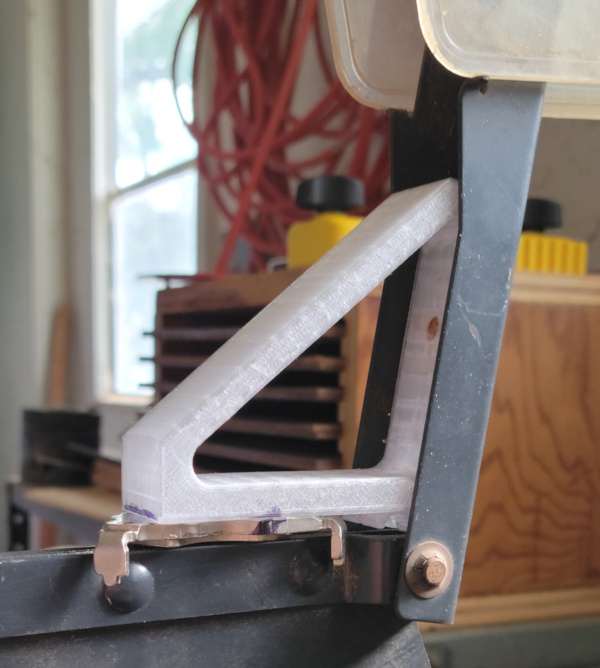
Plenty powerful enough to hold the guard up against the sort of rattling around that used to make it fall, but easy to remove by rotating forward off the guard, and plenty of metal to stick it to when I remove it to close the guard, which should mean I don't lose it. Hopefully the glue will continue to stick.
I may have done everything I can do for the old blade guard now.
See my other Craftsman 113 projects.