Sawdust
I've started taking a stab at dust collection. I've made a cardboard template that seems to fit well in the back (at least on one side):
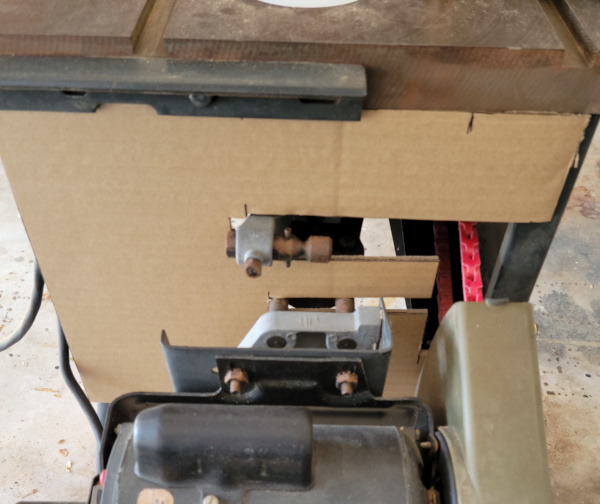
I seem to have lost track of a video I found once with a dust cover for the back that worked even when tilting the blade. I may figure out how to do that, or I may just stick a sign on the side with the checklist for what to do when you want to tilt the blade.
The arc described by the tilting of the blade should be the same as the curved slot up front the level adjuster wheel travels through, so that might help figuring out how to build the templates I want.
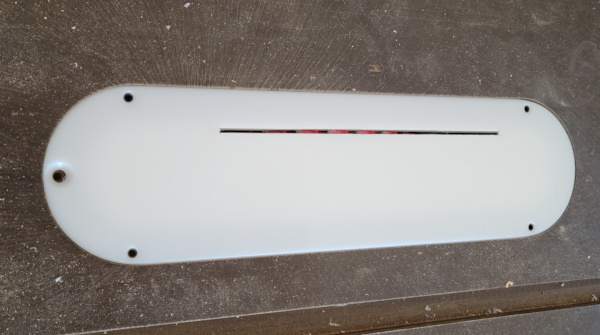
I've also got my zero clearance insert slot cut:
I've been playing around with a cover for the rear of the saw that can rotate with the blade, and decided it is too much trouble. I'm just going to go with a fixed cover together with a warning sign saying you need to remove it when you want to tilt the blade.
Cardboard turned into hardboard and first cover made, it slides across from the left side and fits over bits on the saw:
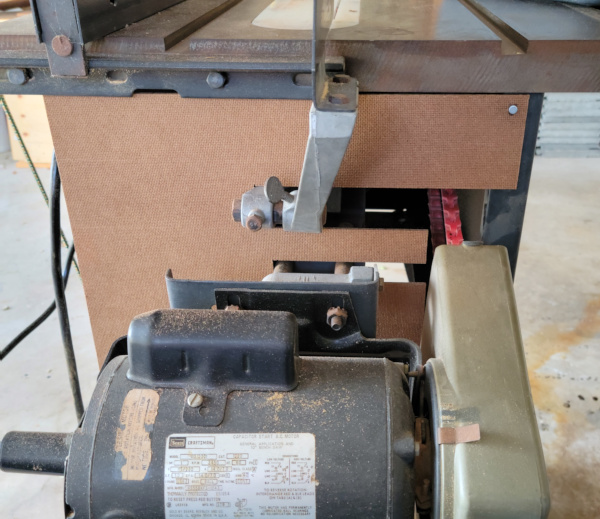
I've got magnets at the top and bottom corners to hold it in place:
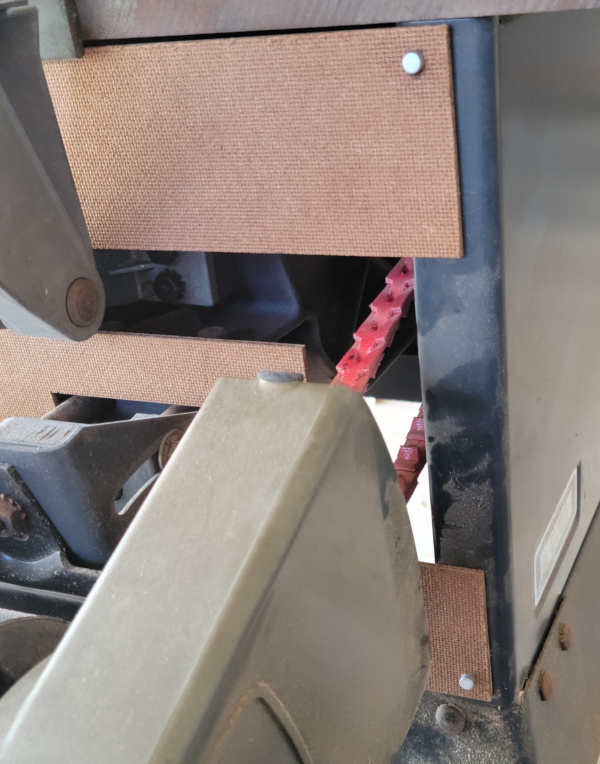
Another cardboard template transferred to hardboard and magnet glued in place, and the cover for the right side is in place:
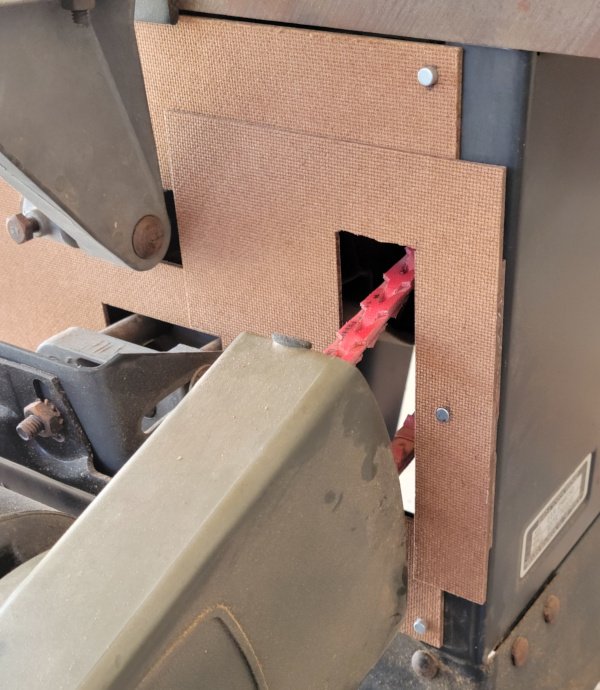
This seems to keep the back clean, very little dust shows up on the motor any longer, now just have to do something with all the dust that falls out the bottom.
Cardboard seemed very useful for the other templates, so I've now made a cardboard template that completely covers the bottom of the saw. I got holes cut to fit over the bolts holding the legs to the saw, and other holes where I can run bolts to screw on the bottom. (Hole position determined by putting the template on the bottom and pounding on it to see where the bolts would make an impression in the cardboard.) Once it was secured, I was able to mark the square opening on the cardboard so I'll know where to make the opening when I use the template to cut the real piece out of more hardboard.
Then I'll need to build a hardboard "funnel" that runs to a 3D printed adapter to take my shopvac hose (or someday to a cyclonic collector and then to the shopvac). I want the hose connector sticking out the bottom in the back of the saw because I don't want hoses cluttering up the sides or the front and the motor already clutters up the back.
Hopefully in operation air will be sucked through all the little openings that dust currently drifts out of, so all or most of the dust will be sucked out. Time will tell.
The cardboard template has successfully been turned into a hardboard cover for the bottom of the saw. The big holes and various notches make space for the existing bolts. I was able to bolt it in place using the small holes and run a sharpie around the opening in the saw bottom to see how much I need to cut out:
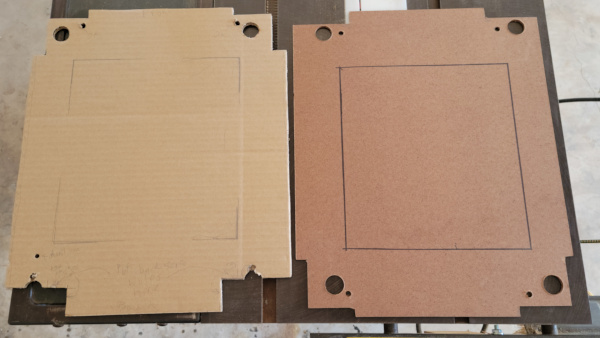
I should be able to build the collection funnel on that and the next time I bolt it to the saw bottom I'll be ready to suck up dust.
I don't want the dust collector to stick down very far, but the sheet metal leg structure takes up about 4 1/2 inches anyway, so that should give me enough space to work with. Once again, I'll be building a cardboard version then turning the pieces into hardboard.
I also ordered some 2 1/2 inch flexible hose (should be about the same as the hose on the shop vac) and when it gets here, I'll be able to design a proper adapter to 3D print which fits exactly.
I got the center square cut out of the hardboard bottom panel, and made a prototype cardboard "funnel" that fits in the open square (and is about 4 1/2 inches high). Just 4 relatively simple pieces that should be easy to cut out of hardboard:
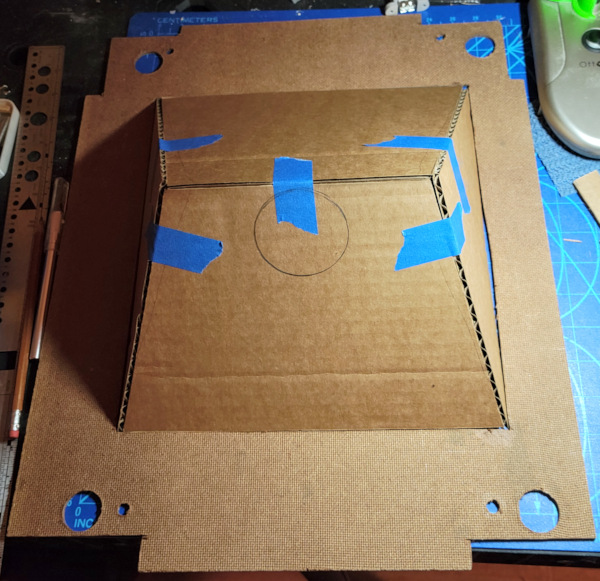
The circle shows about where the hose should go. I'll probably just make a square hole and glue the 3D printed hose connector to the inside of the funnel where it can cover up the corners of the square hole.
I've (more or less) successfully created the same shapes in hardboard:
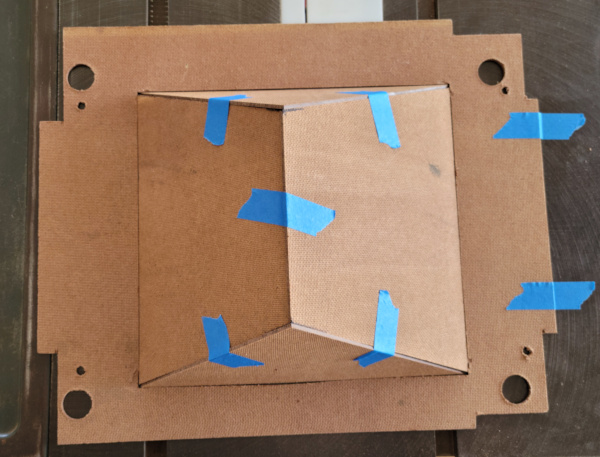
Now I need to wait for my flexible hose to arrive, 3D print the adapter, and cut the hole for it before final assembly.
...Adapter is printed:
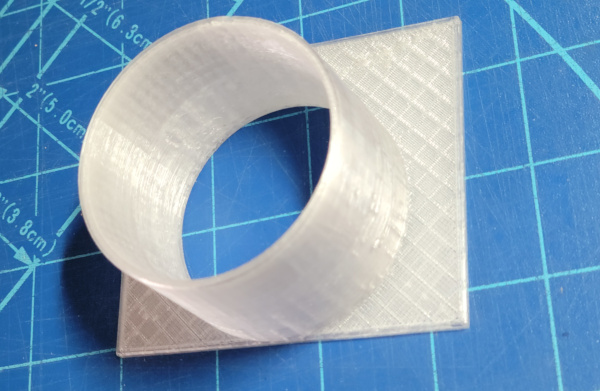
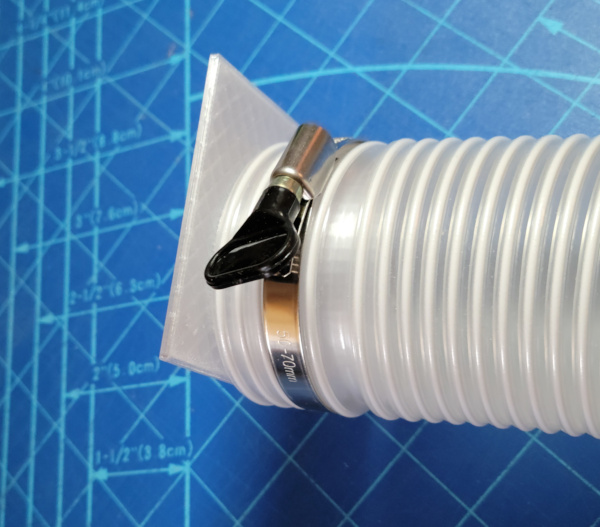
...and the hose fits nicely on the slightly tapered adapter:
Some cutting and gluing to assemble everything is next.
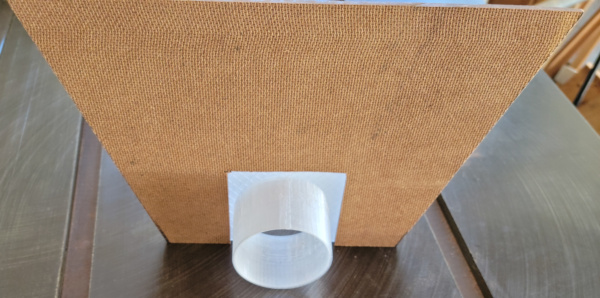
Hole cut and adapter glued in place:
Next step is assembly and "spot welding" the pieces with super glue.
I've got a silly combination of super glue, gorilla tape, and epoxy on it now, not because it makes sense, but because it was what I had (plus some spray on clear coat to hopefully make it less susceptible to humidity). I guess the only thing left to do is attach it to the saw and try it out. I'll see if it survives all the vibration (or survives being bolted to the saw). If it falls apart, maybe I'll give fiberglass coating a try on the next one (after watching some videos on how to do fiberglass :-).
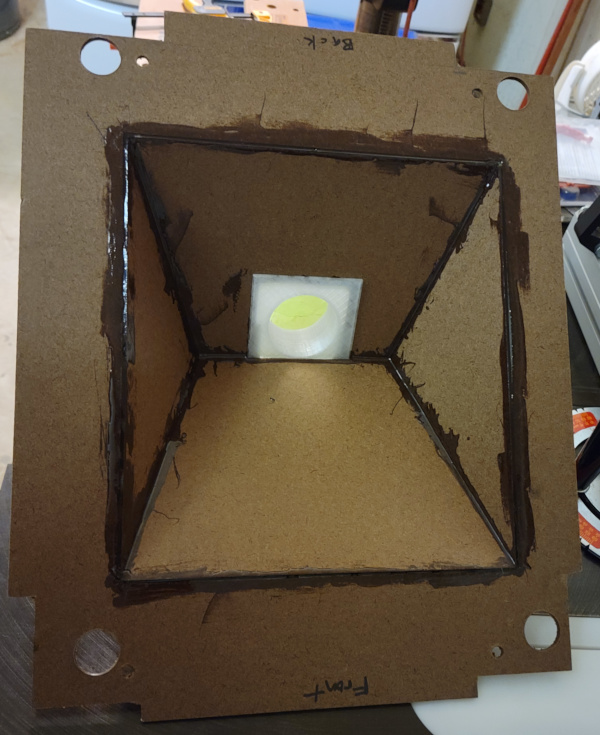
Here's what the inside of the funnel looks like:
Here's the outside which will be in the back of the saw where the hose attaches:
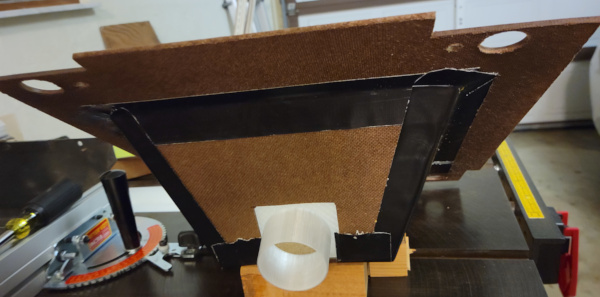
The epoxy is no longer tacky, so I got the collector bolted on to the bottom of the saw:
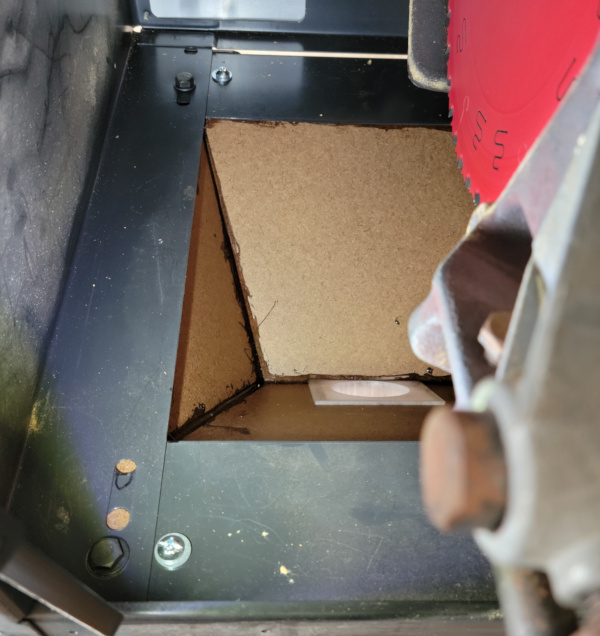
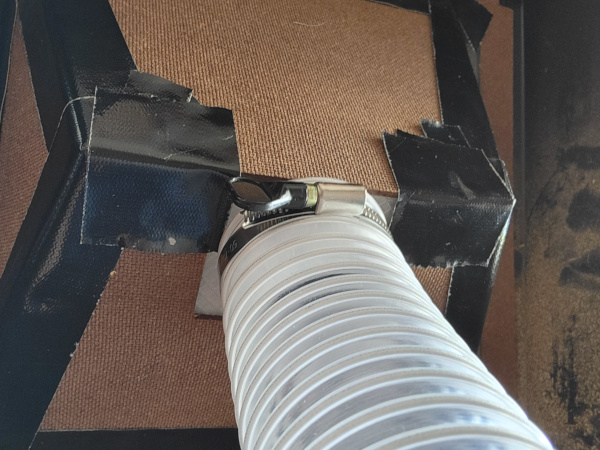
The hose clamps on the 3D printed adapter nicely:
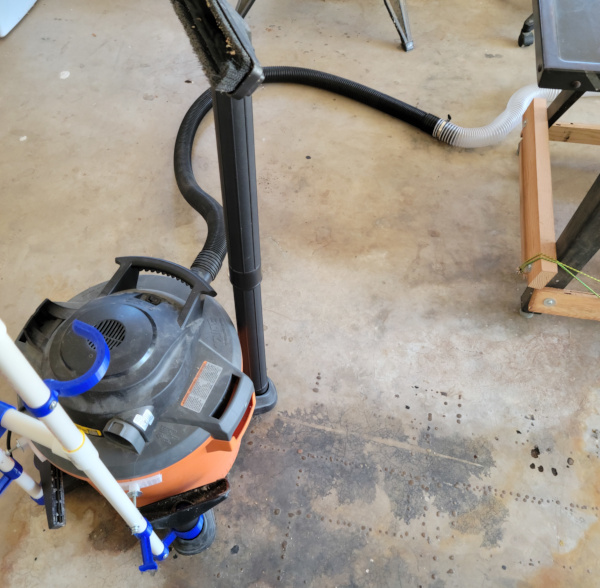
As an initial test setup I just connected the long hose to the hose on the shop vac:
After cutting a few strips off the side of an MDF scrap, this is what I see inside:
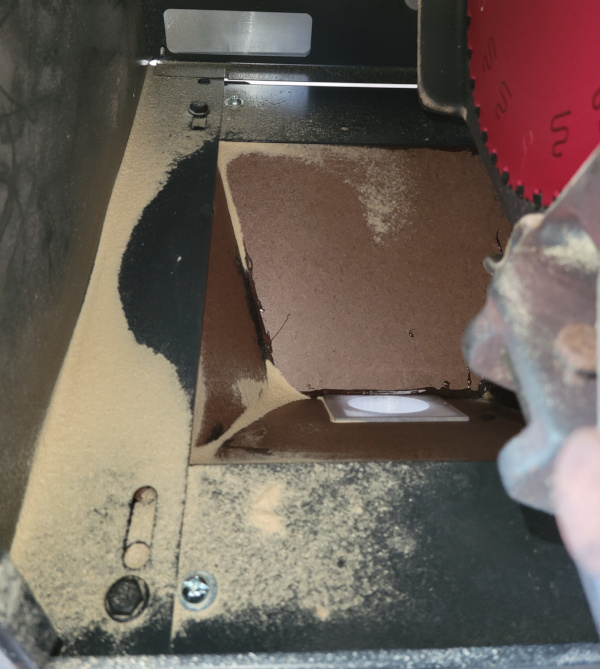
Certainly didn't suck up all the dust, but it got some of it and I didn't notice much at all drifting down outside the saw (which may be the most important part). I've seen examples of folks magnetically mounting a cover over the blade to force most of the dust to go down rather than out, so I may experiment with that. A more powerful suction device would probably help too.
Meanwhile, I've been building one of these gadgets to collect dust before it reaches the shop vac. Eventually I'll collect all the right parts to finish - had to go to two different home depots then I noticed the 90 degree elbow I got was in the wrong bin and is 1 1/4 inch, not 1 1/2 inch (sigh). I'm not using the rubber end caps, I plan to 3D print adapters to attach my hoses. Thought about using larger PVC parts, but there isn't a heck of a lot of room in the bucket, don't think they'd fit.
So far, real life has been exactly like youtube. I can't recall another video where everything went exactly as described. Hopefully things will keep going that way and it will also be an excellent dust collector.
Got the last missing part and finished assembly. Here's the inside:
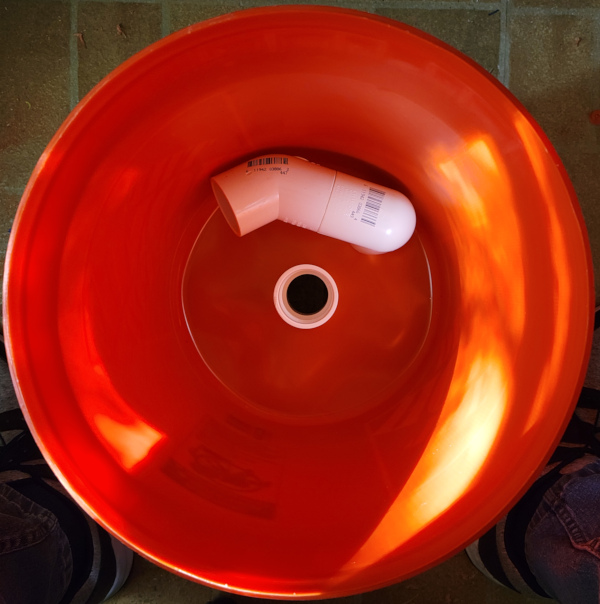
And the outside with the buckets pushed together:

Now I need to design and print the hose adapters.
One adapter done - the input for the hose from the saw:
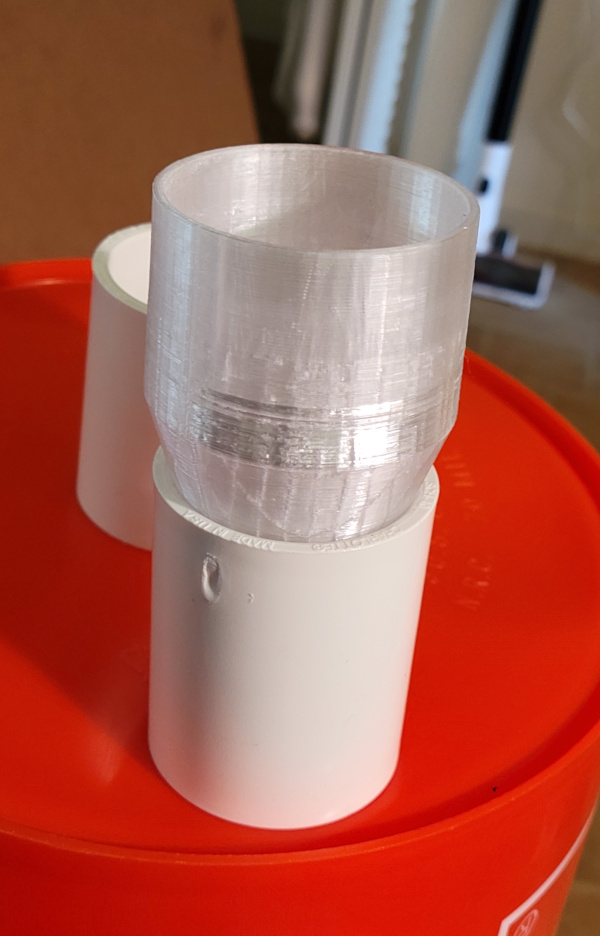
Still printing test pieces to try and get the dimensions right for the vacuum hose to plug into the outlet.
Third test print was the charm, I've now printed the full adapter and the shop vac hose is a nice press fit:

I guess I can test it tomorrow.
Test worked just like the video. Nothing showed up in the shop vac canister:
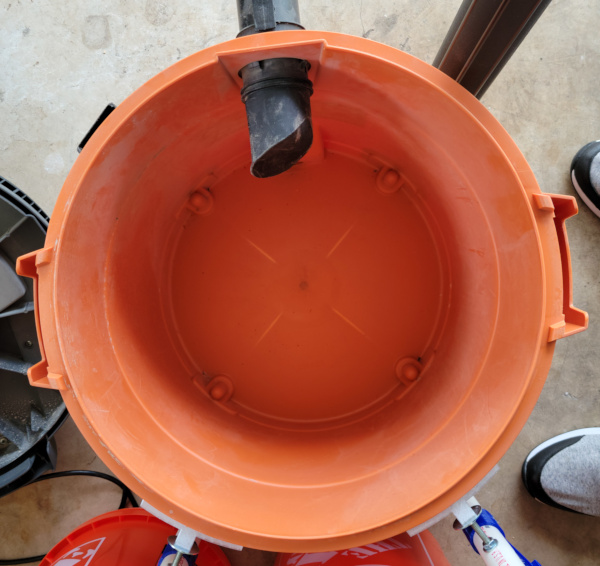
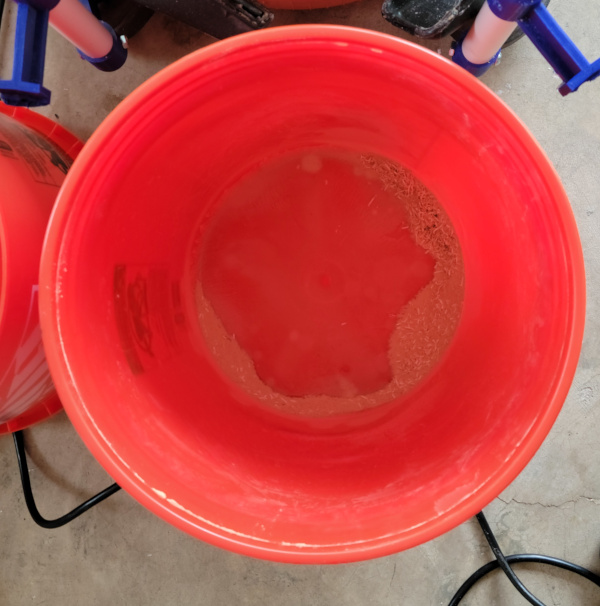
I didn't run massive quantites of wood through the saw, just a few strips off another MDF piece, but the dust all seemed to wind up in the bucket:
Here you see the hoses connected to the 3D printed adapters:
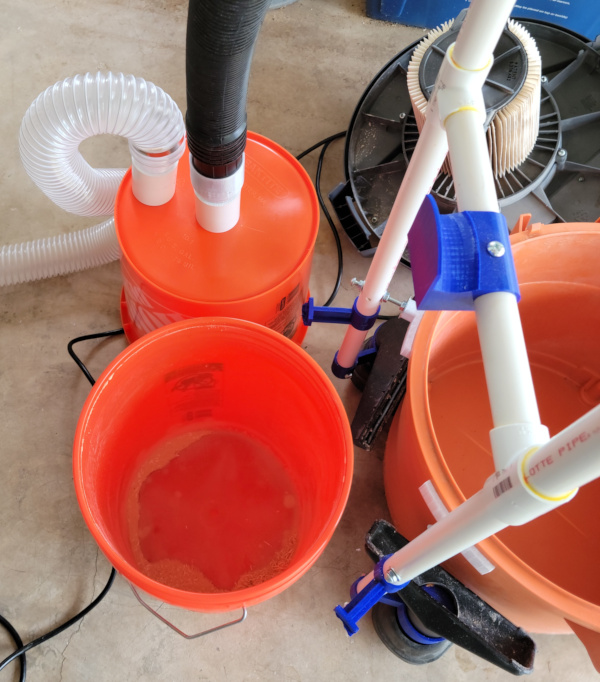
I'm thinking velcro or bungee around the buckets and connected to my shop vac handle would make sure it didn't tip over.
I did get dust on top of the saw, so maybe another hose to the blade guard would be a good project someday.
The 3D printed parts for this are on thingiverse as Dust Collector Parts.
See my other Craftsman 113 projects.