Initial Print Experiences
The very first thing I printed was the two color name tag that comes pre-sliced on the USB stick:
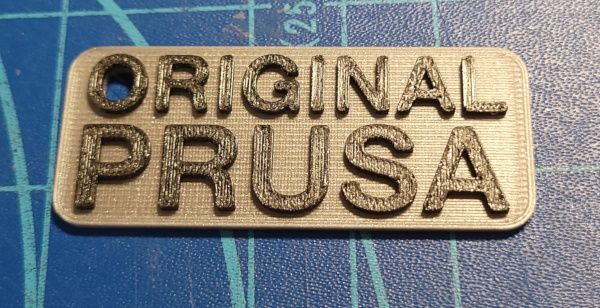
The filament changing prompts on the screen were clear, and the printer automagically purged the old color filament off the right side of the print bed before restarting the print with the new color for the lettering.
I then experimented with the feature that allows me to download an stl file directly off printables into PrusaSlicer, and then use PrusaLink to send the sliced file directly to the printer. I used the Soda Can Opener model I uploaded to printables a while back:
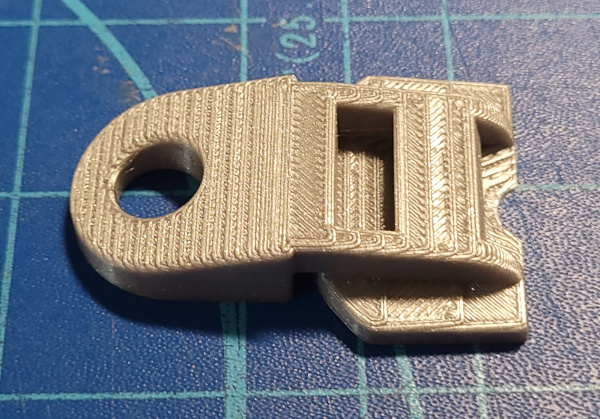
This takes 25 minutes to print without using input shaping.
Naturally, the first thing I wanted to try using input shaping was a benchy. Using the predefined "fast" 0.2mm profile, I printed this benchy in 39 minutes:
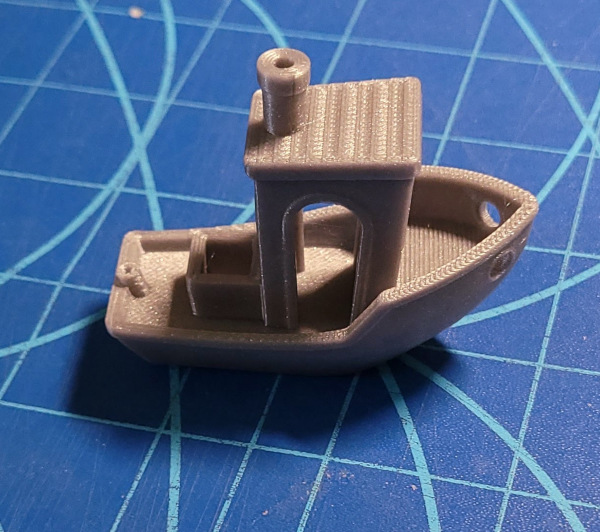
I know people have manually tweaked the settings to go even faster, but the quality with the predefined setting is pretty much flawless. The only thing I noticed was a few wisps of finer than spider web threads here and there (which would probably just brush away).
Since that used up almost all of the gray filament sample that came with the printer, I figured this was a good chance to see what happens when it runs out of filament. I printed another soda can opener (this time with input shaping). The print time estimate dropped from 25 minutes to 15 minutes, and running out of filament worked well. The last of the gray filament disappeared down into the extruder, a few seconds later it noticed the filament ran out, and unloaded it by pushing it back up where I could grab and remove it, then told me push in new filament which it advanced and purged off the side then resumed printing:
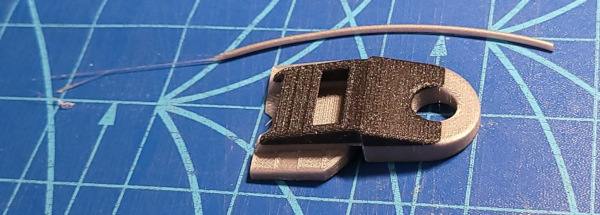
You can see the two color opener, and the bit of filament it pushed out of the extruder when it noticed filament was out.
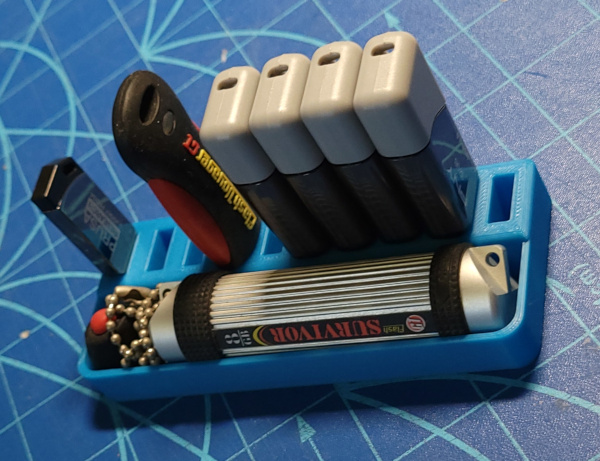
After figuring out how to copy the usb stick, I figured I might as well print a usb holder. Printed this one directly off printables again. Since I was low on filament, I went ahead and opened a reel of Overture "pla professional" (whatever that means) I bought a while back. Called it generic PLA in the slicer, and it seems to print fine:
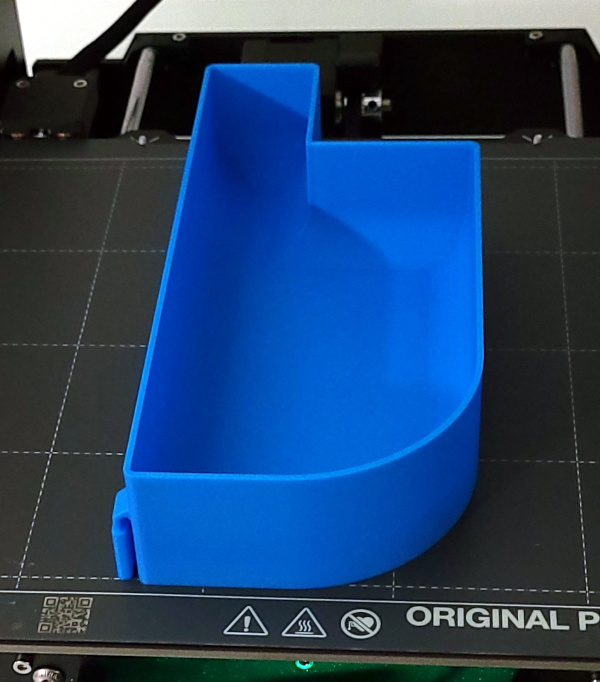
Now that I have lots of filament, decided to test printing something really large, so I started printing this Prusa MK4 bin which uses almost the entire depth of the print bed.
Back to working on supporting the MMU3. I've got a plastic bin that seals nicely in which 5 reels of filament can fit. I want to steal the adapter I made for my Cereal Container Spool Roller and print five of the little funnels for the inside of the bin and M6 nut holders for the outside of the bin where PC4-M6 connectors will attach to hold PTFE tube for the filaments to run through:
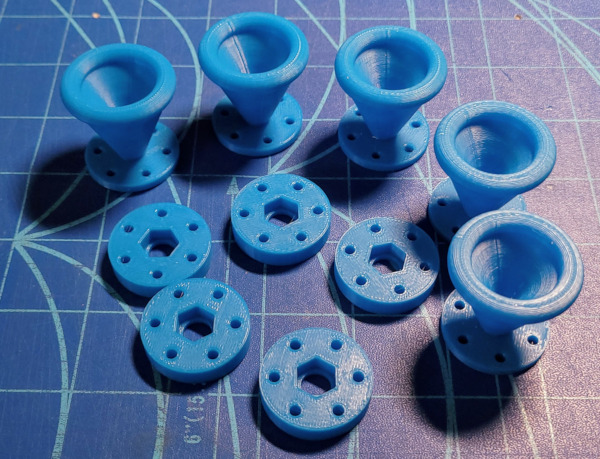
(It is a lot easier to feed filament into the funnel than it is to find a tiny 2mm hole :-).
In my quest to waste as much time as possible on fiddling with printer stuff, I've decided to put some french cleats on the wall above the printer as a convenient place for the filament box to sit (among other things). I therefore printed these french cleat locks:
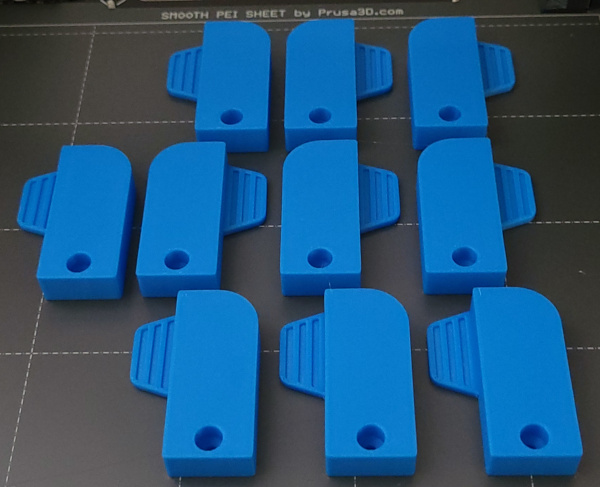
I note the bottom right one has a tiny speck of filament in the corner (which I believe was where it lifted the nozzle when it finished printing), that's the closest thing to a "flaw" I've yet seen :-).
I'm going to be using little temperature/humidity sensors I got on amazon inside the enclosure, the hotbox, etc. I figured I should mount one outside for comparison:
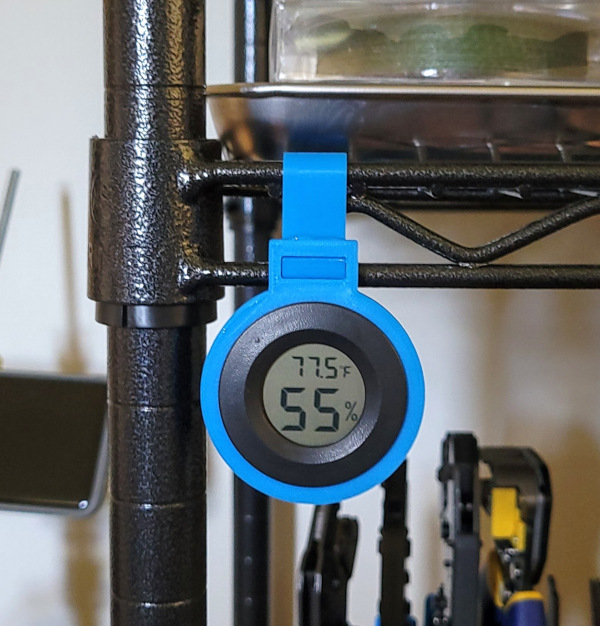
It clips onto the wire shelf. Experimentation revealed that a ring 42mm in diameter and 3.6mm thick holds the gadget very securely.
I got my ObXidian nozzle when they finally got back in stock, so I thought I'd try printing some PCCF parts for the high temp low weight properties of PCCF:
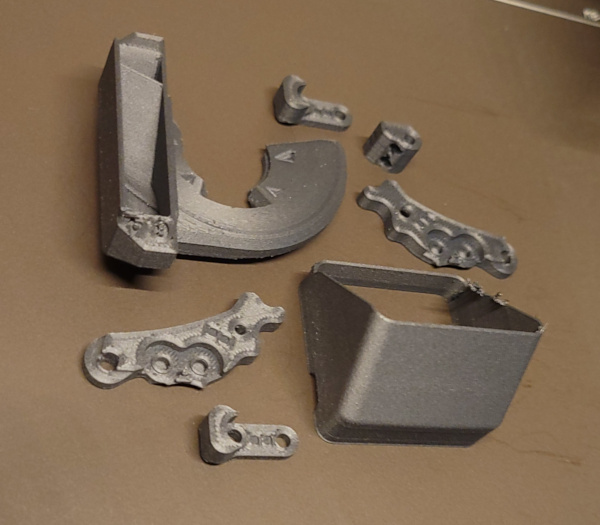
The parts include a new fan duct for more even air distribution and a shield to keep the heat break fan from creating any turbulence that might disrupt parts cooling. I also printed the nextruder idler lever parts that have been reported to warp in high temp enclosures so I'll have them handy if I ever add an enclosure.
The PCCF printed fine on the satin sheet and I didn't have any trouble getting the parts to release (though they may have been stuck slightly harder than PLA).
I've got the new fan duct installed:
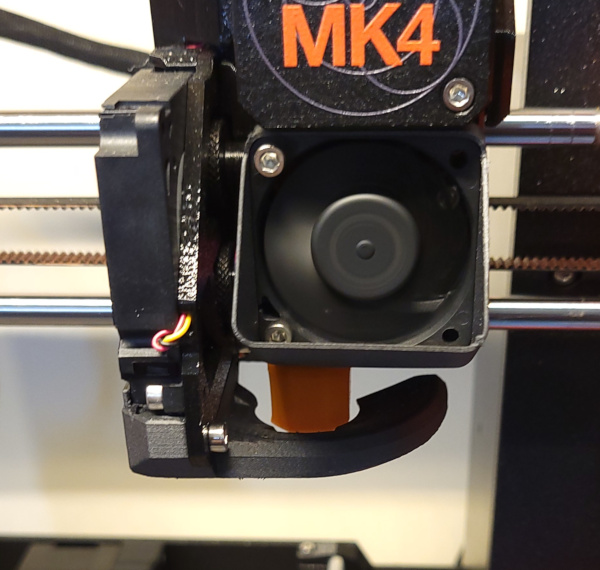
I'm printing yet another benchy to see how well the duct works.
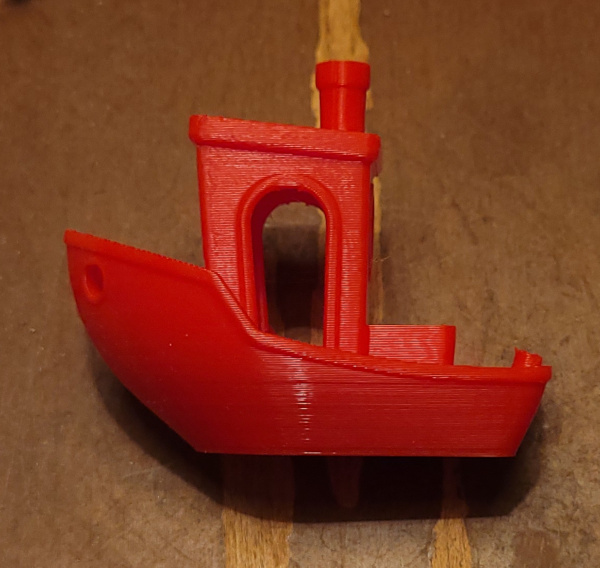
Seems to have printed just fine. A few nearly invisible threads here and there, but no major defects I can see.
Next enhancement: Squash ball feet. Here's one foot as seen from the top:
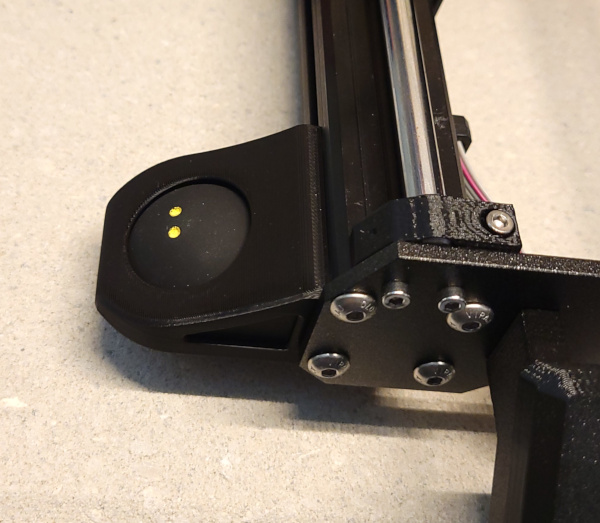
Here's the bottom view of all six feet installed:
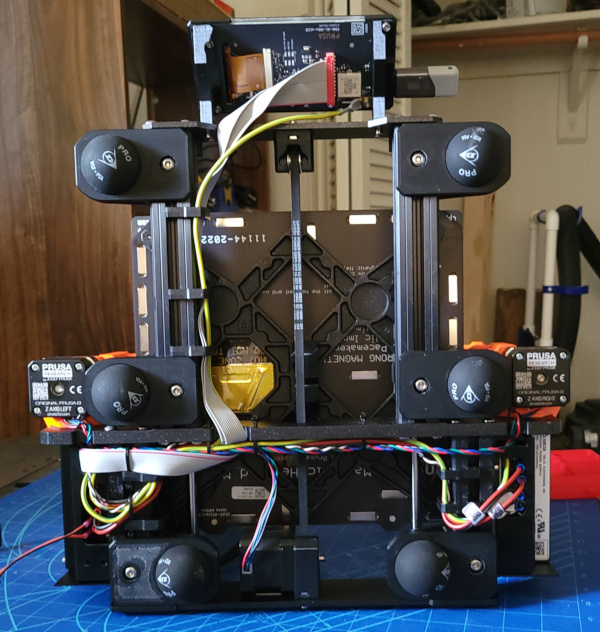
Installation was dead simple thanks to these Roll-in Spring Ball nuts which can be inserted into the 3030 extrusion without having to slide them in from the end (which would require lots of disassembly). Also had to find some button head 12mm M6 bolts, but those are pretty ordinary.
I never thought the printer was very noisy until I installed these and it got a lot quieter :-). I just installed them because of the claim they help with ghosting and such.