MK4 Build
I'll be following these instructions and plan to be slow and methodical to avoid making stupid mistakes (I hope).
I may be at a severe handicap though because I hate gummy candy (and am avoiding sugar in any case).
One of the comments in the instructions mentions an electric screwdriver saves a lot of wear and tear on your fingers, so I got this one.
Other comments mention encountering messed up threads on the occasional bolt or nut, so the electric screwdriver will be very useful running bolts through nuts to check the threads before installing them in the printer.
Sep. 21, 2023
Discovered that the box contents are packed in reverse assembly order, so you have to take everything out and find a place to put it before starting :-).
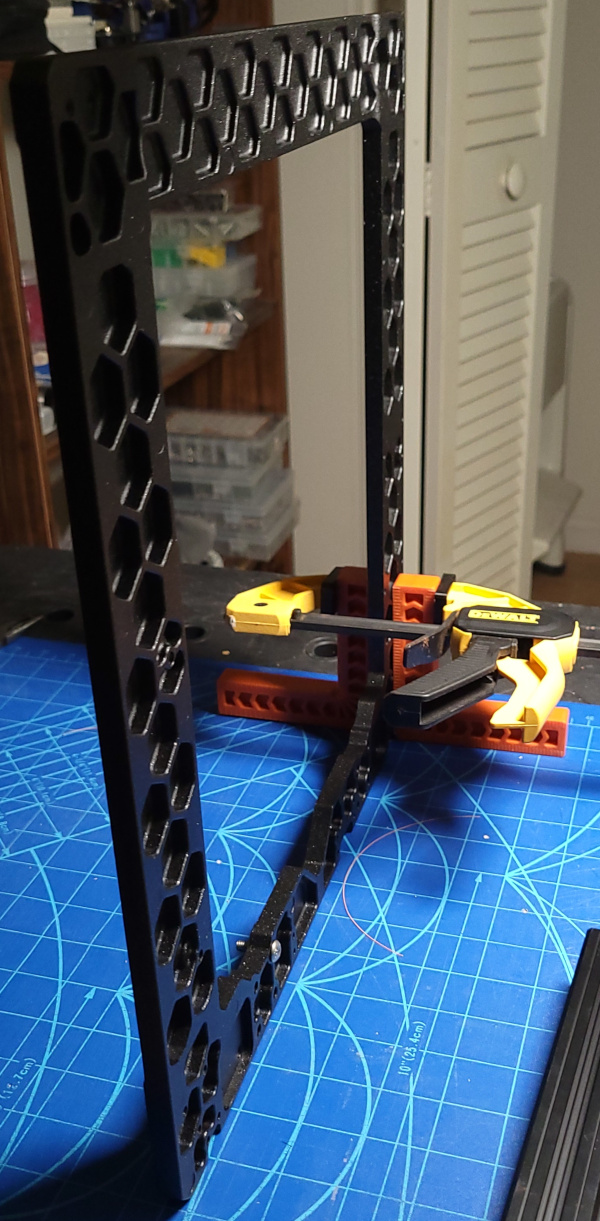
Getting the first extrusion attached was very clumsy till I got out a couple of corner clamps and clamped them on each side of the frame to hold it vertical, making it much simpler to attach the extrusions:
I also found a comment saying to use an M3 bolt as a handle while inserting the M3nE nuts (which slide in the extrusions) to be good advice. You can get them started in the slot then use something hard to press the spring down to get them to slide all the way in.
I reached the step about checking the Y-axis geometry and decided to stop for the day since I'll need to drag out the table saw to use the extremely flat top on it for this check.
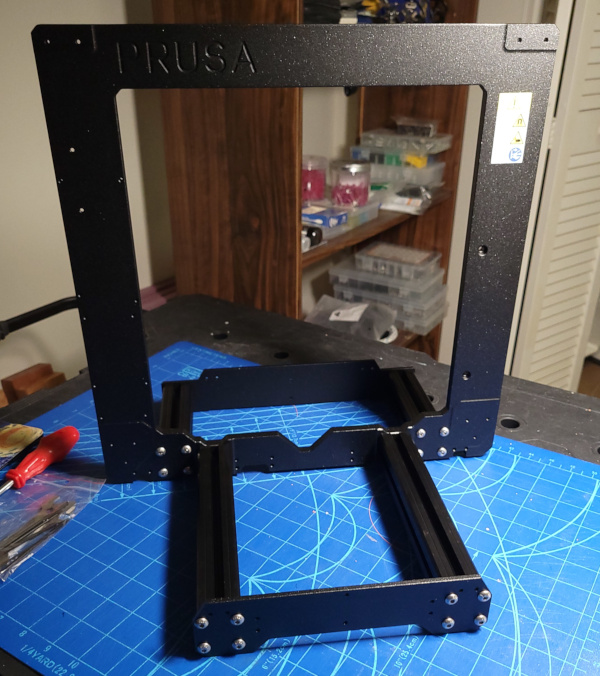
This got me through 2. Frame Assembly Step 9 Y-axis: rear plate assembly
Sep. 22, 2023
Holy cow! I put the frame on my table saw, and there was not the slightest lift on any corner no matter which way I tried to rock it. I wonder if using the electric screwdriver for the initial tightening of all the bolts helped by applying the exact same torque to all the bolts? I tightened it up a bit more by hand and it stayed flat and true.
Installing the cable clips needs more hand strength than I have. A trigger clamp was just what I needed to force them into place. One of the clips must have been abnormal (though I couldn't see anything wrong), because the top of the wire tie slot was crushed when it was forced into place. There is a spare in the spares bag, so if I need to I can replace it (but I don't think it will be a problem).
They fail to mention that the ethernet port on the buddy board has springy bits that require you to force it quite hard into the hole to get the holes to line up to screw the board in place.
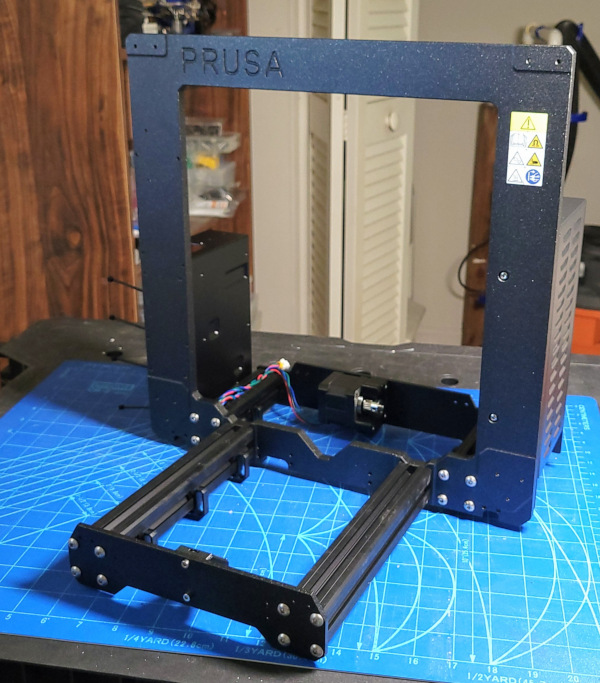
That gets me through 2. Frame Assembly Step 35 It's done! (which seemed like a good place to stop for the day).
Sep. 23, 2023
On the X-end parts, getting the M3nS nuts into the angled slots inside another hole was tricky. There were some bits of stray filament from the side that needed to be removed with an xacto to leave the path clear for the nut. Once it was mostly in place, screwing a bolt a couple of threads into the nut was used to lever it into the proper position so the bolt was properly vertical.
I have no eartly idea if I lubricated the bearings properly. They seem to slide smoothly, but who knows. The comment about blocking the bottom holes with painters tape was a good idea to get the applicator filled up first.
The X-end parts are a pain. I found the comment saying to put the bearings in the clips, then insert them on the part to work much better than putting the bearing in the part then trying to slide the clips on with the rubber pads making that difficult.
Then putting the rods in the parts was extremely difficult even for one rod at a time, putting both rods into the motor end at the same time was twice as difficult. The comment about putting the idler end in your stomach then pushing on the motor end with both hands finally worked for me.
Carefully checking the pictures to make sure all the parts are in the right orientation is also essential, there are lots of things you could get backwards.
EXCEPT! I just realized I forgot to mark the position of the rows of balls on the bearings, so I probably have to take the dadgum motor end off the rods so I can check the bearings :-(.

I think I'll quit for today. This would have gotten me through 3. Step 22 Assembling the X-axis: mounting the X-end-motor if I hadn't screwed up.
Update: A hint from reddit led me to try tapping lightly but persistently on the motor end with the supplied screwdriver handle (every tool is a hammer, after all :-), and it popped off the rods after enough tapping. So I've actually gotten through step 22 today after marking the bearings and shoving the bearings and the motor end back on (whew!).
Sep. 24, 2023
No big problems today. I did manage to mount the X motor upside down, but it was simple to remove the bolts and rotate it without losing the attached belt or anything.
Wrapping the cables was a pain, but merely finicky, not difficult.
It is looking more like a printer now.
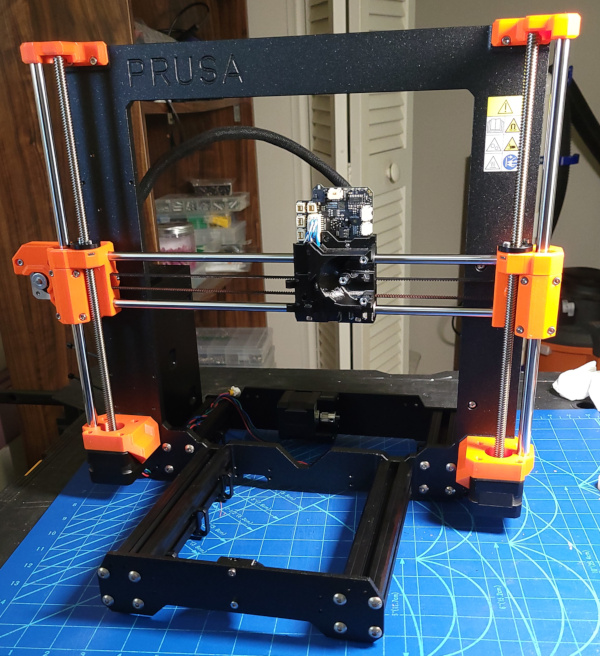
That gets me through 4. Z-axiz assembly Step 34 Here it is!
Sep. 25, 2023
The trigger clamp once again proved useful for forcing the tubular spacer through the idler assembly.
The instructions say to keep the two door magnets separate because they are extremely difficult to separate. Too bad they pack both of them together in the same small plastic holder (they are right about them being difficult to separate :-).
I had the same problem many commenters had with the bridging sagging on the fan door magnet compartment. Had to carve out plastic with an xacto before the magnet would fit, but finally got it to click into position.
I had another problem many commenters noted as well: Needed to file down the hinges on the fan door before it would fit properly.
One other useful tip from the comments: separate the wires on the hall effect ribbon cable. Much easier to get them folded and under the cover that screws over them.
The belt tension (according to the app) seem to change after I tighten the bolts on the X motor, so I had to tighten the bolts before checking the tension, then loosen them again to adjust the tension. Eventually got it to say "perfect" with the bolts tightened.
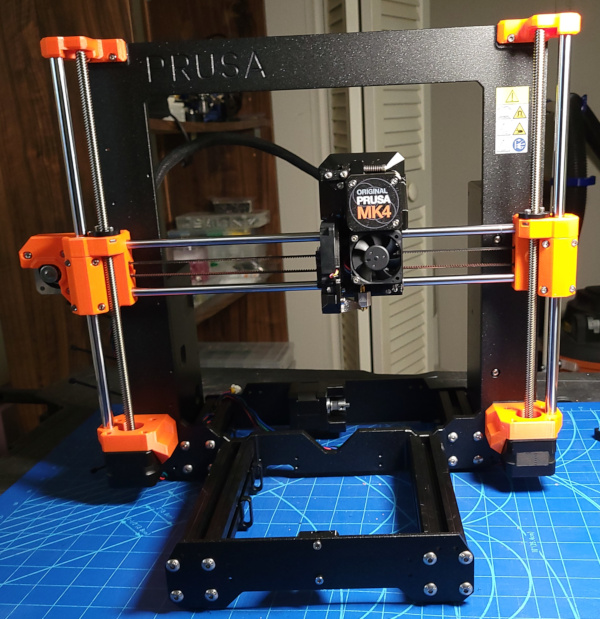
That gets me through 5. Nextruder assembly Step 45. The extruder is assembled
Sep. 26, 2023
The holes in the LCD cover the small screws are supposed to cut threads into were impossible to get started. Finally used a longer screw (that I could get a grip on) just to get threads started at the top so I could get the shorter screws started then drive them the rest of the way.
Trying to put on the PSU cover, I noticed it ran into the M3 bolts mounting the PSU to the extrusion. Apparently the nuts got tilted inside the extrusion when I was fooling around with getting the PSU mounted. Simple enough to loosen them one at a time, push them back to vertical and re-tighten. No longer run into the cover now. There was also some plastic thread in one of the cover holes preventing me from pushing it down over the post. The old xacto took care of that.
One of the final cable routing steps calls for the power cables and friends to be pushed into a cable clip under the buddy board with absolutely no slack available to do that. Fortunately, that clip was the one I damaged earlier, so I just took that clip out, got the spare clip from the spares bag, shoved the cables into it before attaching it to the extrusion, then clipped it on the extrusion after getting the cables in place. Nothing wrong with the spare clip, it went on easily with the clamp to provide force.

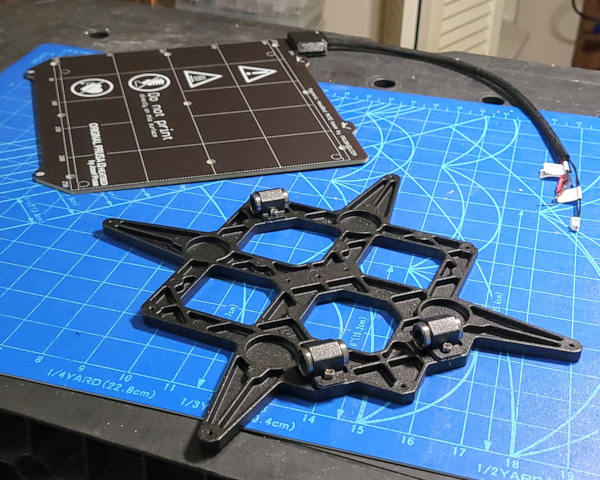
The main printer is off to the side while I work on heatbed and Y-axis parts. This gets me through 7. Y-carriage & Heatbed assembly Step 30 Installing the bearings on the Y-carriage
Sep. 27, 2023
Pulling the lock nut into the Y belt holder was once again something I lacked the strength to do. Fortunately I happened to have some M3 threaded rod around from a previous project, so I ran an M3 nut down it a couple of inches, added an M3 washer, then screwed the threaded rod into the lock nut. I then proceeded to tighten the nut on the rod screwing it towards the lock nut, therefore dragging it into the Y belt holder. Took a while, but finally got the lock nut all the way down.
I'll need to get a better USB stick. The one that comes with the printer has a plug that is really too big. It is insanely tight when inserting in a USB socket (and not just the one on the printer, it is too tight in my computer as well).
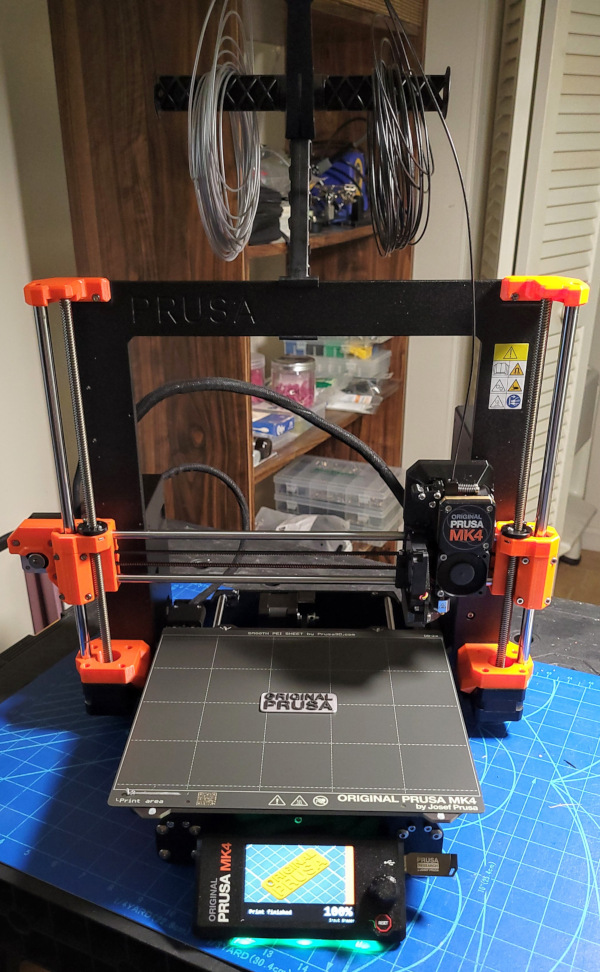
Wow! I completed the build! The newest firmware loaded, the wifi firmware loaded, the self test passed on the first try, it seems to be a printer! I used the sample gray and black filament that came in the box to print the little prusa keychain tag from the USB stick, and it worked. Amazing.
On to setting up the software.