To Orion and Beyond
Now that I have things working nearly perfectly, time to break it again. I bought a PRECISION PIEZO ORION to turn the end of the nozzle into a bed level probe as well.
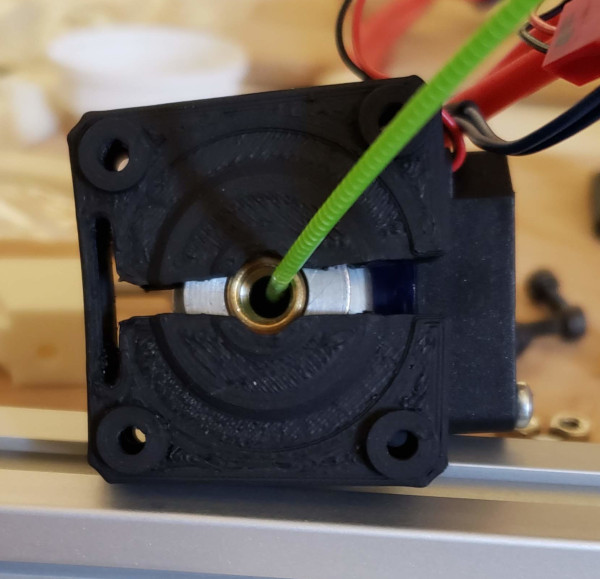
Here's the old hot end mount:
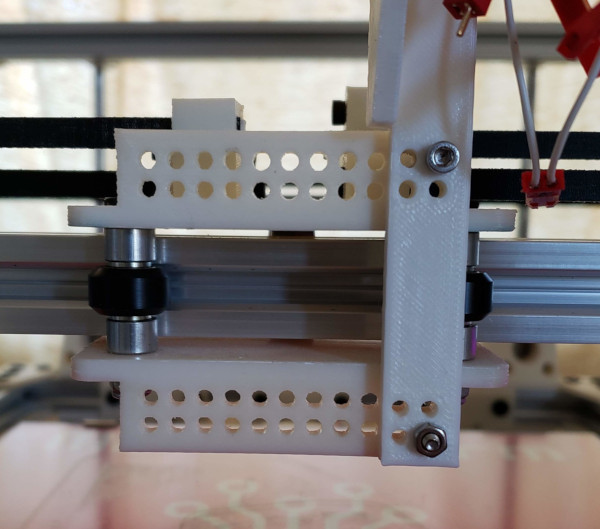
Here's the X carriage stripped to the bare bones for the new mount:
To install it, I need a new mount which raises it up to get back some of the vertical space I'm losing, and moves it left a tad to avoid the cable chain mounting. (That will also give me more room with the nozzle off the edge of the bed to wipe off drool better :-).
I printed version one of the new mount on Jiggit, but discovered various flaws needing slight adjustments in the design. Since I got a lot of blobbing on Jiggit, I went back to the solidoodle to print the final piece (maybe I should put the extrusion multiplier back to 1).
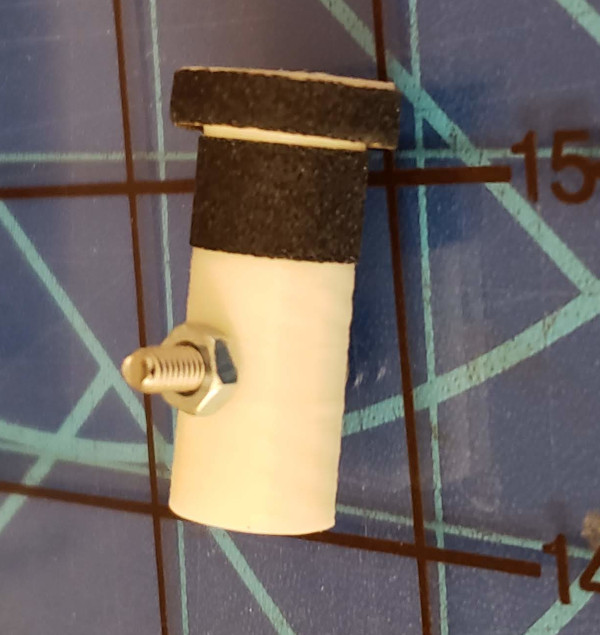
First hitch: The bottom orion part that grabs the groove mount on the heat sink has enough blobbing on the inside to prevent it from closing all the way. As a result the screws that hold on the top assembly won't line up. Time to print a custom sanding block in the shape of a groove mount :-). Need to be careful though, if I sand too much off, the screw holes will be misaligned the other way when I screw it closed.
The slot isn't parallel at all:
The custom sanding block with sandpaper attached:
A few spins of the sanding block, and the heat sink fits much better:
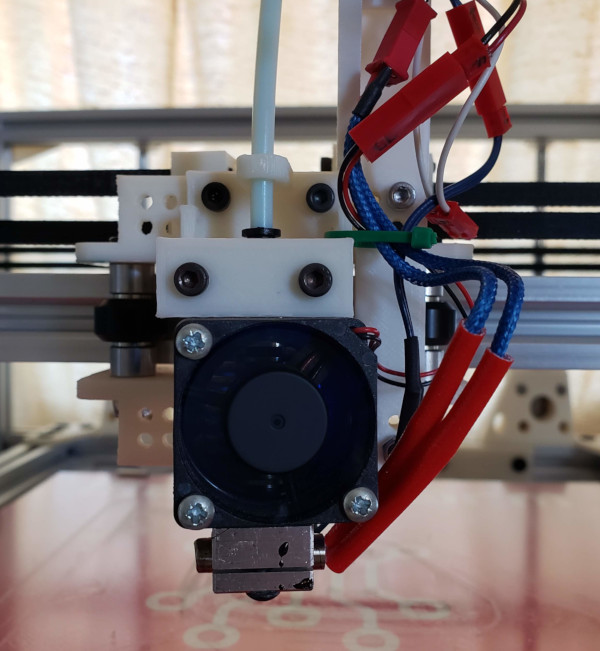
Trying to put it together, I also found some leftover bits of what I imagine were supports on the inside of the top. They were making it tilt when I squeezed it close, but they were easier to sand off with a little strip of sand paper on the end of a small file. At long last actually got the Orion assembled:
Second hitch: I previewed the new mount in openscad with all sorts of parts added to the view to make sure everything was good, but I didn't preview the E3D heat sink as part of that. DOH! It collides with the lower X carriage. Need to move the mount out a few millimeters to clear the heat sink and reprint the adjusted mount.
According to drawings, the v6 heat sink is 22.3mm in diameter. I should add that to the preview to see how far I need to shift things (measurment also agrees with this value). Trying that in openscad, I see 1mm might be enough, but I better go for 2mm to be sure.
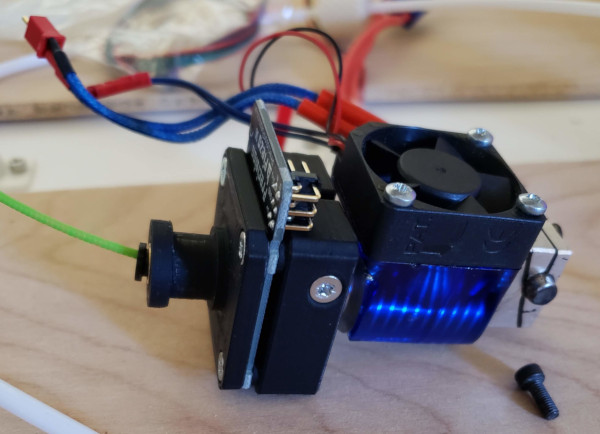
OK, the adjusted mount is printed and attached to X carriage. No heatsink bumping into carriage now:
I had used a sharpie to mark the bowden tube 32mm before the end so I could see that 32mm of tube went all the way down into the E3D. Looks like there is an extra 20 or 21mm now to the top of the Orion, so I made a new mark on the tube 21mm beyond the old mark. It certainly looked as if I was able to get the tube all the way down into the E3D.
Now just need to get everything hooked back up again and fix the Z stop for the new (lower) bed level. I'll get it printing without using the orion first, then I'll have to see about running a new cable for it to get it hooked up to the smoothieboard. Perhaps I can pull a new cable through the cable chain using the old Z probe (two wire) cable to pull through the new three wire cable I'll need for the orion.
Need to change the printer geometry. The ruler that said 133mm when Z was at zero before now says 144mm, so I lost 11mm in print height with the Orion installed.
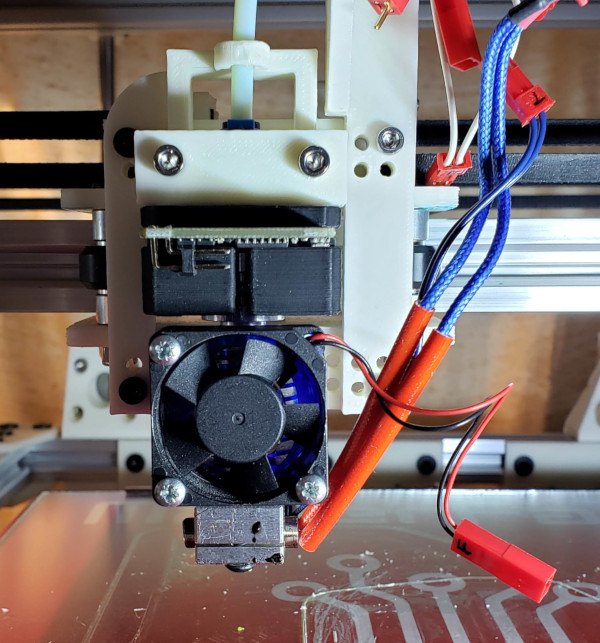
After much fiddling, I have both the Orion and the new bowden connector on the extruder installed and the printer is functioning again, so that proves the Orion doesn't harm anything (not a very high bar :-).
Need to figure out how to get the new cable installed now and the smoothie configured to use the Orion.
Using a cloth tape measure and running it along the cable chains and adding in lots of slop (since it is easier to cut a cable than make a new one), and I find that 80 inches ought to be plenty long enough (hopefully much too long). I have red, black, and green hook up wire that long in 28 gauge and 22 gauge. The 22 seems like overkill, so I'm planning to go with the 28. I hope it works. Maybe I'll try the cable out first before going to the trouble of running it through the cable chain.
The Orion manual says the gadget draws about 5ma, and the internet says 28AWG is good for about 200ma or more, so I should be good.
Meanwhile, reading up on smoothieware, orion, and zprobes, I think I have an idea where to start with the configuration. The homing_order configuration option can be set to XY and a G28 code won't home Z at all.
I'll disconnect the existing Z min switch (and move it out of the way, but leave it attached in case I need it again :-). Also set gamma_min_endstop to Nc to tell smoothie I don't have one.
Then get rid of the existing Z probe definition (which was for the switch I could attach that won't even fit on the new carriage any longer) and configure the Orion as a Z probe, using the pins for the X min stop connection where I'll plug it in.
In my startup code, I can then use something like G30 Z0 to tell it to probe the Z axis and set Z level 0 where it touches the probe. Now it knows where Z should be even without a Z min stop. (At least that's the idea).
The Orion manual recommends the nozzle be hot (but not so hot it oozes filament) before probing, and the best place to probe is the center of the bed, so I'll probably add that to the start code as well.
Getting fancier, I could also use different codes to test multiple points and level the bed mathematically even if it isn't level physically (but that's for later).
Time to see about getting this gadget hooked up and working...
Wow! Pulling the new cable through using the old cable worked perfectly. I tinned the ends of both cables and soldered them together to make the strongest possible connection (so it wouldn't pull apart half way through the process), with a small piece of shrink wrap tubing over the join, and other than one or two hangups which were easily fixed by poking at it, it was pulled right through both cable chain segments (and it is long enough, I have a foot or two to spare now that it is all the way through). Time to cut it to length, crimp connectors on the end, double and triple check the way it should be plugged into the smoothie, and start configuring and testing.
Got the cable hooked up to the smoothie, and by golly, the the Orion LEDs blink when I tap the nozzle, so that's step one.
Better and better! I got the config changes made. G28 won't try to home Z any longer. I tried a G30 code (Z probe) and tapped the nozzle while the bed was still on the way up, and it recognized that, so I finally tried a G30 and let the bed go all the way up (while hovering my hand over the emergency stop switch), and by golly, it just barely tapped the nozzle and sent the bed back down. It seems to work.
One thing I notice is that the vibration from the motors snapping to attention when first starting up also seems to trigger it, but it will be easy enough to make sure the motors are on before I do any Z moves for probing in the startup code.
I got startup code that seems to work well, perhaps needs a little adjustment to get the print bed and nozzle to arrive at the right temperature at the same tim, but that's a minor detail.
I tried to check for the Z offset I should use (from instructions in the Orion manual), and as near as I can tell, it should be zero, I couldn't detect any gap, and the nozzle also didn't seem to be pressed into the bed.
Even though I have Z homing disabled, RepetierHost thinks a home of Z moves Z to zero, so after moving Z to zero with the probe command (G30 Z0) I run a home Z command (G28 Z0) and everyone is happy.
My pre-printing checklist is now:
- Make sure the bed is lowered at least a centimeter or so.
- Make sure there is no filament drool sticking out of nozzle.
- Tap the hot end before starting to make sure it still notices contact.
Everything else is in the startup code and appears to work automagically.
While I was in the startup code, I also changed the nozzle wiping sequence to work better. Possibly I can even get an end code script to wait for the extruder to cool down to a non-drooling (but still soft) temp, and wipe the nozzle again at finish so there won't be any drool at the start of the next print. Of course the big problem with that is I'd have to move my nozzle wiper off the printbed itself since I wouldn't want to raise the bed with a just completed print on it which might collide with parts of the printer.
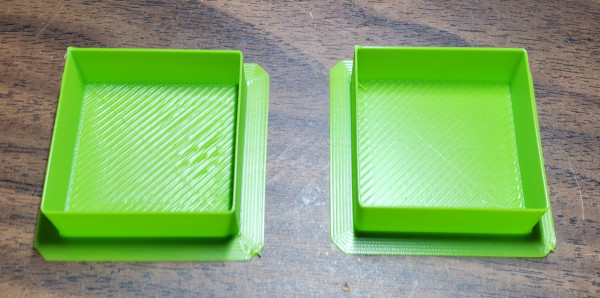
I printed my normal bed level test cube (just printing single layer) and the layer height measured with a micrometer was darn close to 0.35 (which is how thick the first layer is supposed to print).
Here's a video of the startup code detecting the bed level: