Desk Fan
My absurdly expensive and over engineered (but really quiet) desk fan project:
Noctua had a desk fan listed in their future project road map, but they never got around to offering it as a product. This video is from someone who decided not to wait, and figured out how to 3D print something similar. He published the model on thingiverse, and I imported it into OpenSCAD to tweak it by removing the mount sticking out the side, because I want to mount it differently. This is my version of the printed shroud:

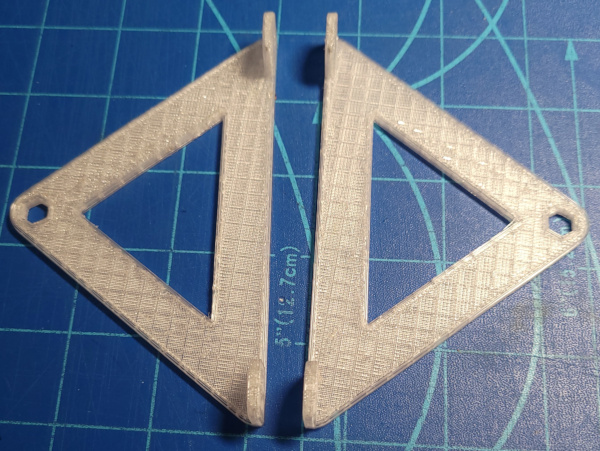
I also designed and printed these side pieces which will mount to the bottom of the fan with the shroud on top:
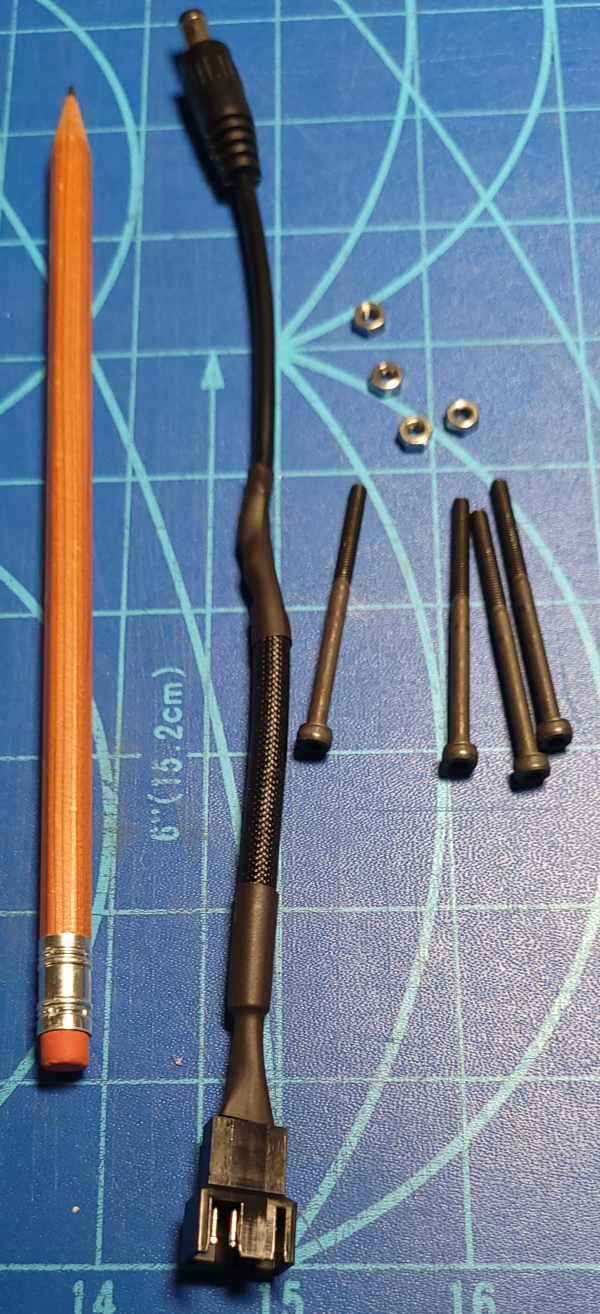
Various other bits of hardware make up the rest of the fan. Here I have the pencil which fits in the hex holes on the sides [No longer, it was silly, the mount is redesigned farther down] and will serve as an "axle" the fan will rotate around. A frankensteined cable made by splicing a sacrificial fan extension cable and a sacrificial cable with the appropriate barrel connector for power, plus the 45mm m3 bolts and nuts which hold the parts together:
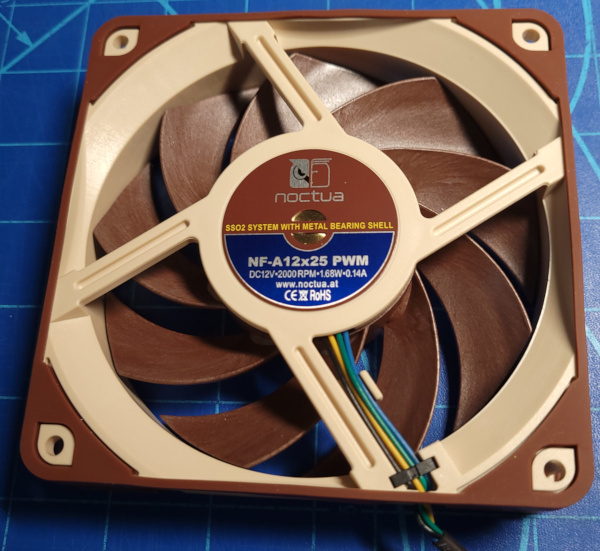
Then there are the expensive parts. First the Noctua fan. I installed the water cooler gasket to keep air from blowing out the sides:
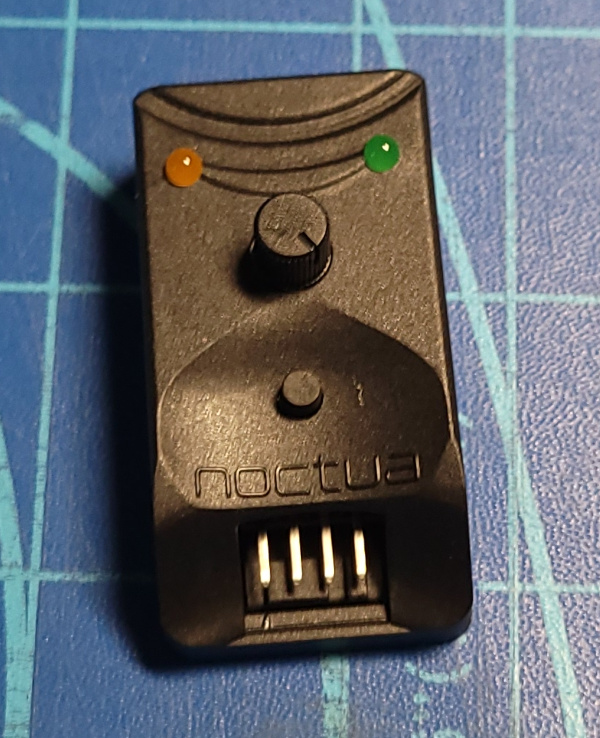
The Noctua PWM speed controller:
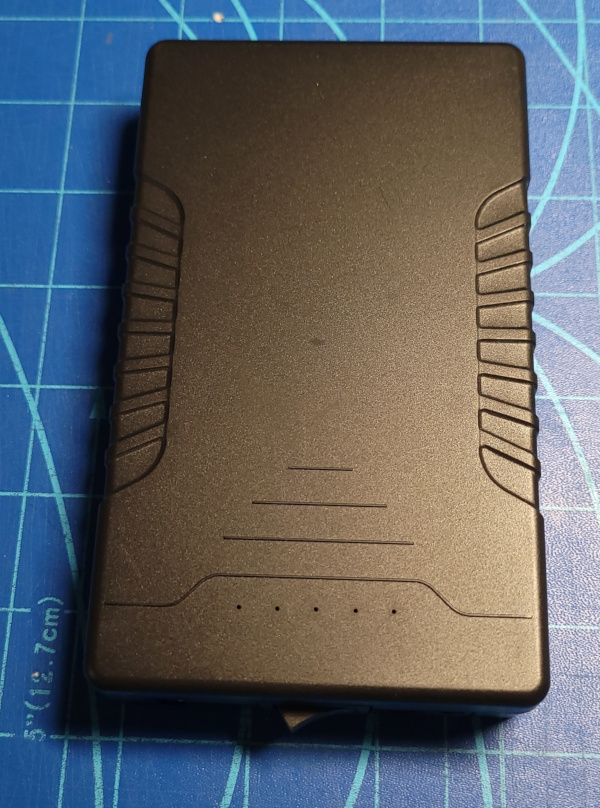
And the 12V power bank so the fan can operate anywhere with no power cord:
Put them all together, and it works (and is very quiet):
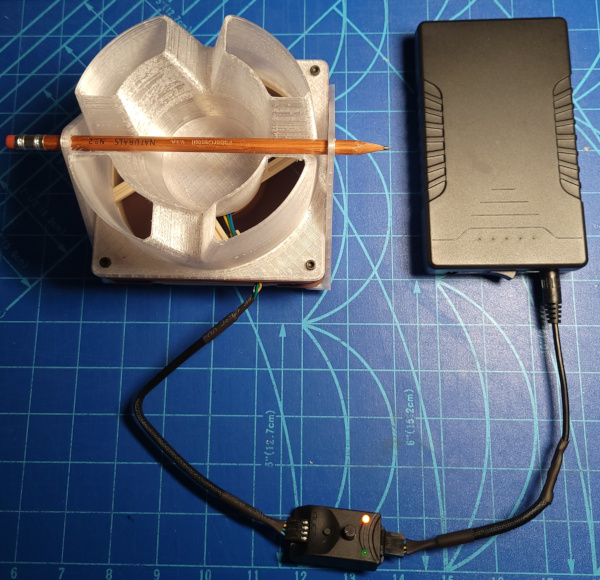
A wire finger guard grill is on order to go on the back for safety. The bolts should be long enough to attach it as well as everything else.
Now need to design the rest of the fan mount to hold the bits together. The pencil is nowhere near the balance point, so the mount will need a lot of positive force to hold the fan at any angle. (Or maybe the current design is a mistake).
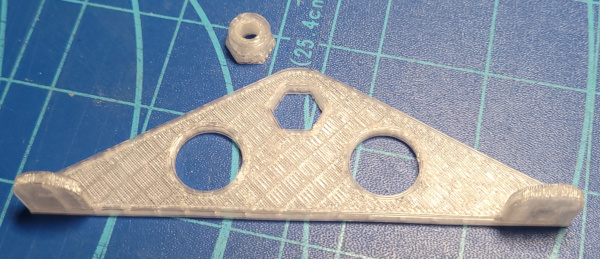
Yep, current design is bad, let's do something completely different. New design moves the pivot point down to a location much closer to the center of gravity. I still have a (larger) hex hole and a separate piece to fit in the hole and stick out the side, which I tapped for a 1/4-20 threaded rod:
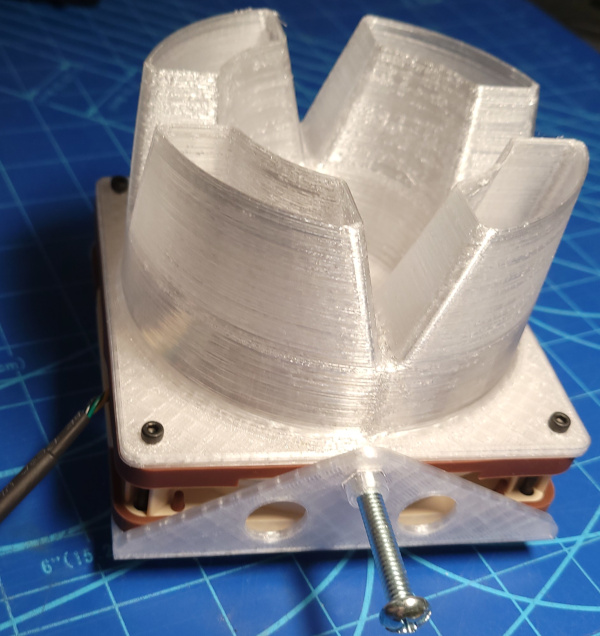
Putting the new sides on and adding some 1/4-20 bolts for testing shows that it is much easier to twirl around the bolts now without needing a lot of force to hold it at any angle. If not at the center, it is very close:
I'm imagining gluing the axle pieces in place and gluing a bit of threaded rod into each axle, then having knobs with embedded 1/4-20 nuts on the sides of the eventual mount for securing it in position at the desired angle.
Having tried to glue small finicky parts previously and wound up with the superglue setting up before I got them aligned, I've done two things: 1) Ordered some glue that gives me extra time and 2) Printed a little jig to help hold the axle piece perpendicular to the side while gluing it:
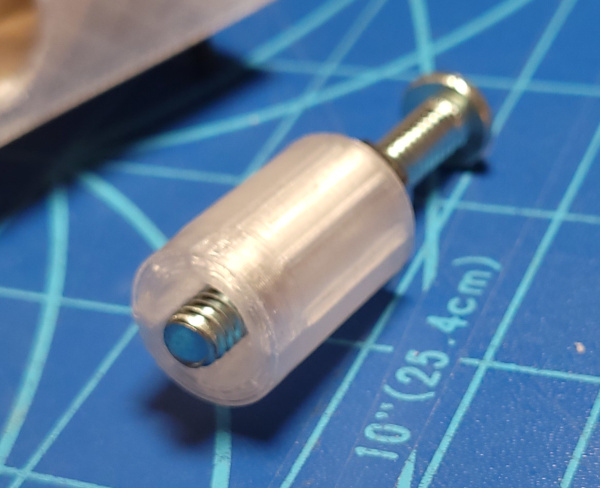
The jig has a little cup in the bottom that fits over the axle so the lip of the cup can rest on the flat surface of the side. By screwing down the nut, the axle should be pulled up precisely perpendicular to the side while the glue sets. This is what it looks like in place:

A little practice should get me adept at seating the axle before I do it one last time with glue on it.
Both the glue and the finger guard grill arrived. My jig seemed to work well for getting the axle parts glued in correctly, so I was able to complete the assembly of the fan portion:
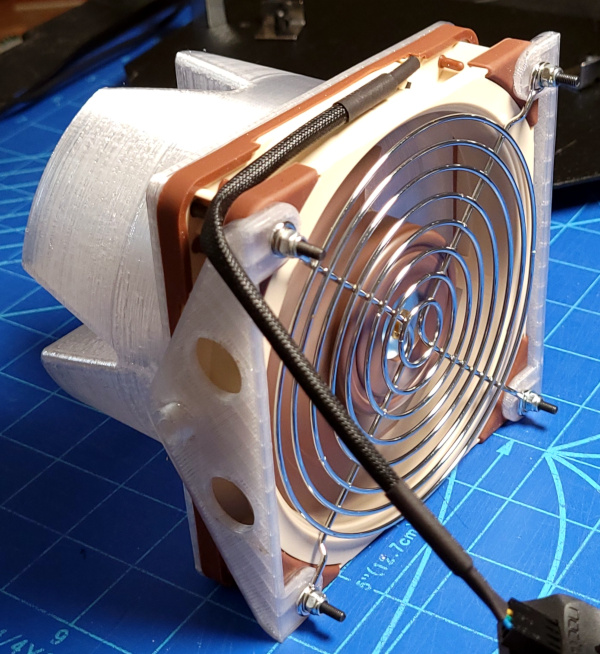
I added washers and nylock nuts to the final assembly, so hopefully the pieces won't vibrate loose over time.
Now need to design the base and vertical supports to hold the fan up and allow it to rotate.
Rotating the fan assembly around a hole in a board seems to show that I'll need 85mm of height above the battery pack to allow free 360 degree rotation (practically could probably live with less than that, I doubt the cord is long enough for one thing). Probably 70mm is the minimum that at least allows the base of the fan itself to clear the battery pack.