PWM Cooling Fan
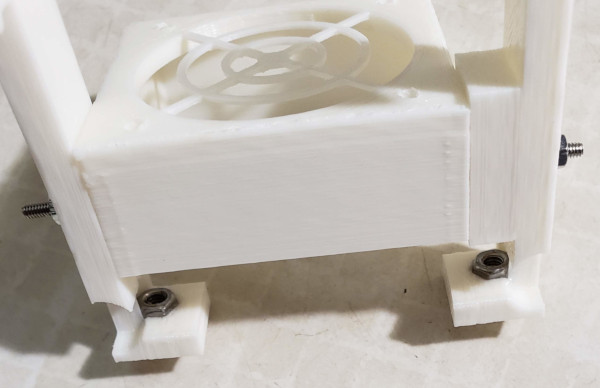
Adding the PWN controlled cooling fan is a fair sized project since I need to come up with a way to wedge it on to the X carriage. I've devised a box to hold the fan and some supports to wrap around the rear of the carriage and screw into the front. Here's the holder with the supports attached:

There isn't any room to hold the nuts in place while getting it bolted on to the carriage, so I've epoxied nuts into the shallow nut traps printed into the supports:
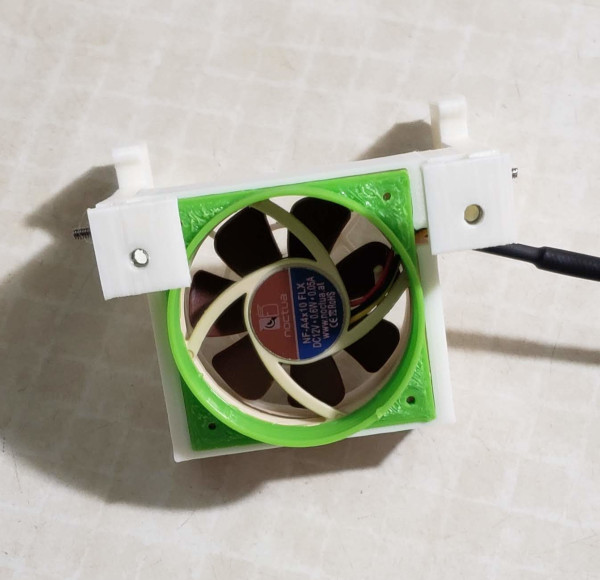
Here's how the 40mm fan fits:

And here's a dummy piece showing how the shroud will attach (with M2 bolts holding it on and squeezing the fan inside the box):
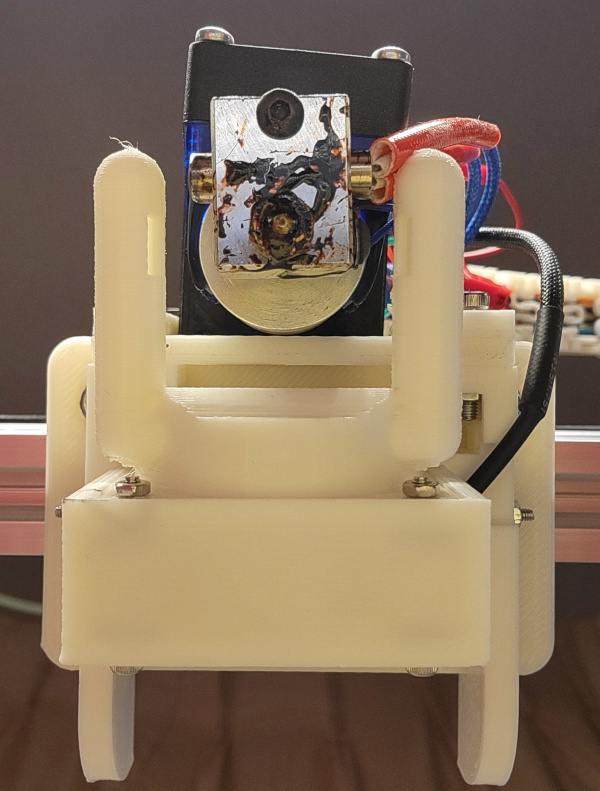
To attach to the carriage, hook the slots over the rear of the bottom carriage plate and rotate it up into place:
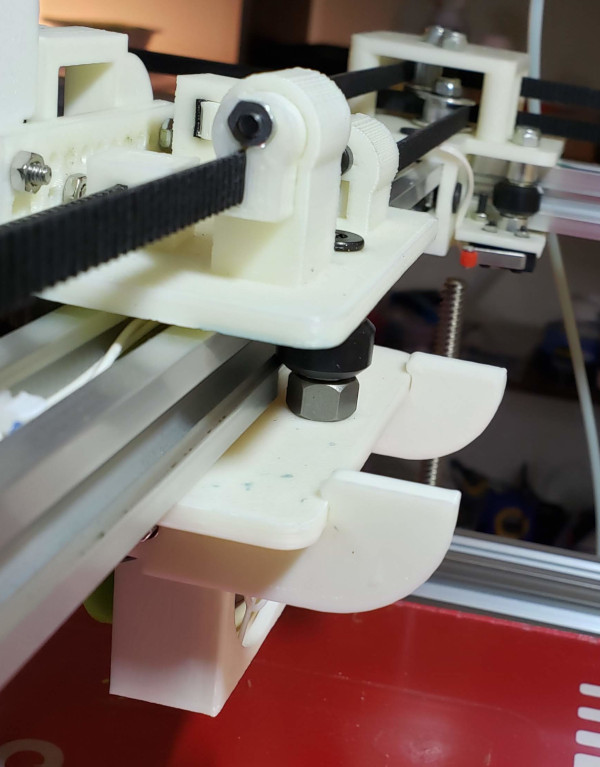
Testing the level, it looks like at least one corner touches the bed at the same time as the nozzle, so I need to do a bit of sanding off the high bits before it is safe to print anything with this attached:

I tested the fan with the manual controls, and it does indeed turn on and off on demand, and I can reduce the speed, so the electronic bits are functioning properly.
Of course all that is the easy part. Now I need to design a real shroud to direct air below the nozzle. The big challenge here will be coming up with something I can create in openscad. I'm sure whatever I come up with will horrify fluid flow scientists, but as long as it gets air to the newly extruded filament (and doesn't get too much air to the nozzle itself), I should be able to print some things a lot better. If I'm lucky, I can invent a design that can be printed in one piece.
DOH! I got the fan sanded level, and it no longer touches the bed anywhere, but it does jam into the nozzle wiper gadget I have on the rail. That means any shroud extension I add would probably hit it as well. Need to remove it and invent a new gadget that won't collide with any bits of the fan. Maybe clamp around the bottom of the rail, and poke the pipe cleaners up to bed level.
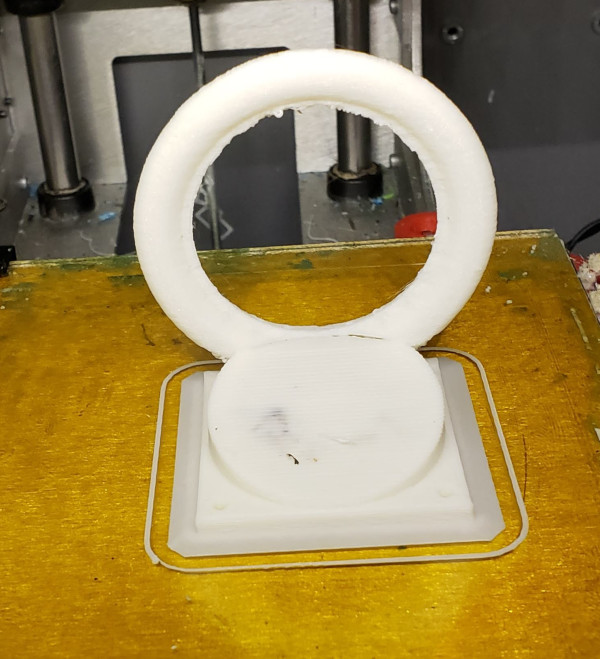
After much hacking around with openscad I produced a ring style fan with holes pointing just below the nozzle for the air. I don't think it works very well but I did get it printed and installed:
The old solidoodle just finished printing it here:
It didn't do a great job on the overhangs, but at least the surface is mostly solid to keep air from leaking:
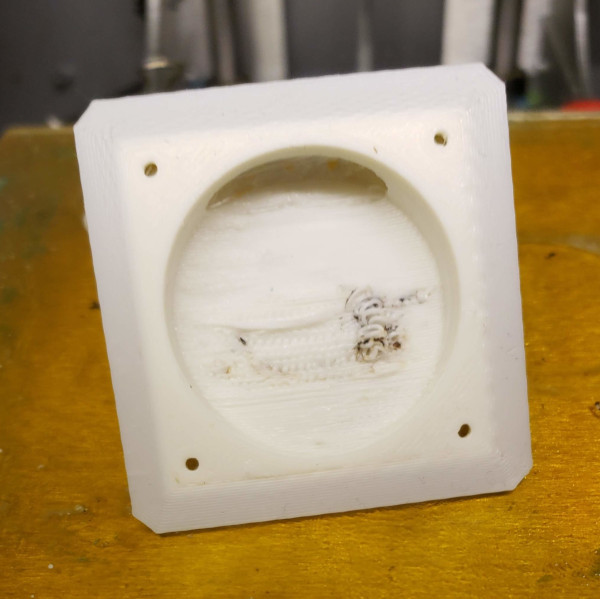
Though there are a few gaps (probably because my model was too thin in places):
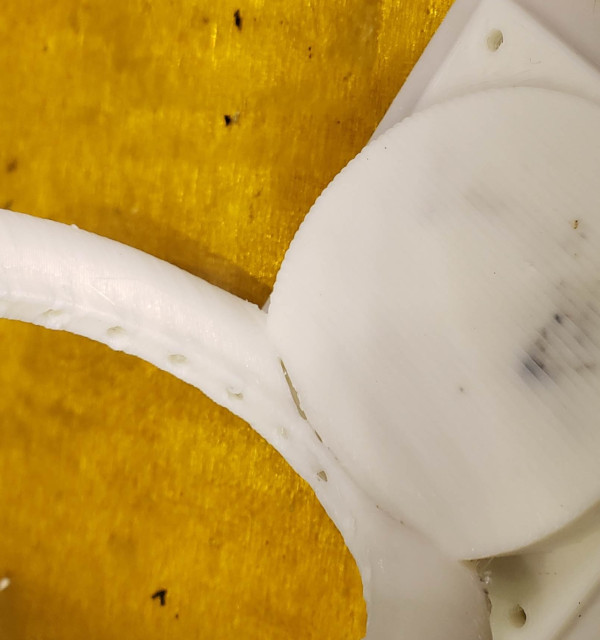
Here are some views of it mounted, first from the top:

then from below:
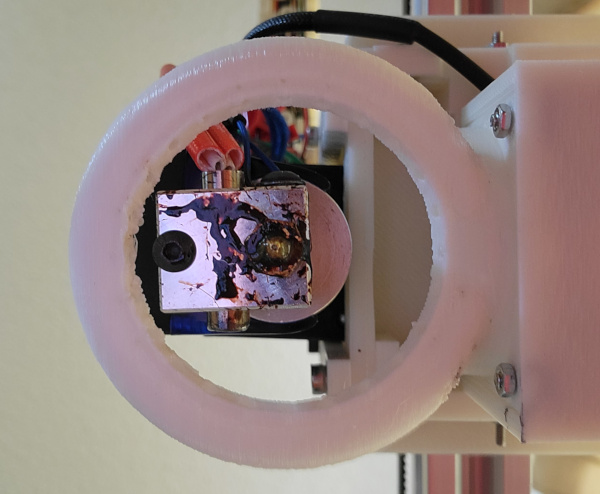
And then a bullseye with the camera directly under it on the build plate:
After all that I printed a couple of little fast string tests I thought might tell me how well the fan worked:

The one on the left was with the fan plugged in, the one on the right was with the fan unplugged. Not much difference :-).
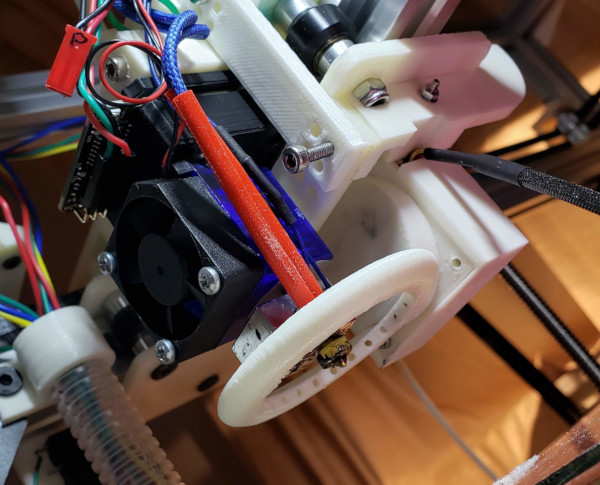
OK, designed a totally different (and much simpler) fan shroud with more room to move air through a couple of arms with slots that point just below the nozzle. (Printed this with supports to avoid problems with the large top disk.) Here is a side view:

Here is the printbed eye view:
I went back to the little 5mm step test to check how well this works, and it seems to be quite effective. The steps on the left were printed with the fan plugged in and the steps on the right were printed with the fan unplugged. The one on the right gets all melty in the top cube with lots of hot filament coming out in a small fast printing space:

So I seem to have an effective cooling fan now.