A Box
I've been thinking I need the electronics in a box to keep debris out of the motherboard and such. Something sort of the shape of a pizza box under the printer is probably the way to go.
It could have partitions and doors so I could store things in one side (like the electrical cord, ethernet cable, and tools and attachments) and put the electronics in the other.
If the bottom rails are bolted to the top of the box, that would allow them to be secured in a squared up configuration to help with the overall stability of the frame.
If the box sticks out one side a bit, I could run the cable chain directly into a hole in the box and up to the side of the carriage most of the wires will go through.
Still thinking about how best to get access to the motherboard for plugging in all the wires while still having it secured and the ethernet socket and sdcard accessible.
...Time has passed, and I've had some ideas about the motherboard: I think having it on a tray that can slide out the side might work best. I've been printing lots and lots of cable chain the past week, and I can see putting one chain on each side of the tray for the wires to run through and still allow the tray to slide in or out, with enough room around the motherboard for some posts or something to use for strain relief on the wires where they plug into the board.
I could also include a small circuit board with two pin connectors on it to provide 12 volt power for things like cooling fans and lights which are always on.
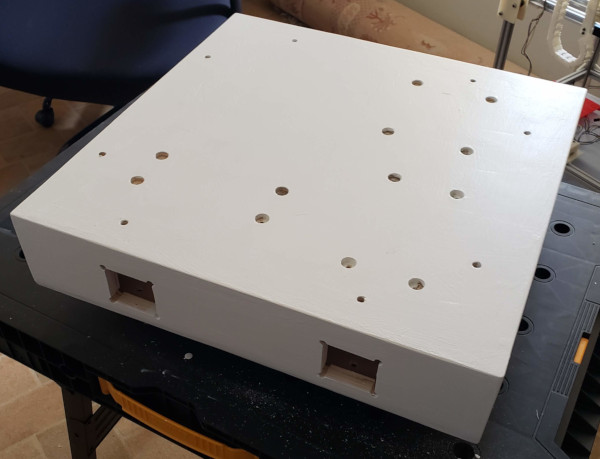
I think I want to make the box be 18" x 20". The printer itself is about 16" x 16" and this will give me plenty of room to mount it on the box and have access to the v-slots through holes in the box where I can secure them, both to hold the printer down, and to align the bottom v-slots perfectly square.
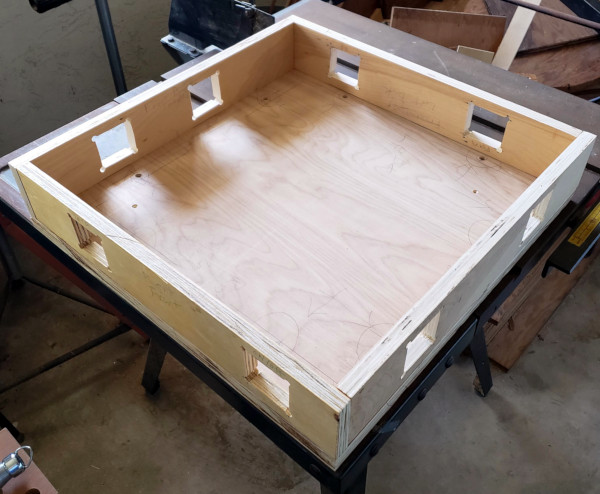
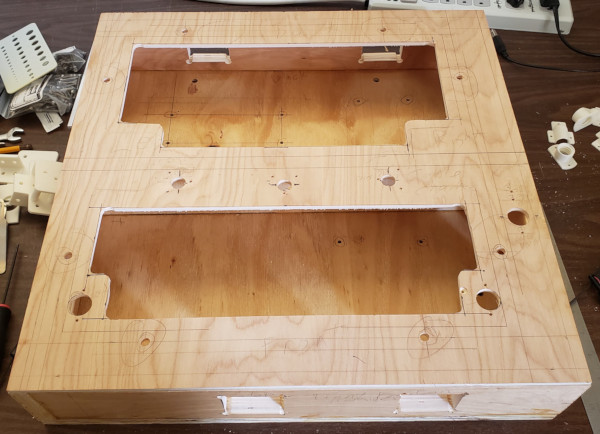
I can make the base and top of the box by screwing two pieces of plywood together so they will definitely be exactly the same size when I trim them. I can drill the holes for mounting the v-slots while they are still screwed together so I can access the bolts from underneath the printer.
I'll want to make large cutouts in the top of the box to get to things inside it. Perhaps some velcro and plywood will cover these to keep junk out when printing. Maybe I won't put the motherboard on a slide, but just access it from the top. I'll still need a way to run the network cable in, but that seems doable. Probably want some fans to blow air through the box so nothing overheats.
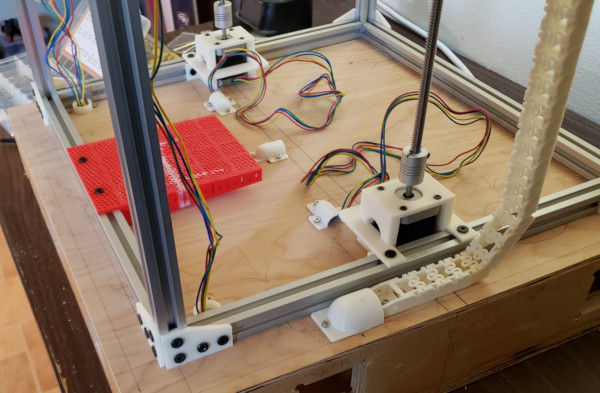
I'm pretty sure I'm not doing the slide. I've already printed a mount for the smoothieboard I can bolt to the box.
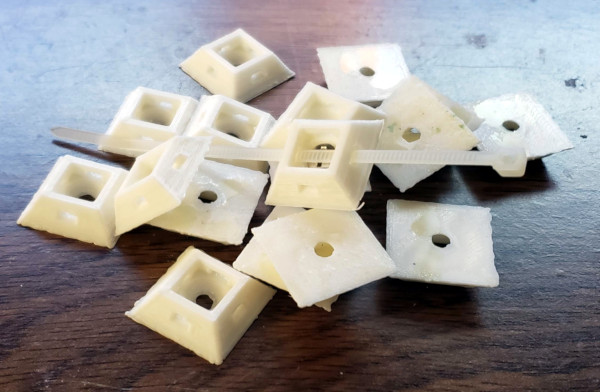
One thought I've had is to 3d print a drilling guide for putting standard size holes in the plywood I'll be using for the sides of the box, then I can 3d print plastic inserts for those standard size holes to hold fans, power switches, an opening for an ethernet cable, etc. Maybe even design the inserts to go in both sides and clip together.
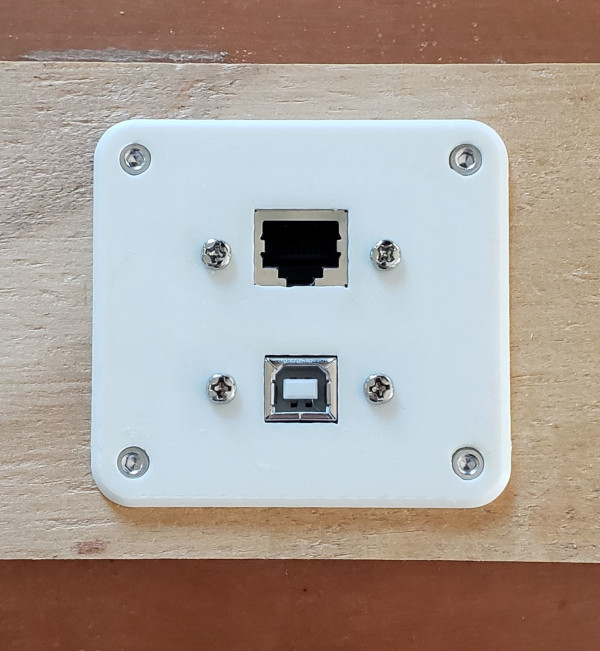
I've got a box.scad file I've been developing with parts for mounting fans, switches, and a computer style A/C receptacle. I was thinking about how to get the ethernet inside the box when I wondered if anyone made a short ethernet extension cable with a panel mount connector on one end, and by golly they do:
If they make one of those, maybe they make the same thing for USB? Yep:
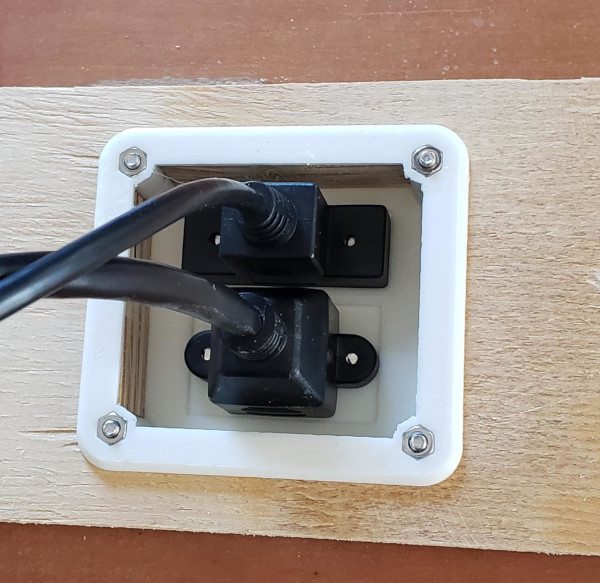
So when they get here, I can make mounting plates for them as well, and I'll be able to connect with either ethernet or USB without opening up the box.
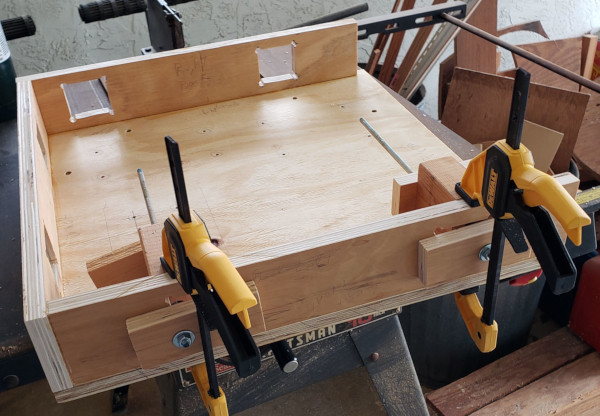
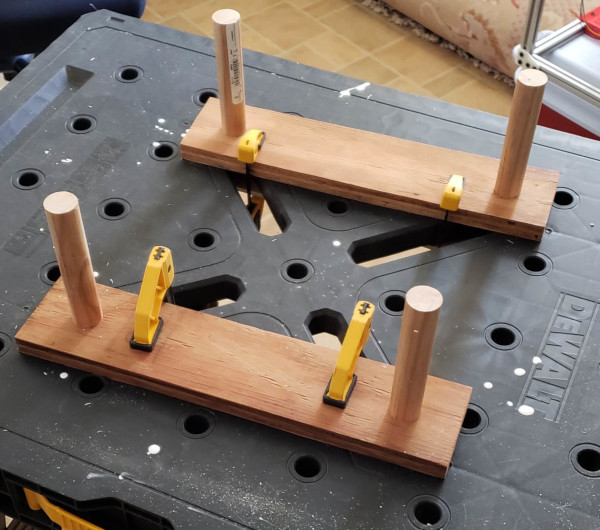
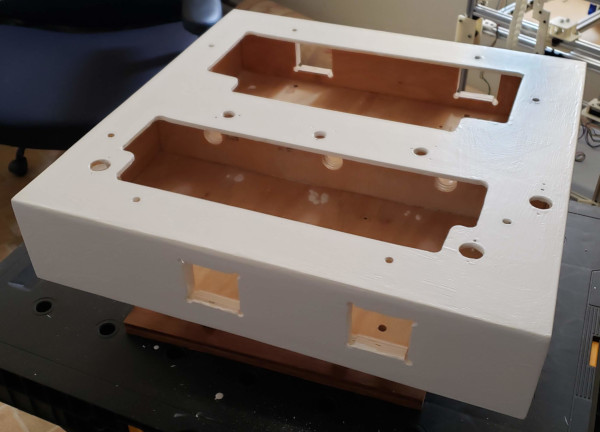
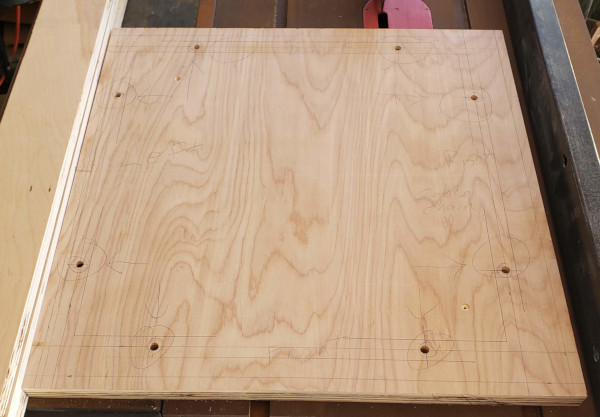
The pieces for the box are coming together. I screwed a quarter inch sheet of plywood (for the top of the box) to a much thicker sheet for the bottom, then cut them to size while they were in one piece to make sure they match on all sides. While they were screwed together, I drilled some holes through both where the bolts to secure the v-slots to the box will go (so I can run a hex driver through the bottom up to the top and tighten the bolts in the t-nuts). The holes are too big so I can adjust the position of the v-slots and make sure they are square. Here's what it looks like so far:
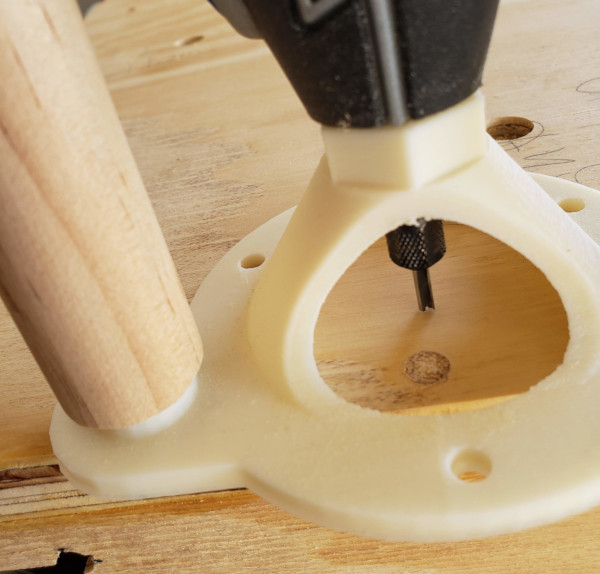
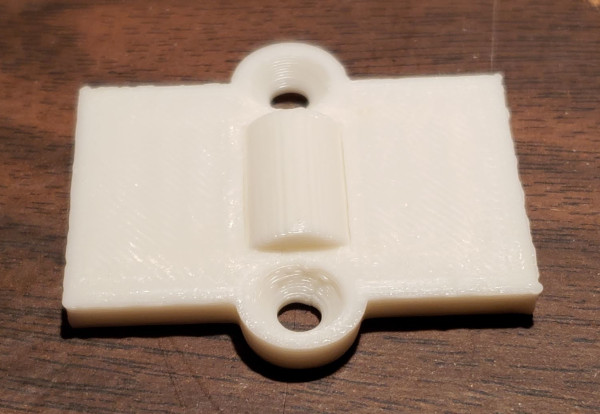
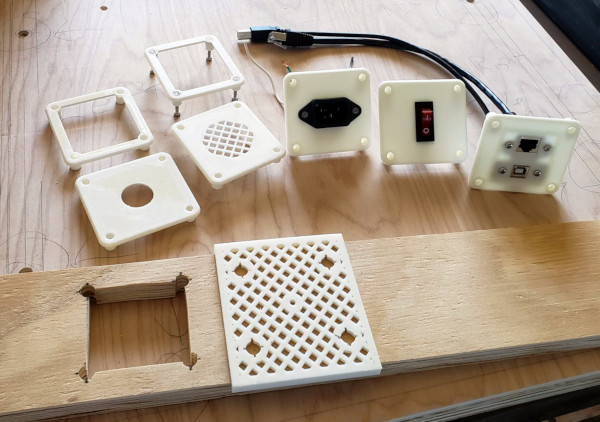
Meanwhile I also cut strips of the thicker plywood to serve as the sides of the box, and I 3d printed a drilling guide for drilling uniformly spaced holes I can use to cut an opening with a jigsaw. All the various kinds of mounting plates have been designed to mount switches, cables, fans, and such. Here's the drilling guide in place:
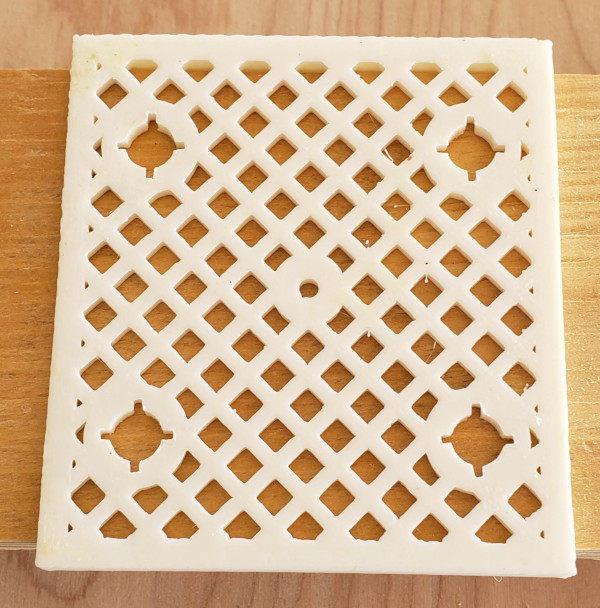
I have notches in the side of the drill holes so I can mark the lines I want to cut and I also have a smaller hole in the center so I can screw the drill guide down and make sure it doesn't shift while drilling (making it a grid rather than solid made it less likely to curl up while printing).
The drill guide worked like a champ, I've drilled and jigsawed one hole (perfection is not required in the jigsawing):
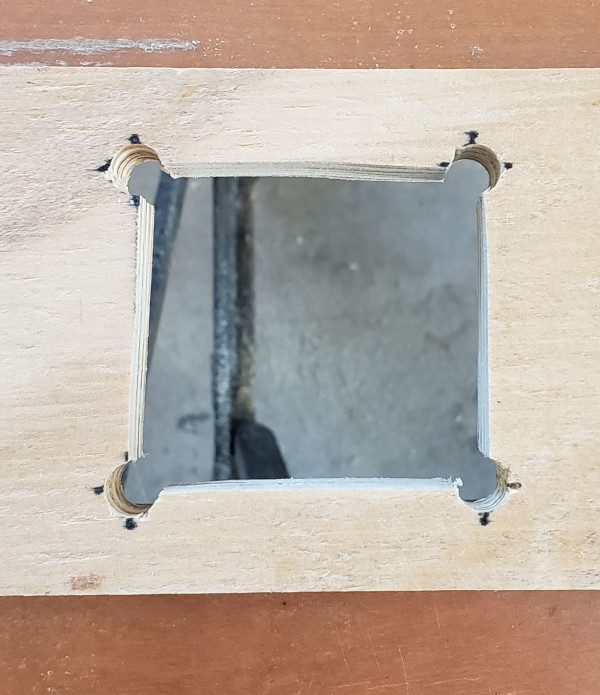
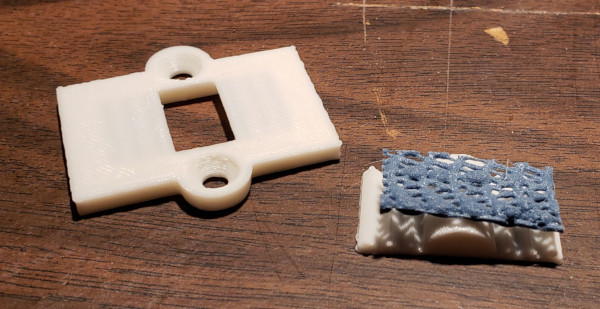
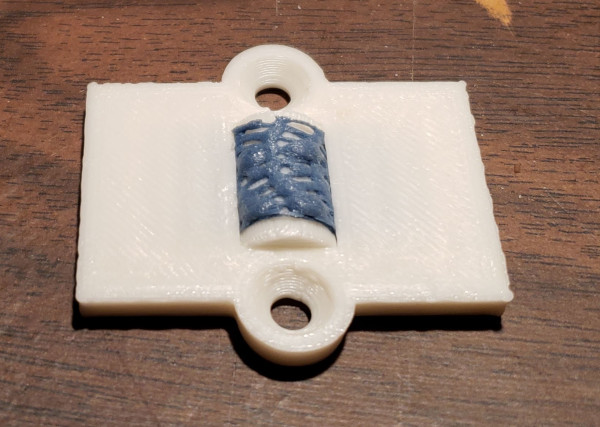
The printed pieces fit perfectly, just dropping into the cylinders left by the drill. Here's the outside plate::
And the corresponding inside plate:
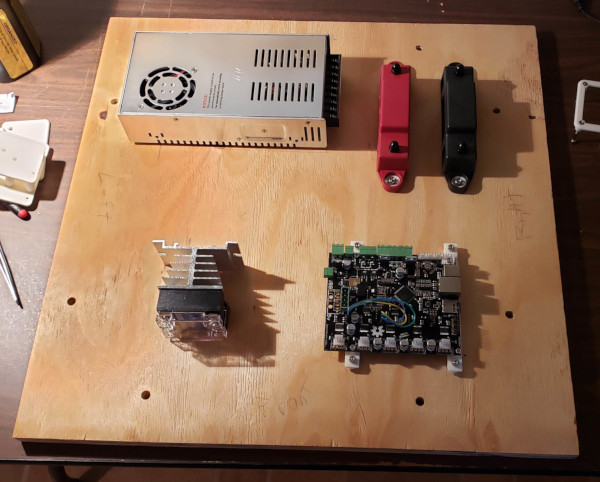
While getting pieces printed up to hold power connectors and switches, I also downloaded the PDF file for my power supply, and the diagram says it has 4 M4 bolt holes on a 50x150mm rectangle. They can take 5mm of bolt (so I'll need to use the right length to go through the plywood bottom and reach 5mm into the bolt holes, perhaps printing some spacers as well to hold the power supply off the bottom of the box).
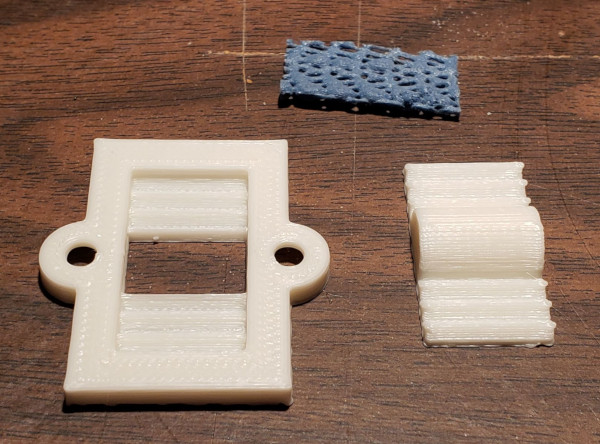
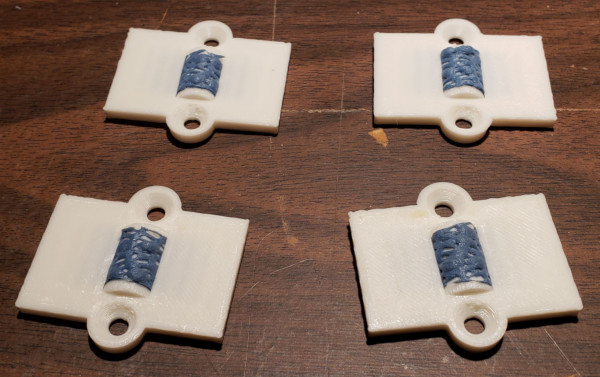
Here's a family portrait of a lot of the box pieces I've printed so far:
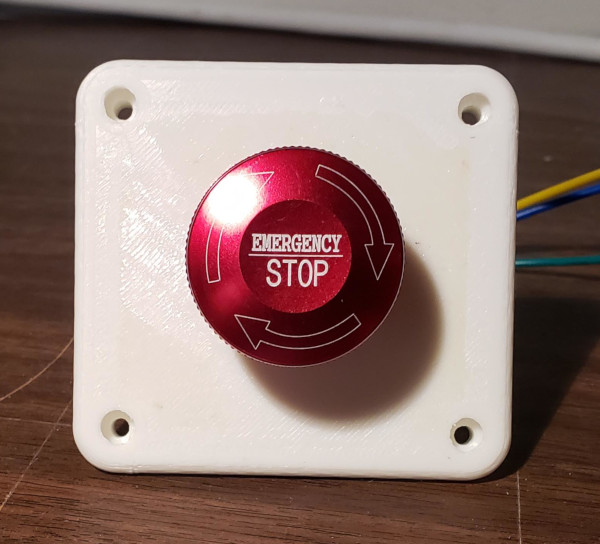
Hey! My big red button came in: