Introduction

Kewpie is the end result of my Adventures in DVD Printing. I started by trying to discover how to tweak the CUPS .ppd file to allow DVDs and CDs to be printed from any application and ran into so many problems with the support for printing in so many different applications, that I gave up on that and instead produced this program which does nothing except print an image, but gives you as much control as possible over how the image is printed.

Features

  • Main window displays a print preview at all times.
  • Save and load printer settings in ~/.kewpie/*.qp files.
  • Remembers printer setup across multiple print jobs.
  • Batch mode operation available for command line printing.
  • Written in the Qt toolkit, source freely available.

User Guide

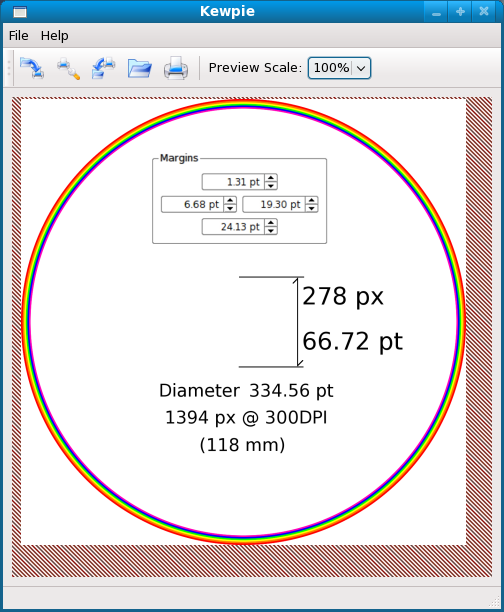
Hopefully the user interface isn't too dreadful. The screen shows a print preview image of what would print if you pressed the print button. The central view has the dimension of the page from the printer definition with the margins shown in pink and the image shown to scale as it would print with the defined margins on the page. As in all apps, the icons are mostly meaningless, but you can hover over them to get tooltips and status bar messages.

The typical work flow consists of first running the Print Setup action to bring up the Qt print dialog, select a printer, adjust the margins, select the printer tray, etc. After selecting all the printer options you can, if desired, save the printer information in a config file (which, by default, will go to the ~/.kewpie/ directory). If you have previously saved printer configs, you can load one rather than going through the print setup process manually. When you invoke kewpie, you can also specify the -config name option on the command line to start out with a predefined config. Defining the printer will resize the main window to show the new preview to scale. If the window is too large or small, you can select a scale factor from the toolbar (this only affects the scale of the preview image - it has nothing to do with the eventual printed image).

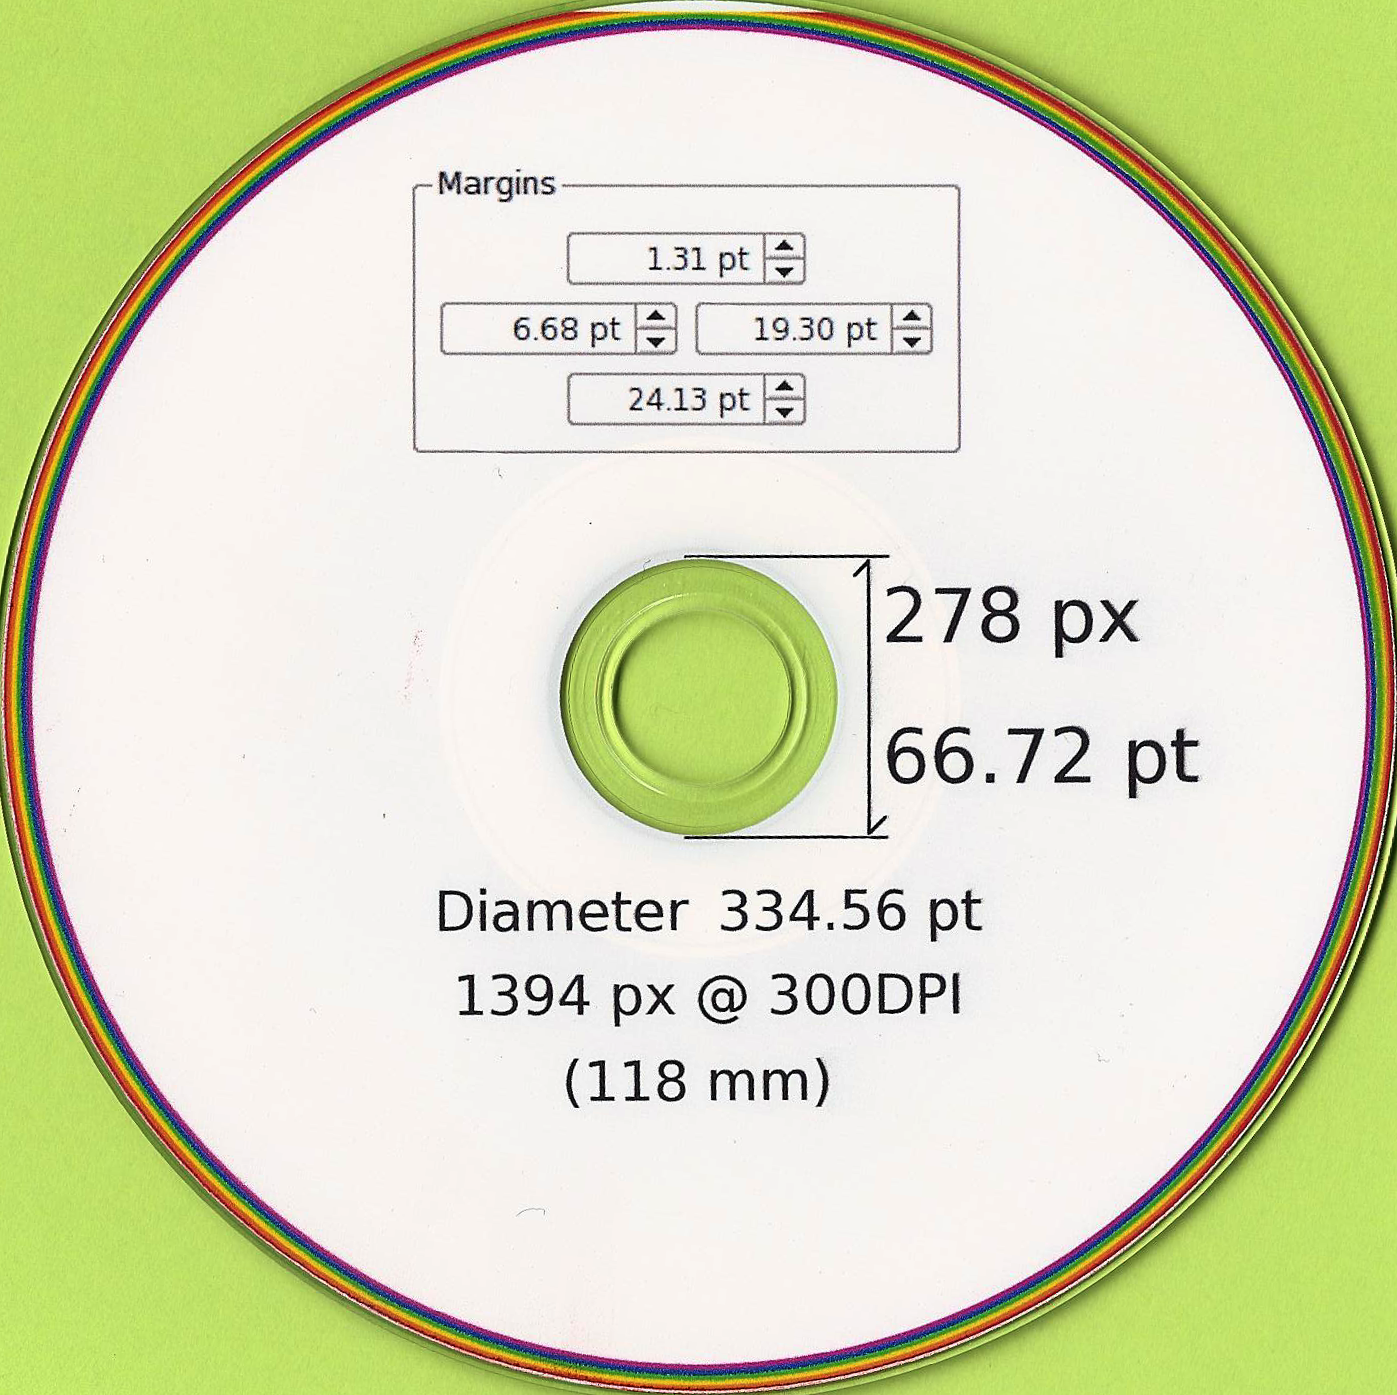
After the printer is defined, you can use Load Image to load an image file to be printed. The preview changes to show the image. Kewpie always rescales the image to fit inside the margins on the page. If you don't want the image distorted, make sure the aspect ratio of the image matches the printable page size. If you don't want the printout fuzzy, make sure the resolution of the image is high enough to privide a good result in the eventual printout. You can preload an image with the -image filename option on the command line, but you also need to specify the -config option so it will know what page size to use to display the image.

All that is left is to press the Print button which sends the image to the printer. If you use the -batch option together with the -config and -image options, kewpie will simply print the image and exit without bringing up the GUI interface.

Some other command line options are available as well. Here is the summary the -help option prints:

usage: kewpie [-config file] [-image file] [-batch] [-version] [-help]
-config  Name of the printer config to load
-image   Name of the image to print
-batch   Operate in batch mode, no GUI windows
-version Print version and exit
-help    Print this help and exit

kewpie is a utility for printing images with precise margins. Primarily
designed for printing DVDs and CDs, but not restricted to that.
Home page: http://tomhorsley.com/software/kewpie/kewpie.html

Hints

Kewpie has absolutely no drawing capabilities. All it can do is print an image created somewhere else. GIMP and Inkscape are both likely candidates for generating an image. For my DVD printing work, I have been generating images with 300DPI resolution and 118 millimeters in diameter (yes, DVDs and CDs are 120mm, but printable media all seem to have a 1mm non-printable ring around the edge).

Once you calibrate your printer margin settings and save them in a config file, you will be able to print DVDs centered precisely on the media. If your printer is an all-in-one device, it can be very handy to print a test image, then pop it into the scanner and use the GIMP measuring tool to pick off how much you need to shift the margins to get the image to come out centered. Once you get close, you can use a ruler or just eyeball the results and apply ever decreasing tweaks to the margins until it comes out exactly right (it shouldn't use up more than a half dozen media to finally get it perfect :-).

Note that the config files will probably be unique to a single system and printer since they incorporate (among other things) the printer name.

The Qt toolkit does not provide a easy way to save and restore absolutely all of the printer setting. Many settings are in operating system dependent separate tabs in the printer setup dialog. It may be a good idea to define multiple copies of the same printer with different built in default settings. For example, on my system I have two different printer defs for the same physical HP Photosmart C5580 printer. One is named C5500-DVD and has the defaults setup to print 120mm DVDs using the DVD tray media source. The other is named C5500-Letter and prints on normal 8.5 x 11 paper by default.

I also noticed that Qt appears to sometimes do some strange rounding of the margin values. To get the exact margins I wanted recorded in the config file, I had to edit the file manually (I hate when that happens :-). Note that the units for margins in the config file is always points (1 point is 1/72 inch).

Printing to DVD was broken in hplip early in the fedora 11 release. Later updates fixed it, so be sure to get the latest updates if you want your HP DVD printer to work properly.

Download

The source code for Kewpie can be found at:
http://tomhorsley.com/software/kewpie/kewpie.tar.bz2

That is a compressed tarball containing both the source and this web page in the html subdirectory.

To build the source, you need to be setup for Qt version 4 development. On the fedora 11 system where I do development, this means you may need to yum install qt-devel (which will drag in other dependencies). Once you have that you can cd to the kewpie directory where you unpacked the source and type:

qmake-qt4 && make

That should build the kewpie executable, which should be a stand alone program that can be installed anywhere convenient on your system.

I haven't tested anywhere other than fedora 11 or with any printer other than the C5580, so you are on your own for building on other platforms and calibrating the margins with other printers.

P.S. As far as I'm concerned this is all public domain, but the Qt license probably makes it more restrictive than that (but not by much for practical purposes).

Links

118mm-dvd-test.png is a 118mm diameter test image showing the margin settings and hole size that works perfectly for me and my HP Photosmart C5580 printer.

118mm-scan.png is a scan of the resulting printout so you can see just how perfect the margins line up. Note the flat spot at the top. This seems to be a bug in the linux driver for the C5580 - the same printer can print all the way to the edge even on top when using HPs software and printing from Windows XP.

mm118-template.xcf is a GIMP image I use as a template for the 118 mm DVD images I produce. It has one donut shaped layer which is the visible part and one anti-donut shaped layer for masking off this sticking out of the edges so you can see what will actually print. (It isn't spiffy enough to take into account the flat spot on top :-).

118mm-dvd.qp is a sample printer config file saved from kewpie for my C5580 printer named C5500-DVD.

The official kewpie home page is located at http://tomhorsley.com/software/kewpie/kewpie.html, check there for updates if you are looking at a copy somewhere else.

My home page is http://tomhorsley.com/, be sure to adopt all my earth shattering political ideas before using this software! :-).

History

The initial version of kewpie was uploaded on July 4th, 2009. It worked, but didn't have lots of bells and whistles.

The version calling itself 1.0 was uploaded a day later after lots of cosmetic tweaks to provide toolbars, a help menu, etc. (as well as adding the comand line options).

I fixed a bunch of typos in the web page on July 8th and updated again, but there were no program changes.

Page last modified Wed Jul 8 19:15:44 2009