Ceramic Bed
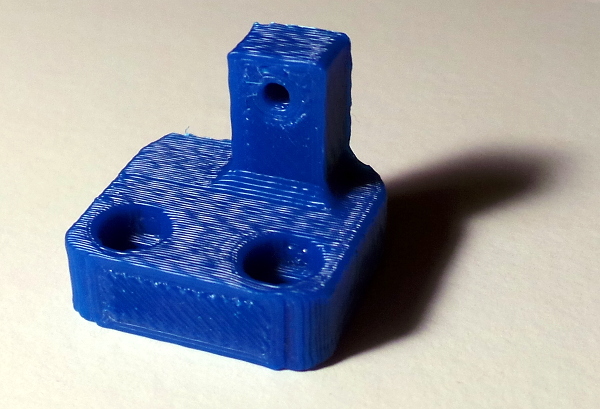
After the problems I had getting large parts to print and the glowing reviews of ceramic versus glass in the forums, I figured I'd give ceramic a try, but to do that the first thing I'll need is muddtt's Solidoodle Ext. Z-Stop Screw (there are several other z-stop extensions, but after printing one that obviously wasn't going to work, I found this is the one I need for my new model Solidoodle 2). The one glitch is that the STL file provided is, for some reason, upside down - you need to flip it over (or at least 90 degrees) to print correctly without supports:
But it seems like the main problem being solved by ceramic in the glowing reviews is cooling down too fast and cracking and warping at that stage. That isn't a problem I've had yet. My problem is prints not sticking and curling off the bed during a print, and my experiments with a glass bed and a dial indicator versus a ceramic bed seem to indicate my glass is flatter than my ceramic tile, and the flatter the bed, the more uniform the first layer and brim can be to encourage sticking.
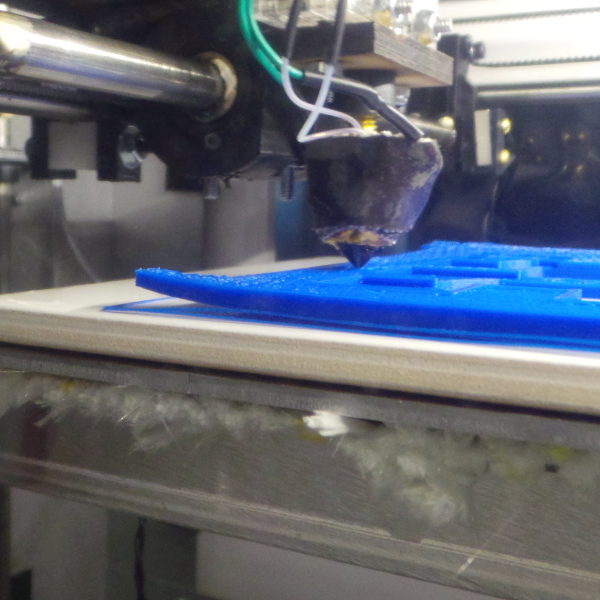
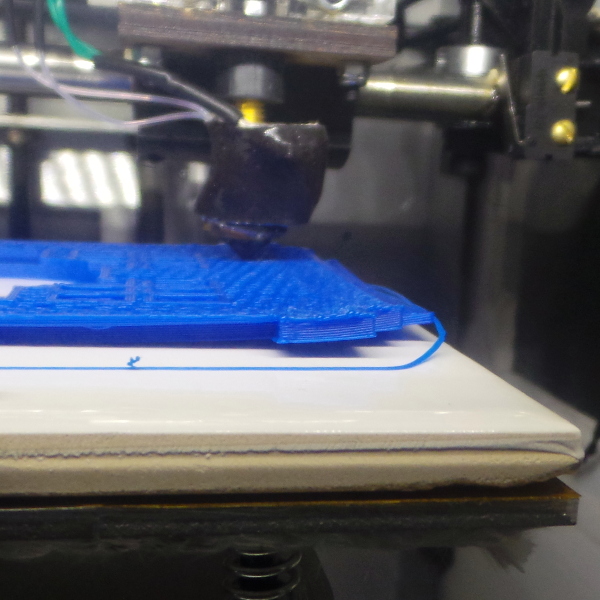
Here's the sort of problem I have:
Until I have a chance to get some really flat ceramic, I think I'll go back to glass and experiment with different kinds of "secret sauce" for getting large parts to stick better. The cement cleaner mentioned here is apparently a 50/50 mix of Acetone and MEK. I've tried acetone by itself, but this stuff may work even better when making a slurry with ABS.
I've also been trying to find out how long it takes the bed to heat up, and I'll be stashing all the results in Bed Temp Test (I have the glass results now, and will do ceramic later).
Meanwhile, I have obtained some 220 abrasive grit, and started grinding 3 tiles against one another to see if I can make them quite a lot flatter (without grinding off all the glaze :-). This is the tried and true technique for making optical flats (but might not work quite as well on square rather than round pieces - I guess I'll find out, on the other hand, I certainly don't need optical flatness).
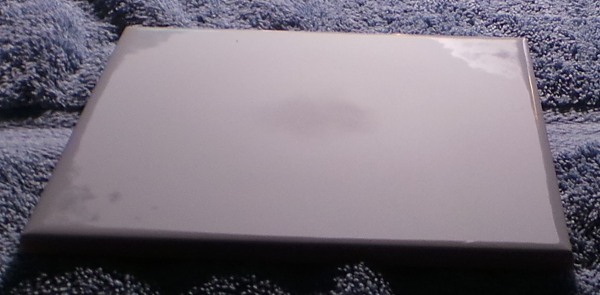
As evidence of the utter lack of flatness, here is the results of the first few minutes of grinding the tiles:
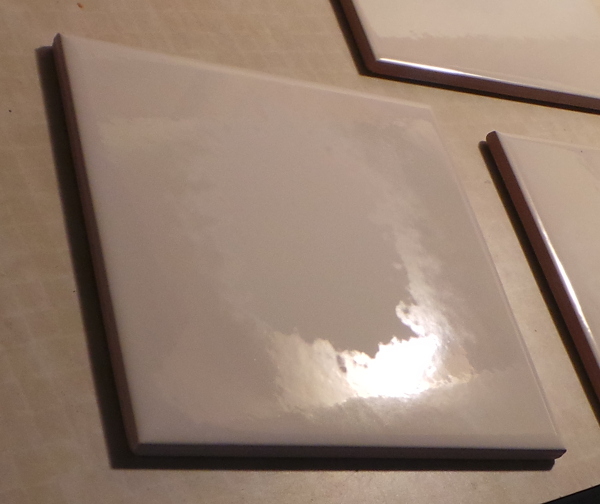
As you can see, the grinding has only happened in the raised center area of the tiles. I don't know how long it will take to extend the flat area out to most of the tile surface, but I wouldn't want to try using it again till it is much flatter.
Eventually, I want to design some kind of clip to epoxy to just the edge of the ceramic tile (much easier to do than with the thinner glass). Probably something slightly springy so it grabs the edge of the aluminum bed and keeps the tile from shifting during prints.
It has been a few weeks now and I've done several grinding sessions on the tiles, and things are getting better, but the best tile I have still only has one corner that has gotten fully flattened. An oblique view shows it up best where you can see 3 corners are still the original glossy glaze and haven't been touched yet by the 220 grit:
If I had known how far from flat they were, I probably would have gotten some larger size grit to start with and switched to 220 when they got mostly flat, but it does look like it might be almost ready to try out.
And now, I think this experiment is at an end. I tried the mostly flat tile, and the 220 grit ground surface is absolutely terrible at getting ABS to stick to it. It peels right up and follows the nozzle around unless I crank the Z-stop so far that it squishes too wide and gets pushed off the bed the next time the nozzle gets too close. It seems pretty close to hopeless to get ordinary tile to work well.
Perhaps if I was willing to keep using the telescope making techniques and polish the surface it could work, but it was already too much trouble to try the griding experiment.
Go back to my main Solidoodle page.