Z axis and print bed
|
|
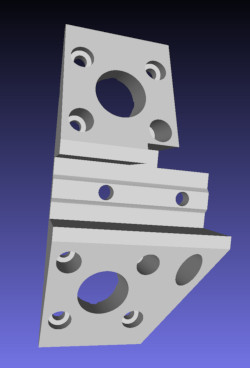
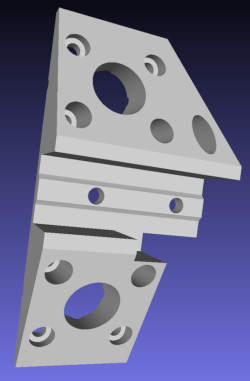
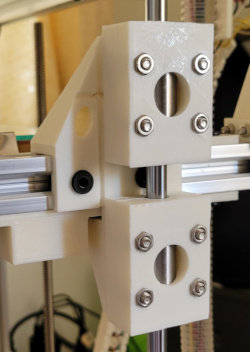
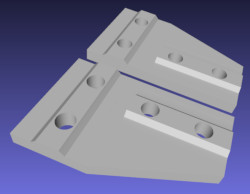
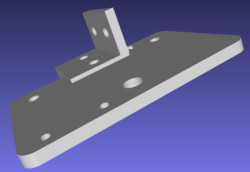
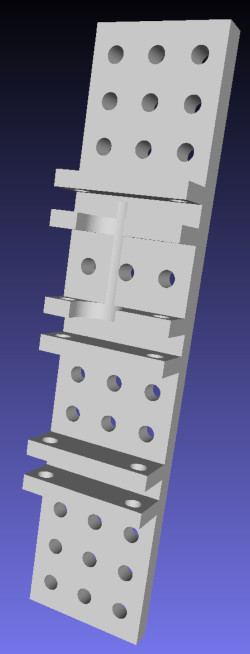
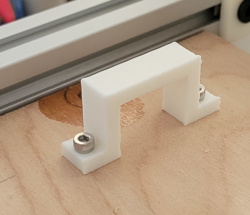
bearing-block-bottom Bottom half of the two pieces that
hold the linear bearings. You can't see it, but it is there. |

|
|
|
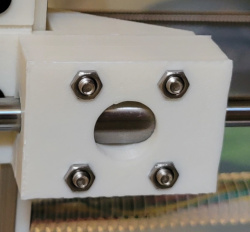
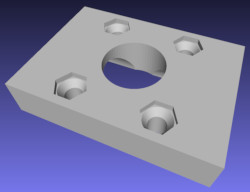
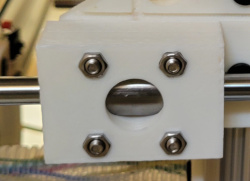
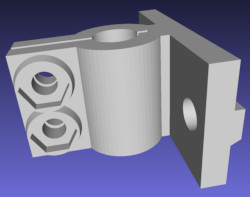
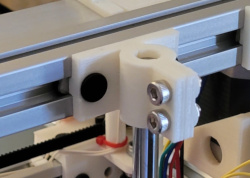
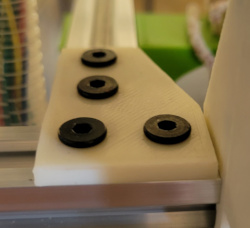
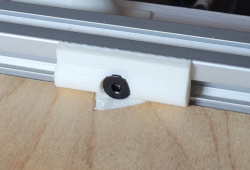
bearing-block-top Top half of the pieces that clamp around
the linear bearing. The nut traps make it simpler to run M4 bolts
all the way through the printbed bracket and bottom half of
bearing block. |
|
|
|
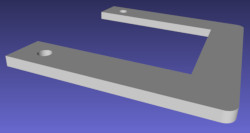
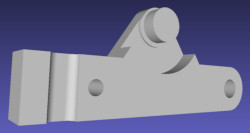
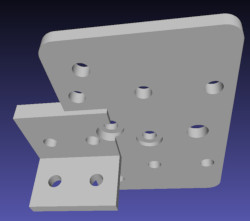
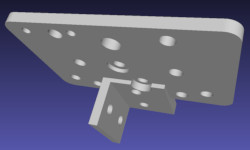
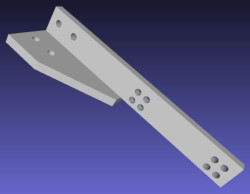
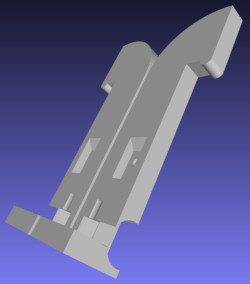
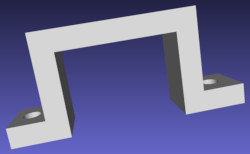
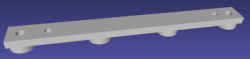
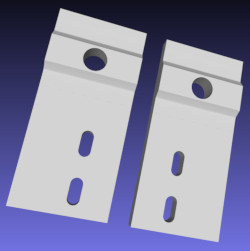
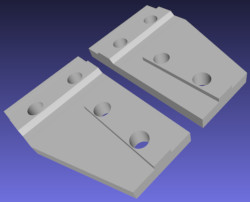
bed-bracket-left Nice long bracket to clamp on to the
printbed rail and hold the two linear bearings providing a long
moment arm to cut down on any tendency to wobble. |
|

|
|
bed-bracket-right Mirror image of left bracket. |
|
|
|
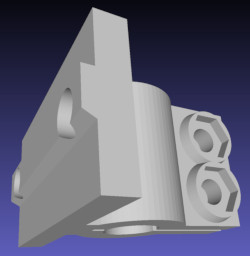
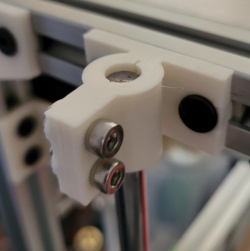
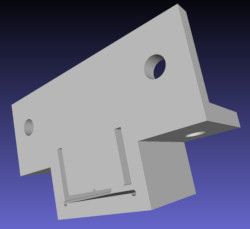
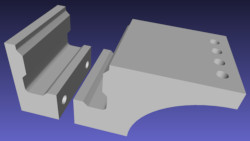
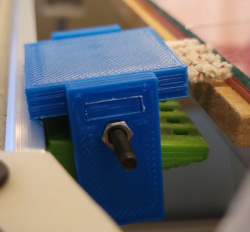
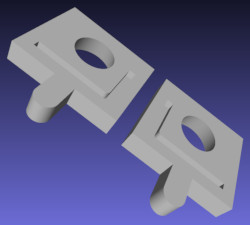
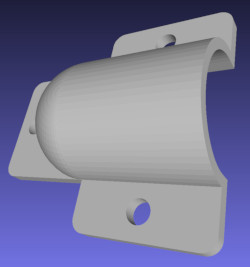
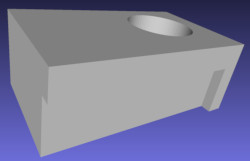
shaft-clamp-left Mounts to top of bottom rail to hold the
8mm shaft the printbed runs on clamped in position. |
|
|
|
shaft-clamp-right Mirror image of other shaft clamp. |
|
|
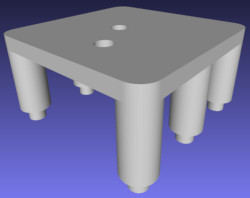
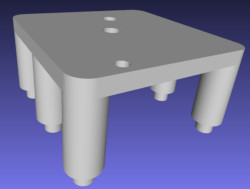
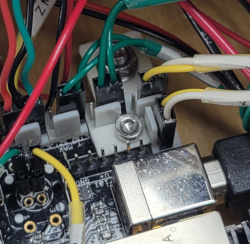
| z_motor_cap
The two Z motors are mounted under these and connected to bottom
rail. |

|

|
|
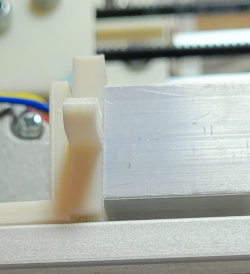
z_motor_horizontal This slides through the motor cap and
joins to the rail to provide more stability. |
|
|
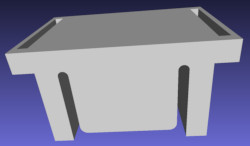
| bedbracket
Bracket to hold end of aluminum C channel that makes up the
printbed. |
|

|
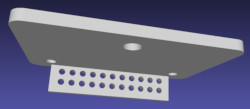
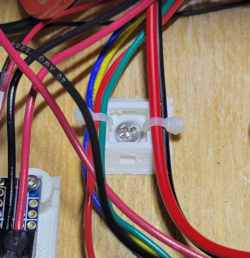
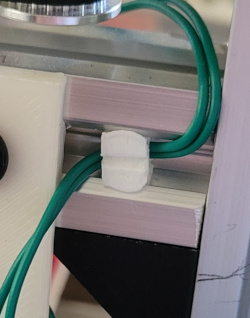
| bed-relief
Push fit to middle C channel to provide a place for cable ties to
allow strain relief on the bed heater power and thermistor
cables. |
|
|
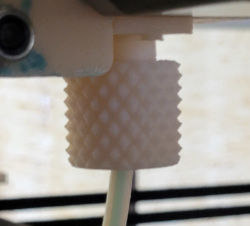
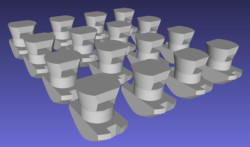
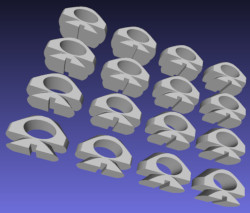
| m5-knob
Knob for the bed leveling adjusting screws. |
|
|
|
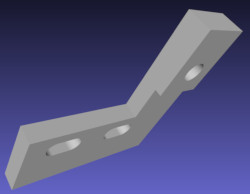
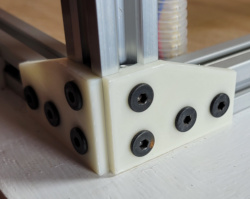
vv-corner-plate Corner plates used on the print bed to
join two V-slot rails at right angles. |
|
|
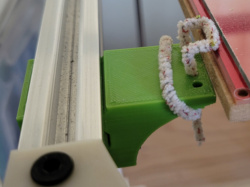
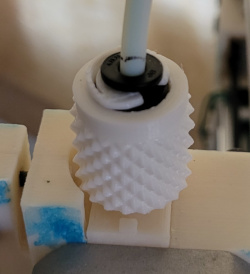
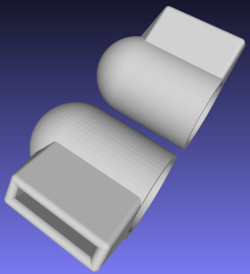
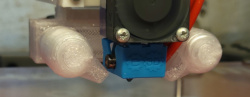
| cleaner A
cleaner to wipe drool off the nozzle just at the start of a
print. Custom startup code runs the nozzle slowly through the
pipe cleaner. |
|
|
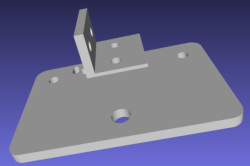
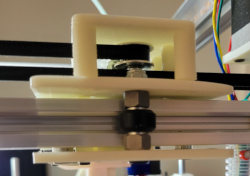
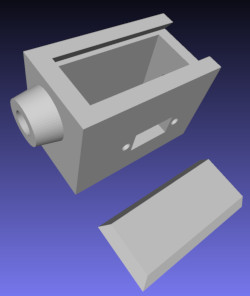
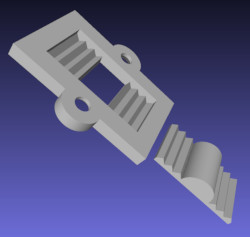
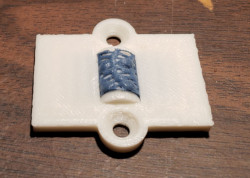
| cleanerplat
An improved holder for straight pieces of pipe cleaner I can
position by moving the top plate then clamping in place on the
old cleaner. |

|
|
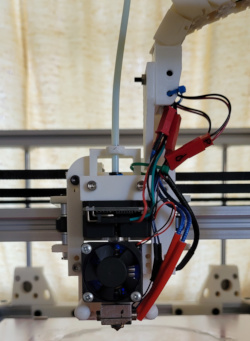
Extruder
|
|
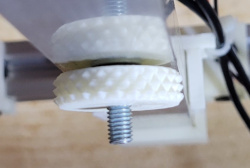
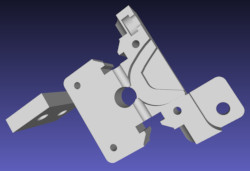
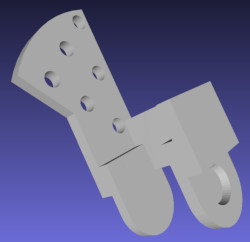
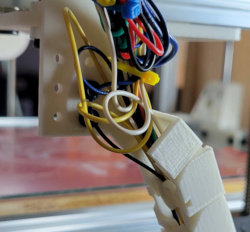
bottom_bearing_arm One half of the arm on the right of the
picture. The two halfs hold a bearing which presses down on the
filament as it is forced through the extruder. |

|

|
|
top_bearing_arm Other half of the arm exerting force on
the filament in the extruder. |
|
|
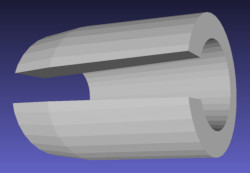
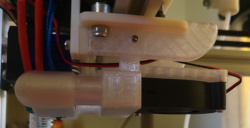
| bowden_cap
This cap screws into the bottom of the extruder and holds the
PTFE tube that feeds the filament into the extruder. |
|
|
| bowden_ring
This is entirely hidden by the cap, it is a crude collet to grab
the PTFE tube and be squeezed by tightening the cap. |
|
|
|
bowden_threaded_adapter This is also mostly hidden by the
cap. This is what the cap screws onto, and it slides into a
matching hole in the extruder. |
|
|
|
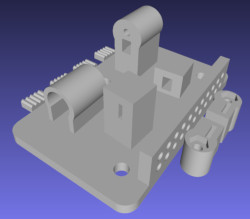
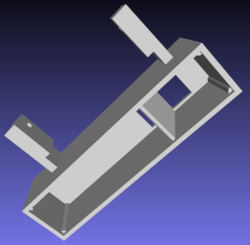
extruder_body_one Half of the main body of the extruder
seen here completely assembled. |
|
|
|
extruder_body_two Other half of the extruder. |

|
|
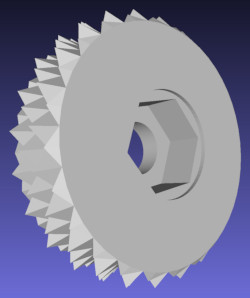
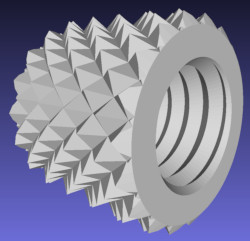
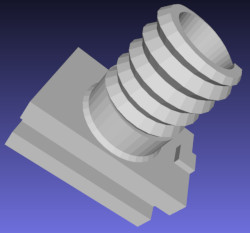
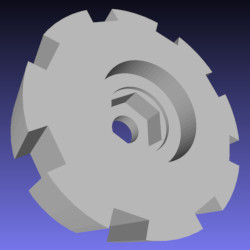
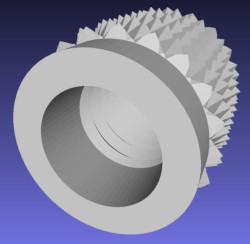
| newnut
Large manually turnable nut with internal nut and washer traps to
compress spring applying force to filament to hold it against the
hobbed gear on the extruder motor. |
|
|
| plastic-cap
Modified cap for top of extruder which takes a plastic push fit
bowden coupler where the filament exits on the way to the hot
end. |
|
|
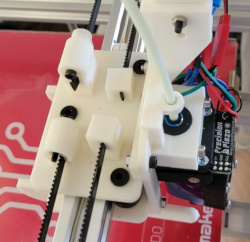
Carriages and drive
|
|
bottom-left-y-carriage Picture shows entire left Y
carriage, this is the bottom half. |
|
|
|
top-left-y-carriage Same picture of the entire Y carriage,
this part is the top half. |
|
|
|
bottom-right-y-carriage The right Y carriage is similar to
the left, but has added holes for mounting the cable chain
parts. |
|
|
|
top-right-y-carriage Same picture of the entire right Y
carriage, this part is the top half. |
|
|
|
left-carriage-cap The cap on the Y carriage hold pulleys
to route the belts for the core x-y drive. |
|
|
|
right-carriage-cap Much like the left carriage cap, but
with addition holes to aid mounting the cable chain. |
|
|
|
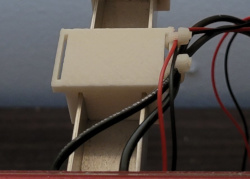
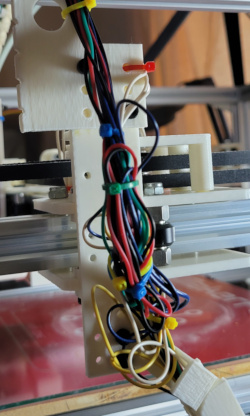
y-carriage-clip Goes on the end of the Y carriage cable
chain mount to hold the top of the chain which runs the cables
down into the box. |
|
|
|
y-chain-mount Attached to the outside of the right Y
carriage (though the additional mounting holes on the right
carriage) to provide locations to mount connections to the two
cable chain segments. |
|
|
|
yx-chain-mount Mount point for the cable chain from the X
carriage to the right Y carriage. The "roof" makes sure the chain
can't hit the top rail. |
|

|
|
left_switch_holder Holds microswitch on left Y carriage to
detect X carriage moving to home position. |
|
|
|
right_switch_holder Holds switch on right Y carriage to
detect X carriage hitting max movement limit. |

|
|
|
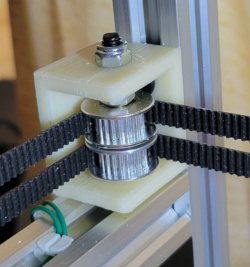
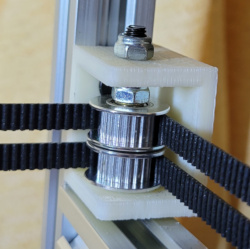
left_stacked_pulley_bracket Belts go through the back
corners through independently rotating stacked up pulleys. |
|
|
|
right_stacked_pulley_bracket Belt pulleys for the right
corner, mirror of the left. |
|
|
|
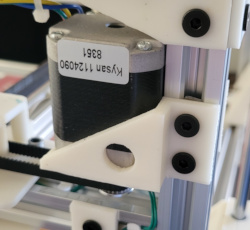
xy-motor-mount Holds a stepper motor upside to drive a
belt. (Two motors, two mounts, two belts). |

|
|
|
bottom-x-carriage Can't really see much of it, but this
piece make the bottom half of the X carriage (and lots of stuff
bolts to it in the holes provided up front). |
|
|
|
top-x-carriage The top half of the X carriage is where the
belts start and end, held in place with toothed wedges and
tensioned with adjusting screws in the cylinder shapes. |
|
|
|
x-chain-mount The cable chain ties to the X carriage via
this piece. |
|
|
| newbeams
Support beams for fan mount. They hook around back of X carriage
and screw to the front. Holes fit over the nuts holding the
wheels on the carriage. |
|
|
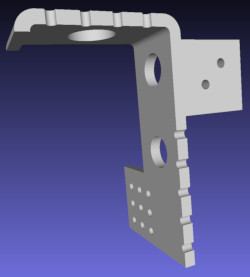
| fantop
Holds the radial fan with screws, is glued to the rest of the
cooling fan structure. |

|

|
| fan-opening
Box that connects to fan opening and has vane to divert air to
either side. This is glued to the beams and the fantop is glued
to the slots. |
|
|
| twoduct
This piece consists of two ducts glued to the fan-opening to get
the air near the hot end. |
|
|
| newnoz
Finally these nozzles fit over the end of each duct and direct
the air just below the hot end. They are glued in place. |
|
|
| orion-mount
Holds the mount for the Precision Piezo Orion at the front of the
X carriage (which, in turn, holds the E3D V6 hot end). |

|
|
LED lights
|
|
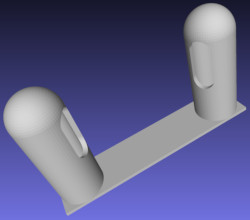
left-support Small cone to mate with the rotor holding the
aluminum angle with the LED light strip. |

|
|
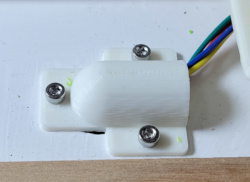
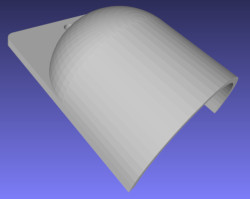
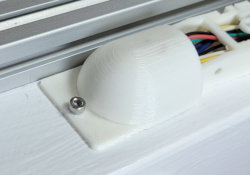
| lightbox
Box to hold wires and switch with a cone to mate with the rotor
holding the aluminum angle with the LED light strip. |
|
|
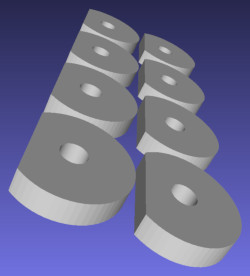
| rotors
These hold the aluminum angle with the LED light strip and mate
with the cones on either end to allow the light angle to be
adjusted by rotating the parts around the cone. |
|
|
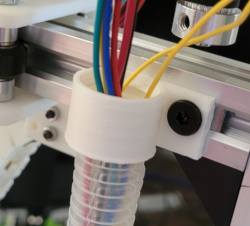
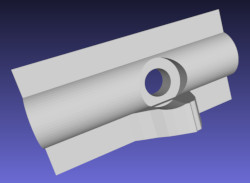
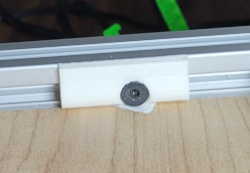
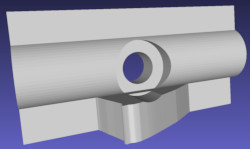
Camera mount
|
|
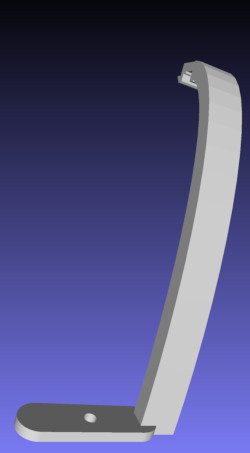
new-camera-mount Hang off top t-slot and hold the camera
on a platform with 1/4-20 bolt. |
|
|
Box parts
|
|
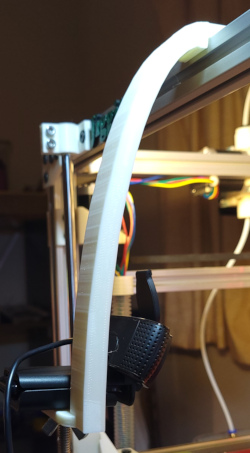
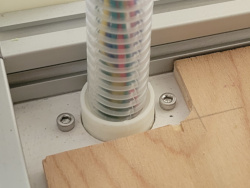
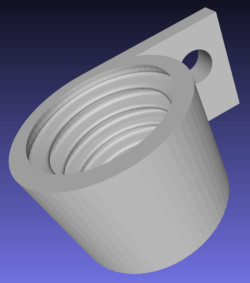
conduit-base Piece that sticks up through the box and
grabs the end of the flexible conduit by matching the conduit
shape. |
|
|
|
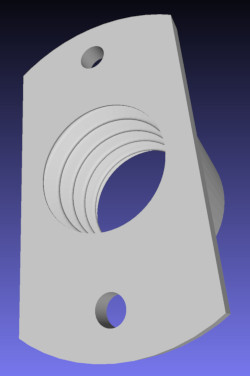
conduit-top-left Piece that bolts to the rail and grabs
the top end of the flexible conduit. |
|

|
|
conduit-top-right Mirror of the top left part. |

|
|
| back-cover
Holds down end of back cover and provides registration with the
little triangular bit. |
|
|
| front-cover
Similar to the back cover piece, this holds down and registers
the position of the front cover. |
|
|
| handle The
covers both have a handle just in back of the magnets that hold
the covers down. |
|
|
|
z-wire-cover Cover for the Z motor and printbed wires
where they enter the box. |
|
|
|
chain-end-cover Covers the hole where cables descend into
the box from the cable chain. |
|
|
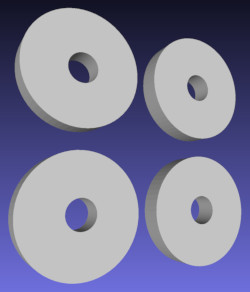
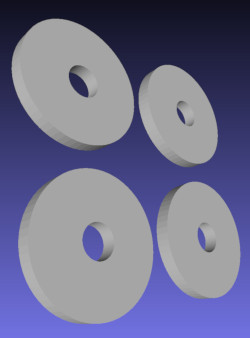
| washer-5mm
Custom washers for the M5 bolts that tie down the bottom rails.
Truncated on one side because some of the holes are close to the
outside wall of the box. |
|
|
|
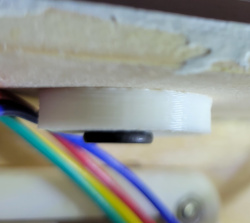
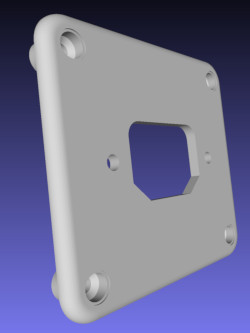
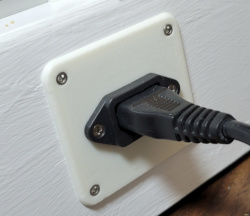
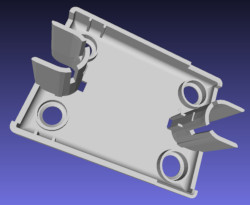
jiggit-ac-power Custom plate to hold AC power connector
(salvaged from old computer power supply). |
|
|
|
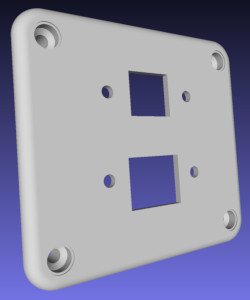
jiggit-data-plate Custom plate for running ethernet and
USB connections into the box. |
|

|
|
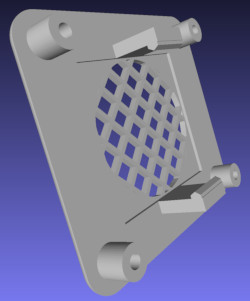
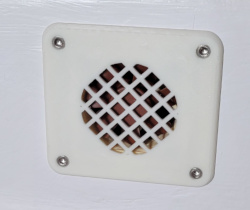
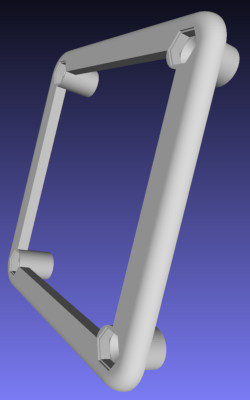
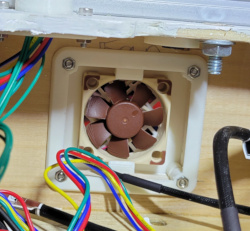
jiggit-fanclip Custom plate that holds a fan inside the
box for cooling. |
|
|
|
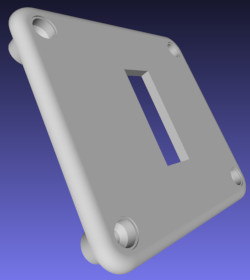
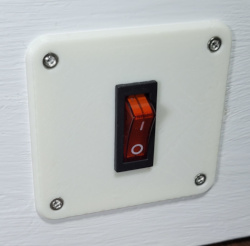
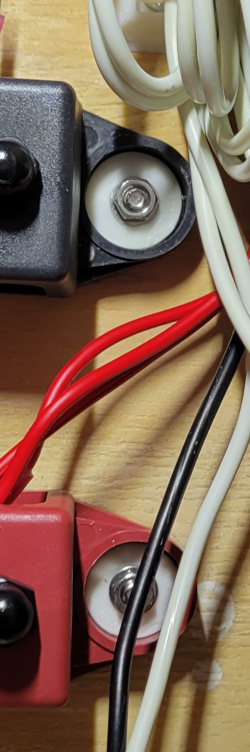
jiggit-rocker-switch Custom plate the power switch clips
into. |
|
|
|
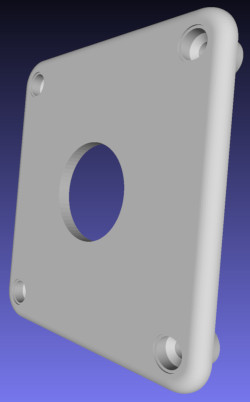
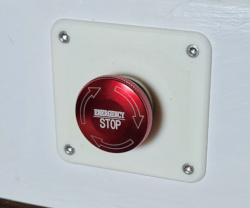
jiggit-stop-switch Custom plate with hole where the
emergency stop switch is mounted. |
|
|
|
jiggit-nut-plate All the external plates on the box have
one of these matching parts on the inside of the box to hold the
nuts used to secure both halfs together. |
|
|
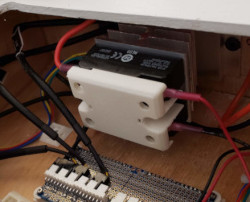
| ssr-cover
Found a CAD file for the SSR cover and after much fiddling,
turned it into a printable stl. |
|
|
|
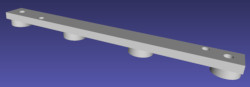
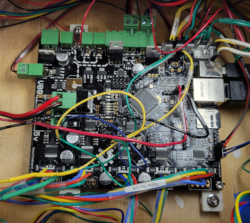
smoothie-bottom Rail bolted to box, which in turn has one
end of smoothieboard bolted to it. Mostly invisible in this
picture, but you can see the ends poking out where the bolts come
through the box. |
|
|
|
smoothie-top Another rail for the other end of the
smoothieboard. They aren't the same because the hole layout is
different at each end of the board. |
|
|
|
smoothie-washer Tiny custom washer needed because things
were too tight for the M2 mounting bolt head to fit, so this
moves it up where there is space. |
|
|
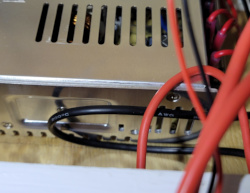
| psu-riser
You can't see them, but the M4 bolts holding the power supply to
the box go through these risers. |
|
|
| busbar
Washers for the automotive style busbars so I can mount them to
the box with M4 bolts. |
|
|
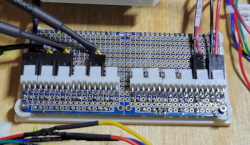
| fan-power
Mount for circuit board holding lots of fan headers to provide
12V power for fans that are always on. |

|
|
|
cable-tie-16 A collection of cable ties for screwing into
the inside of the plywood box to help routing cables. |
|
|
| both-feet
Foot for bottom of box holding a strip of grippy material to make
it anti-skid. |
|
|
Miscellaneous parts
|
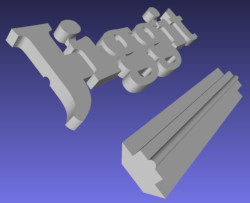
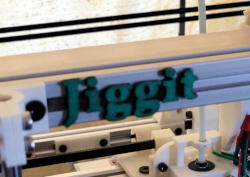
| nameplate
Nameplate glued to piece that slides into the top rail. |
|
|
|
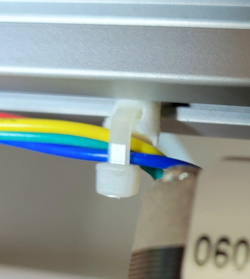
tslot-wire-tie Little gizmos with a single cable tie slot
you can shove into a T-slot channel and rotate to lock into
place. |
|
|
| wire-slot
Little gadgets that can be twisted into place inside a V-slot to
provide holes to run wires through (and keep them from flailing
around). |
|
|
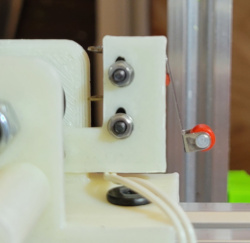
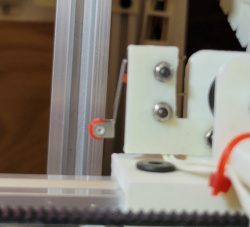
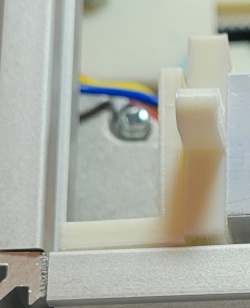
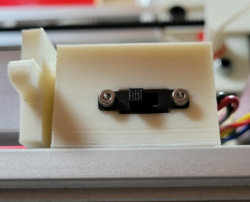
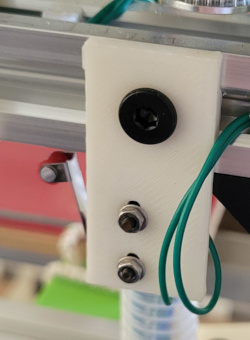
| ystop
Mounts to rail to hold a microswitch that tells the smoothieboard
when home or max limit is hit. |
|
|
|
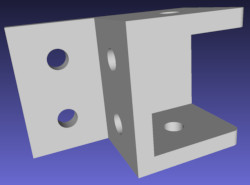
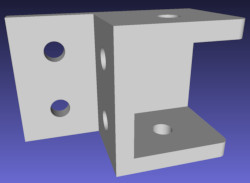
corner-plate Lots of these around the top and bottom of
the printer for joining T-slot and V-slot rails at right
angles. |
|
|